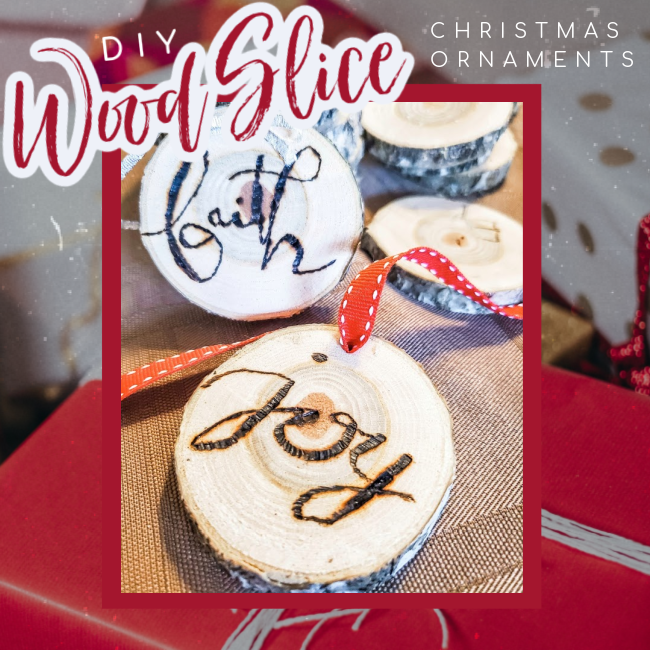
When I decided to get a second Christmas tree as dining room decor, I knew that I wanted it to be rustic. Since it was a secondary Christmas tree, I didn’t want to spend an arm and a leg on ornaments. There are so many awesome DIY ornaments out there but the most fun to make were the wood slices!
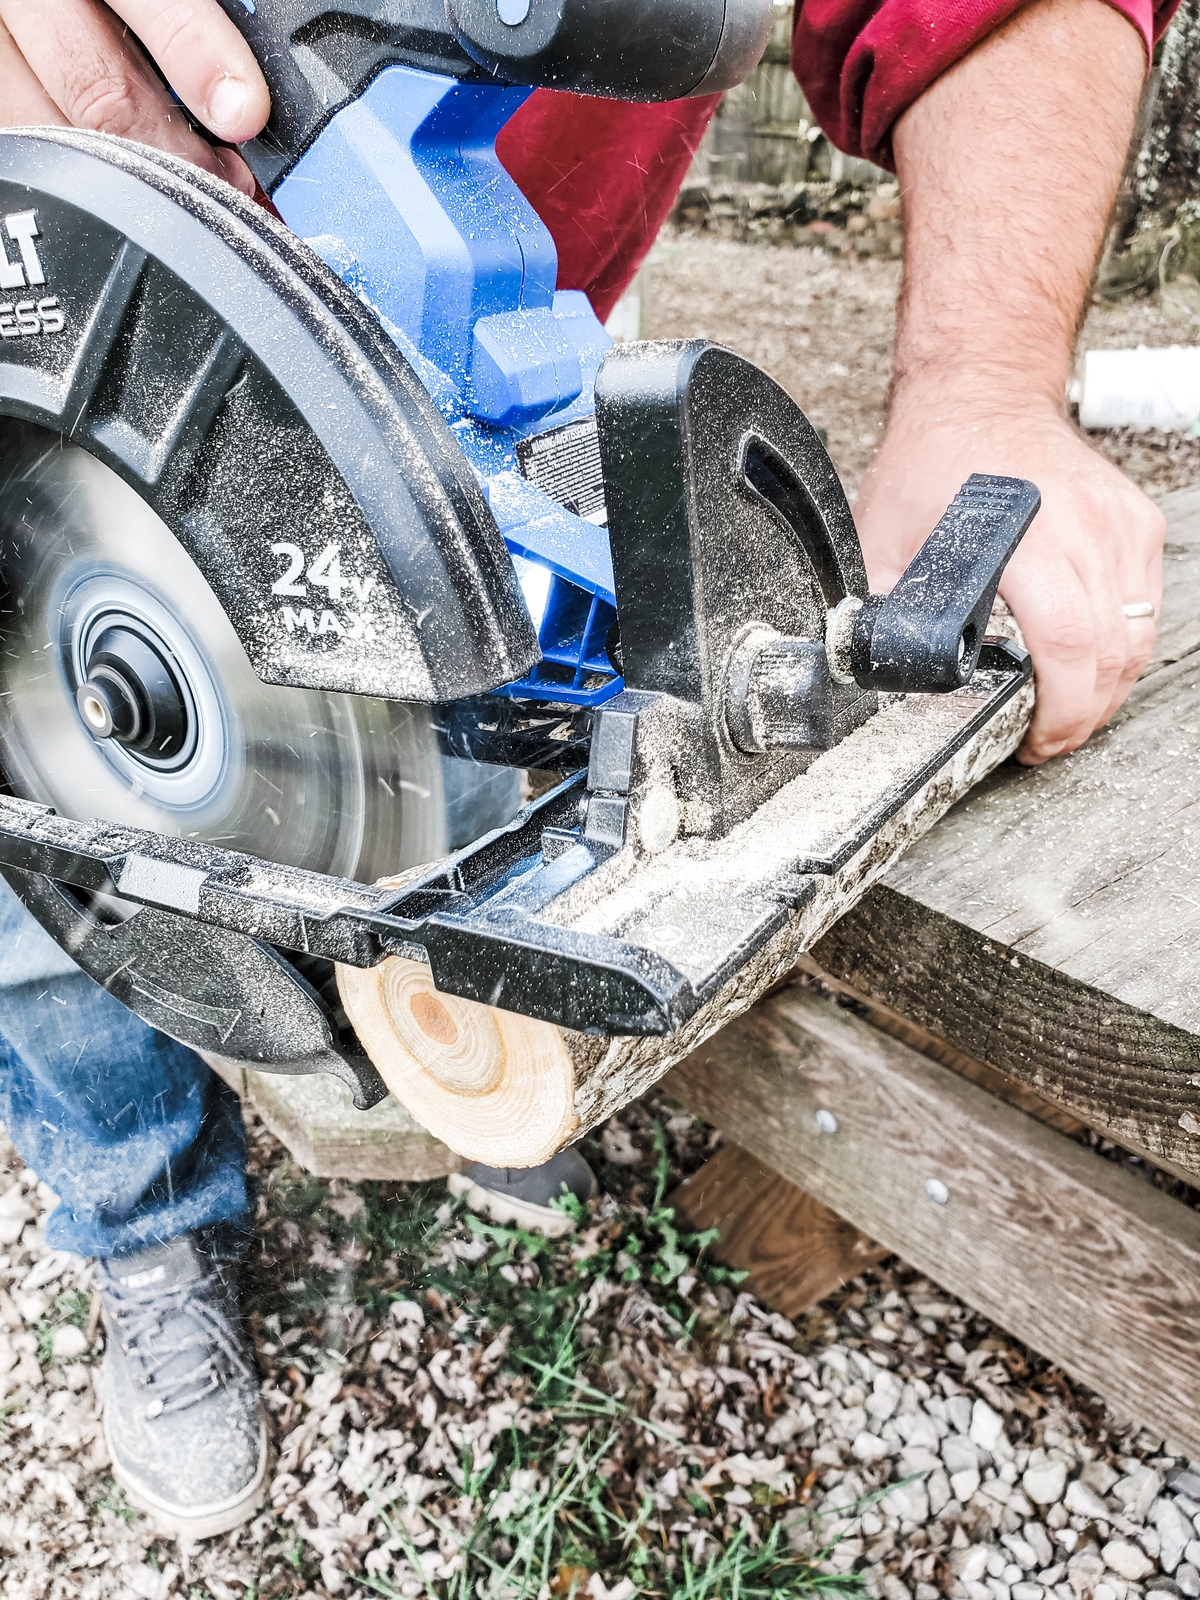
Wood slices are not expensive if purchased but still, I decided to go truly rustic and ask my husband to grab some rounded logs and saw them into slices for me. We’ve got firewood laying around for our wood stove and a saw always at the ready since he is building our chicken coop. I sanded the edges of some of them but it seemed like I could do it either way, depending on the look that I was going for.
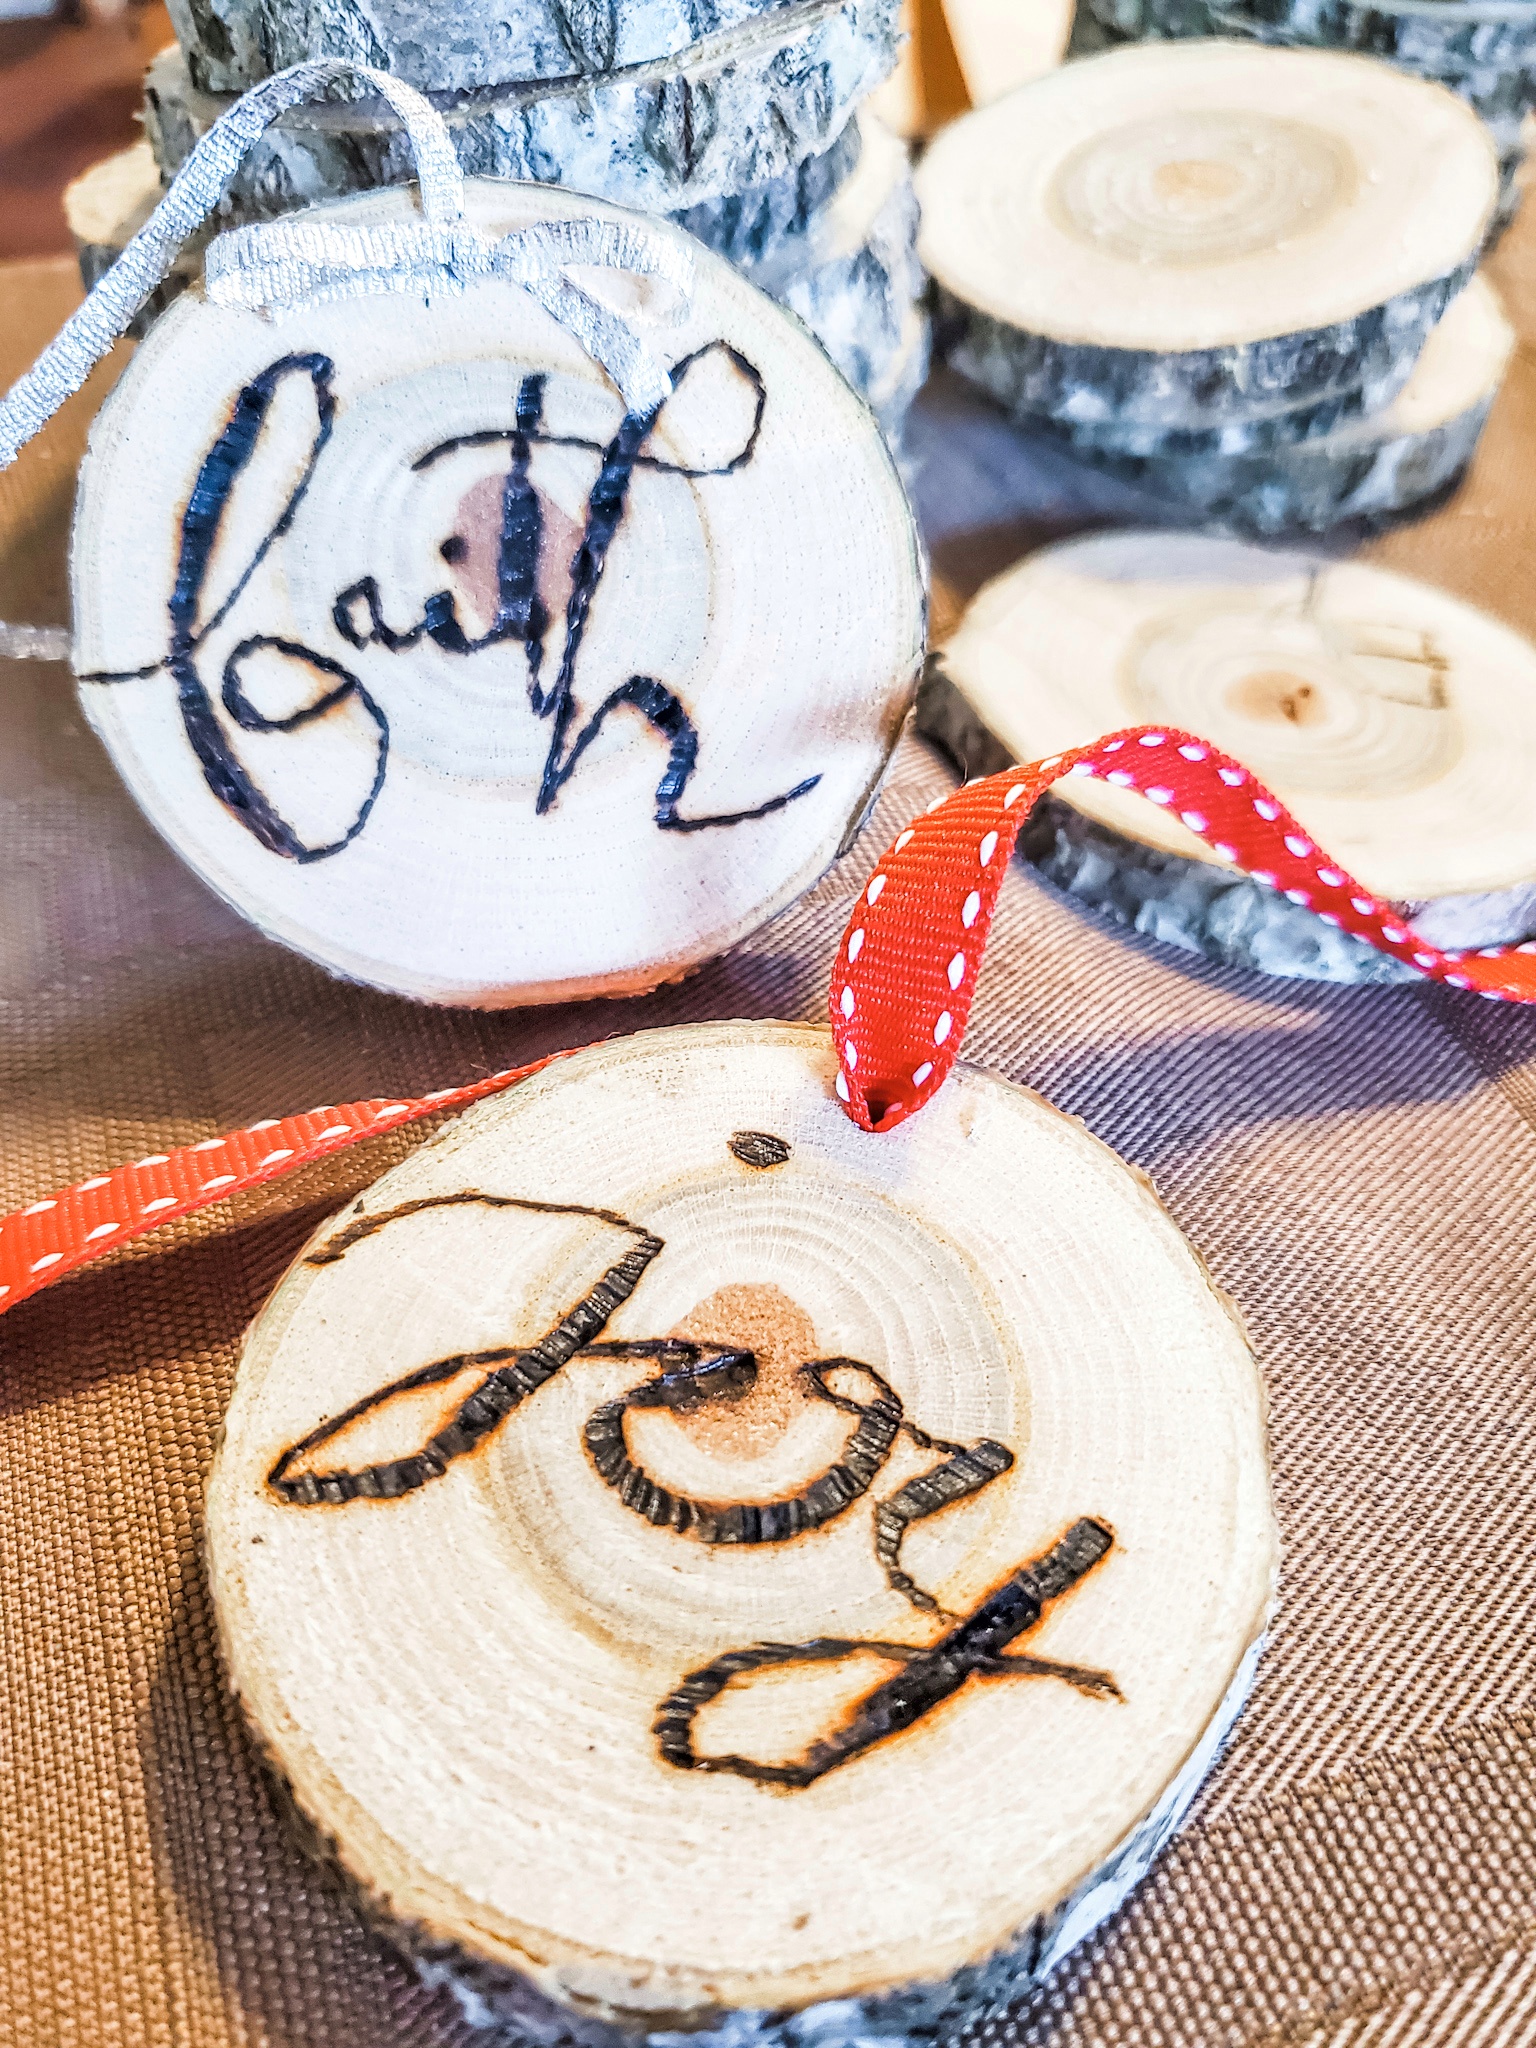
There are a lot of different types of ornaments you can make with wood slices but my favorite was the WOOD BURNING! My husband bought me a reasonably-priced woodburning kit with basic tips. I started off by doing best attempt at writing in calligraphy and I was really happy with those results after adorning it with a small bow and ribbon!
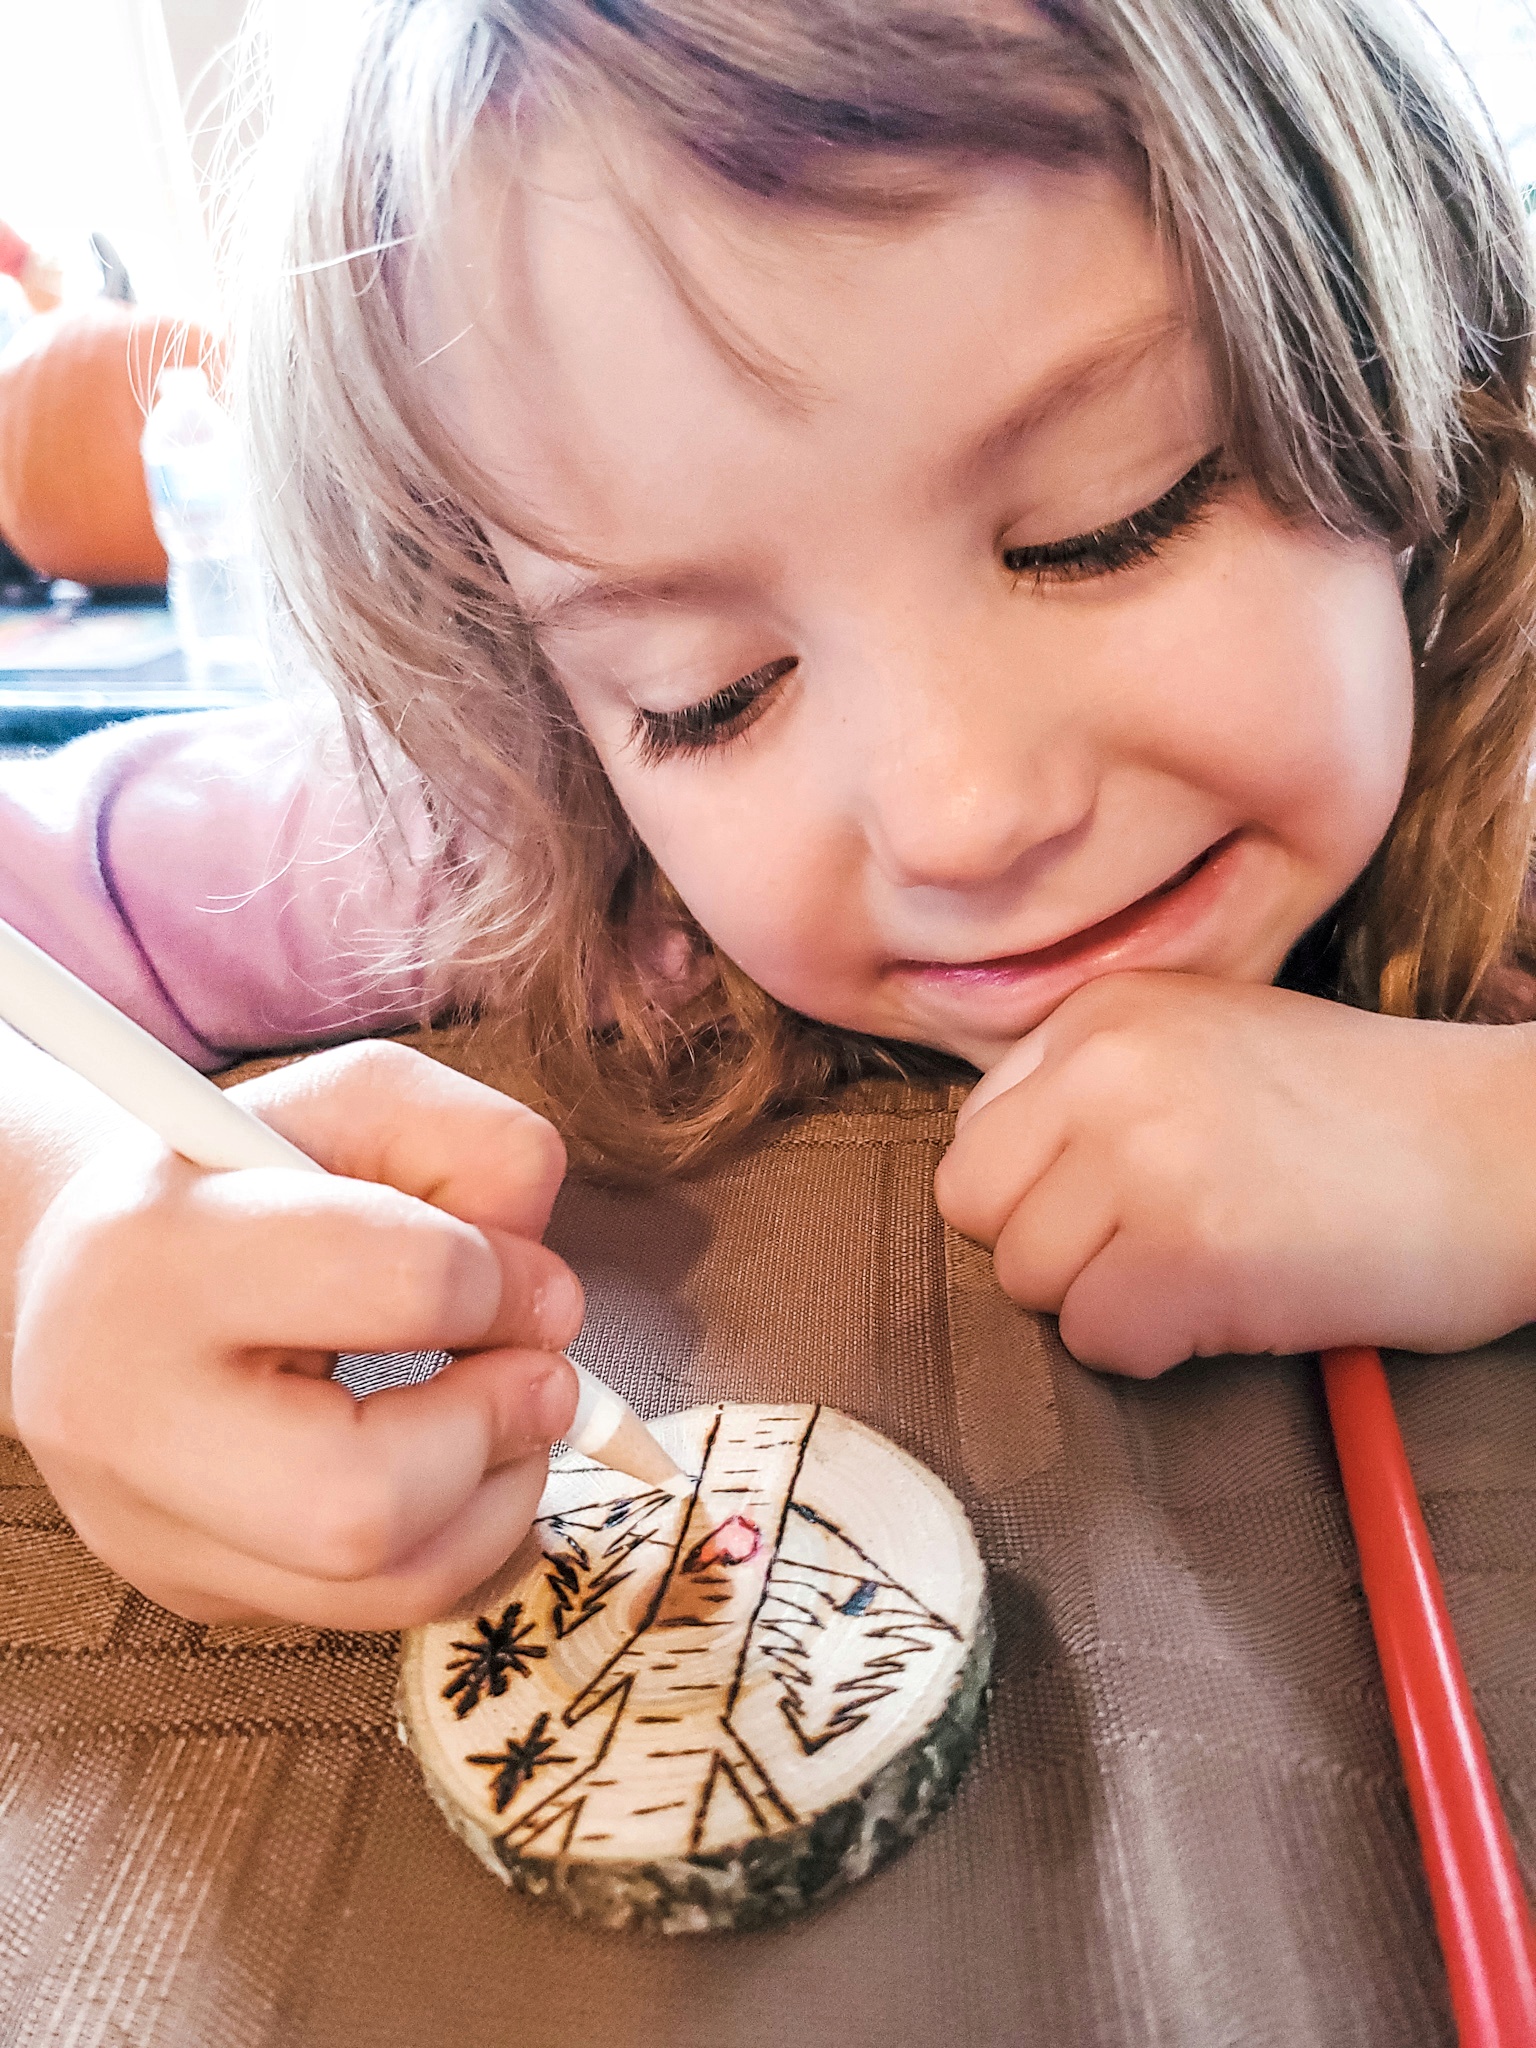
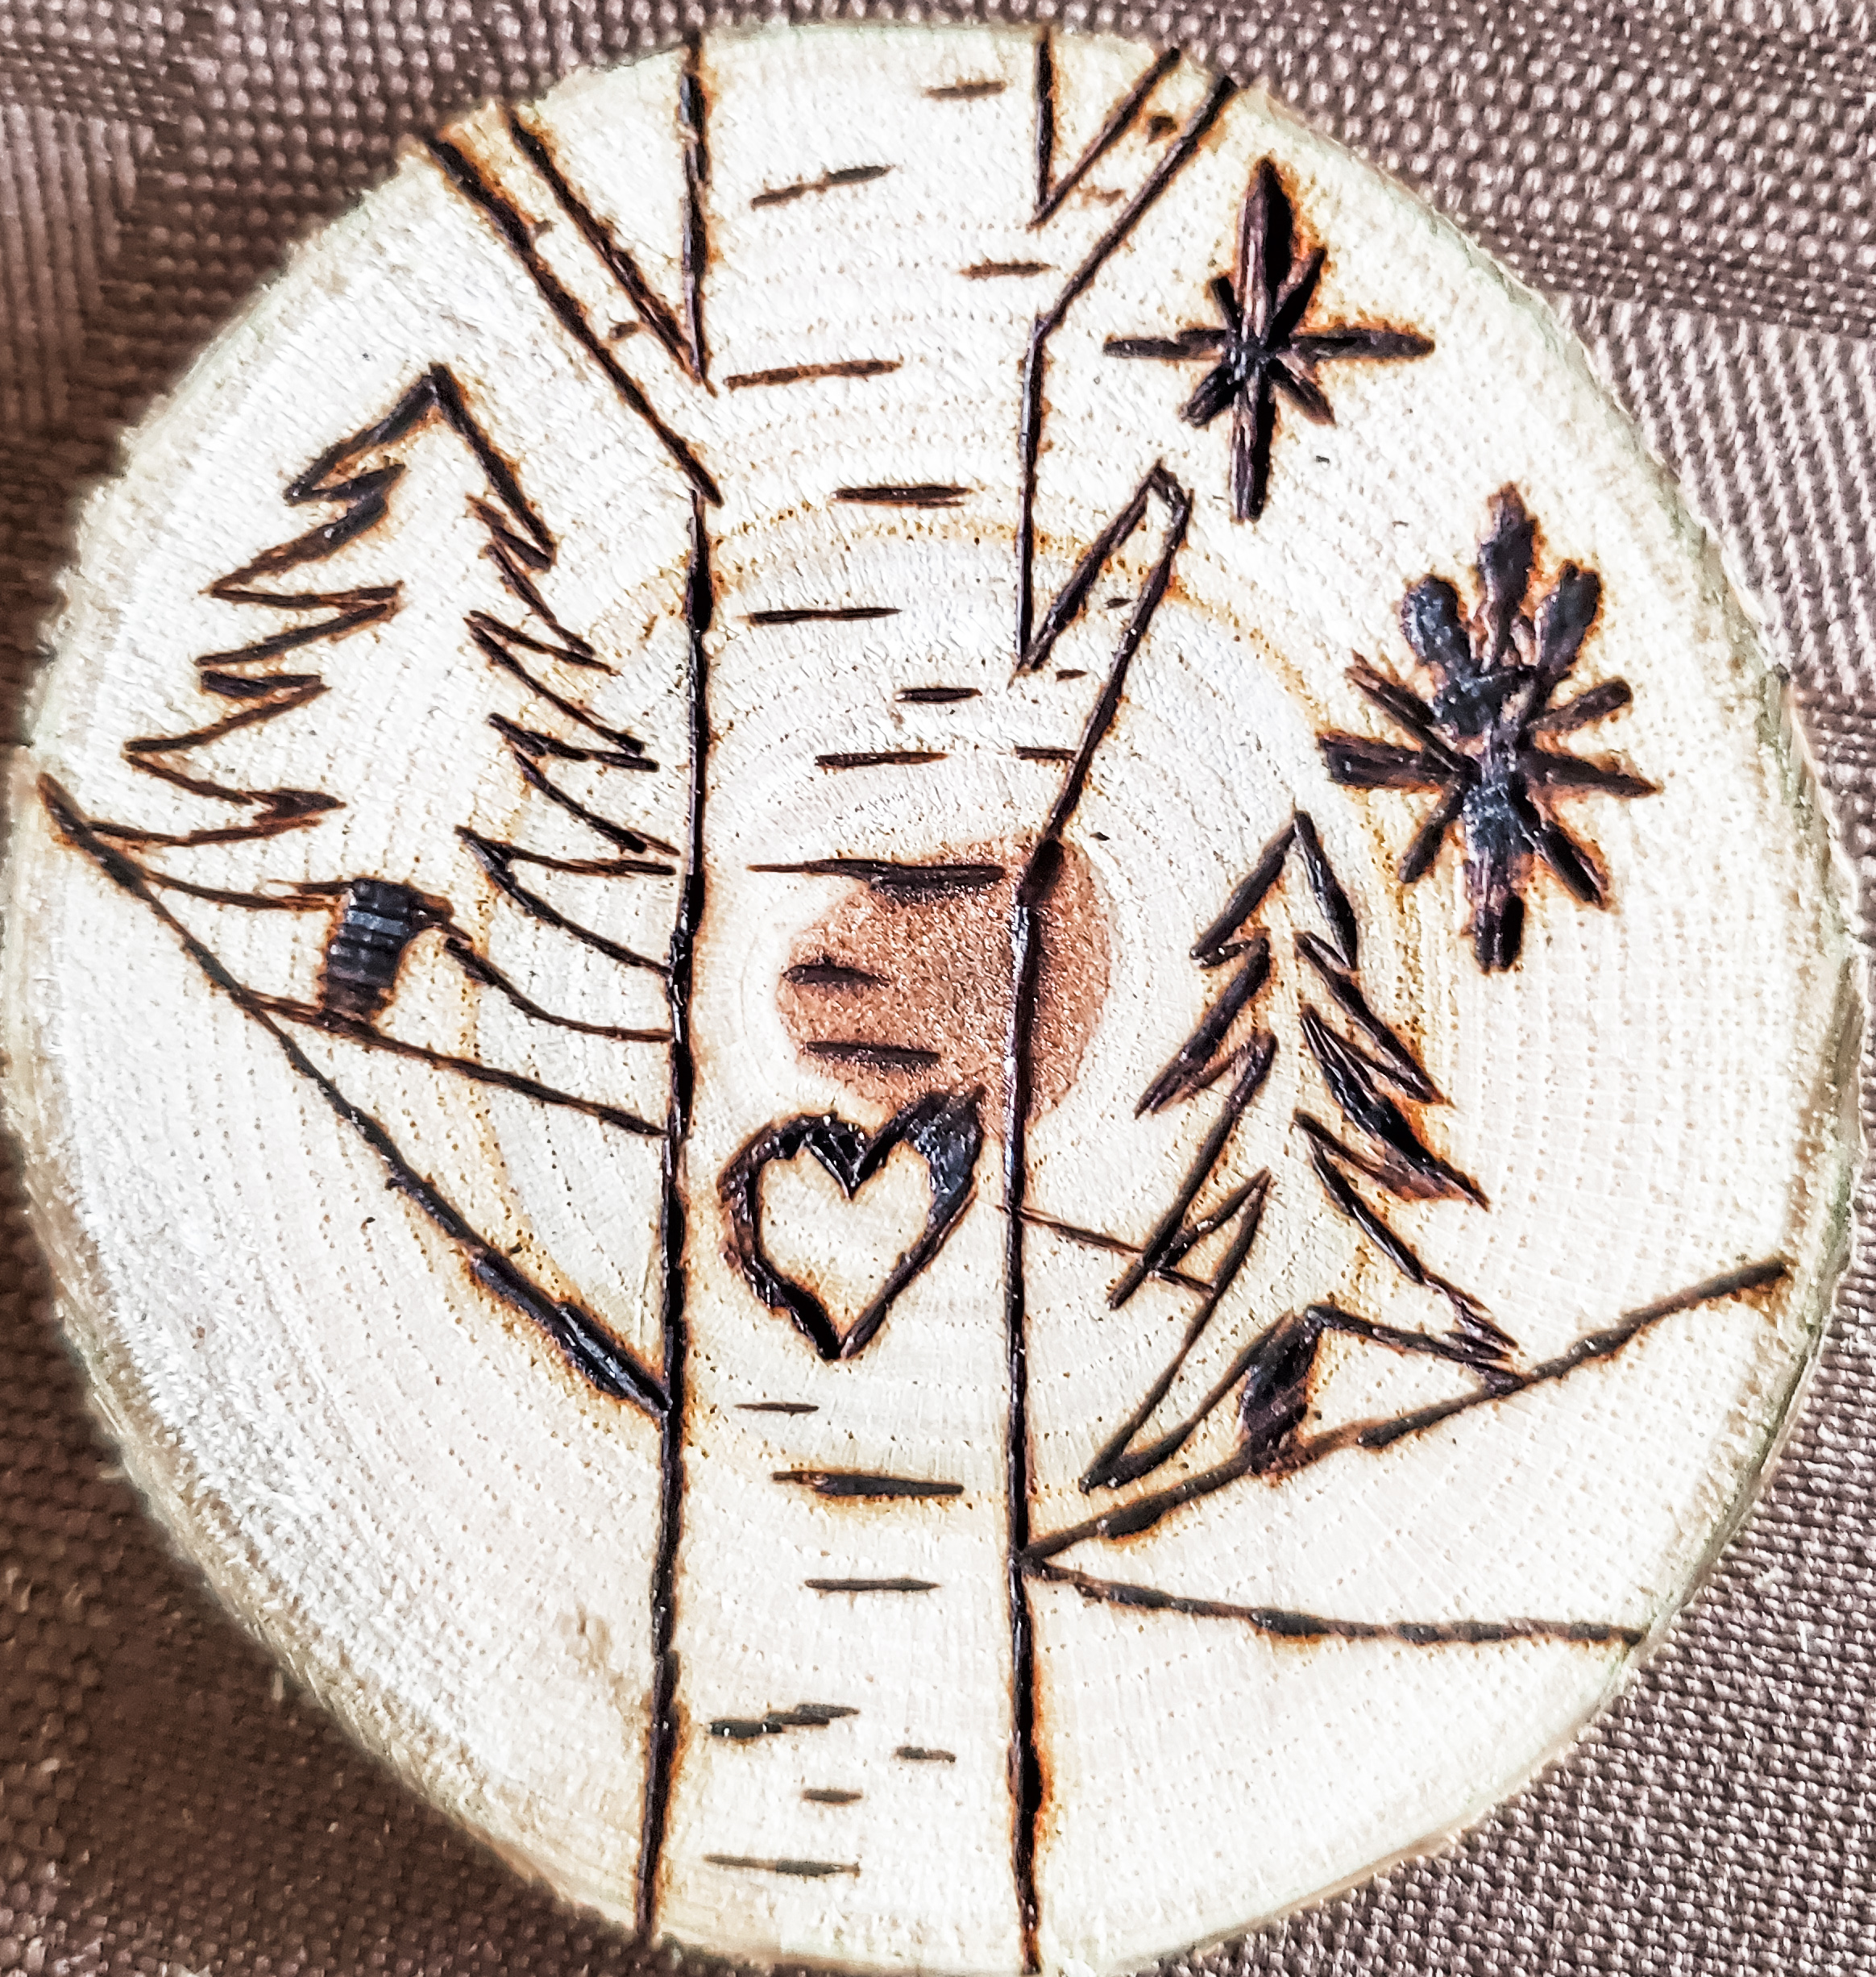
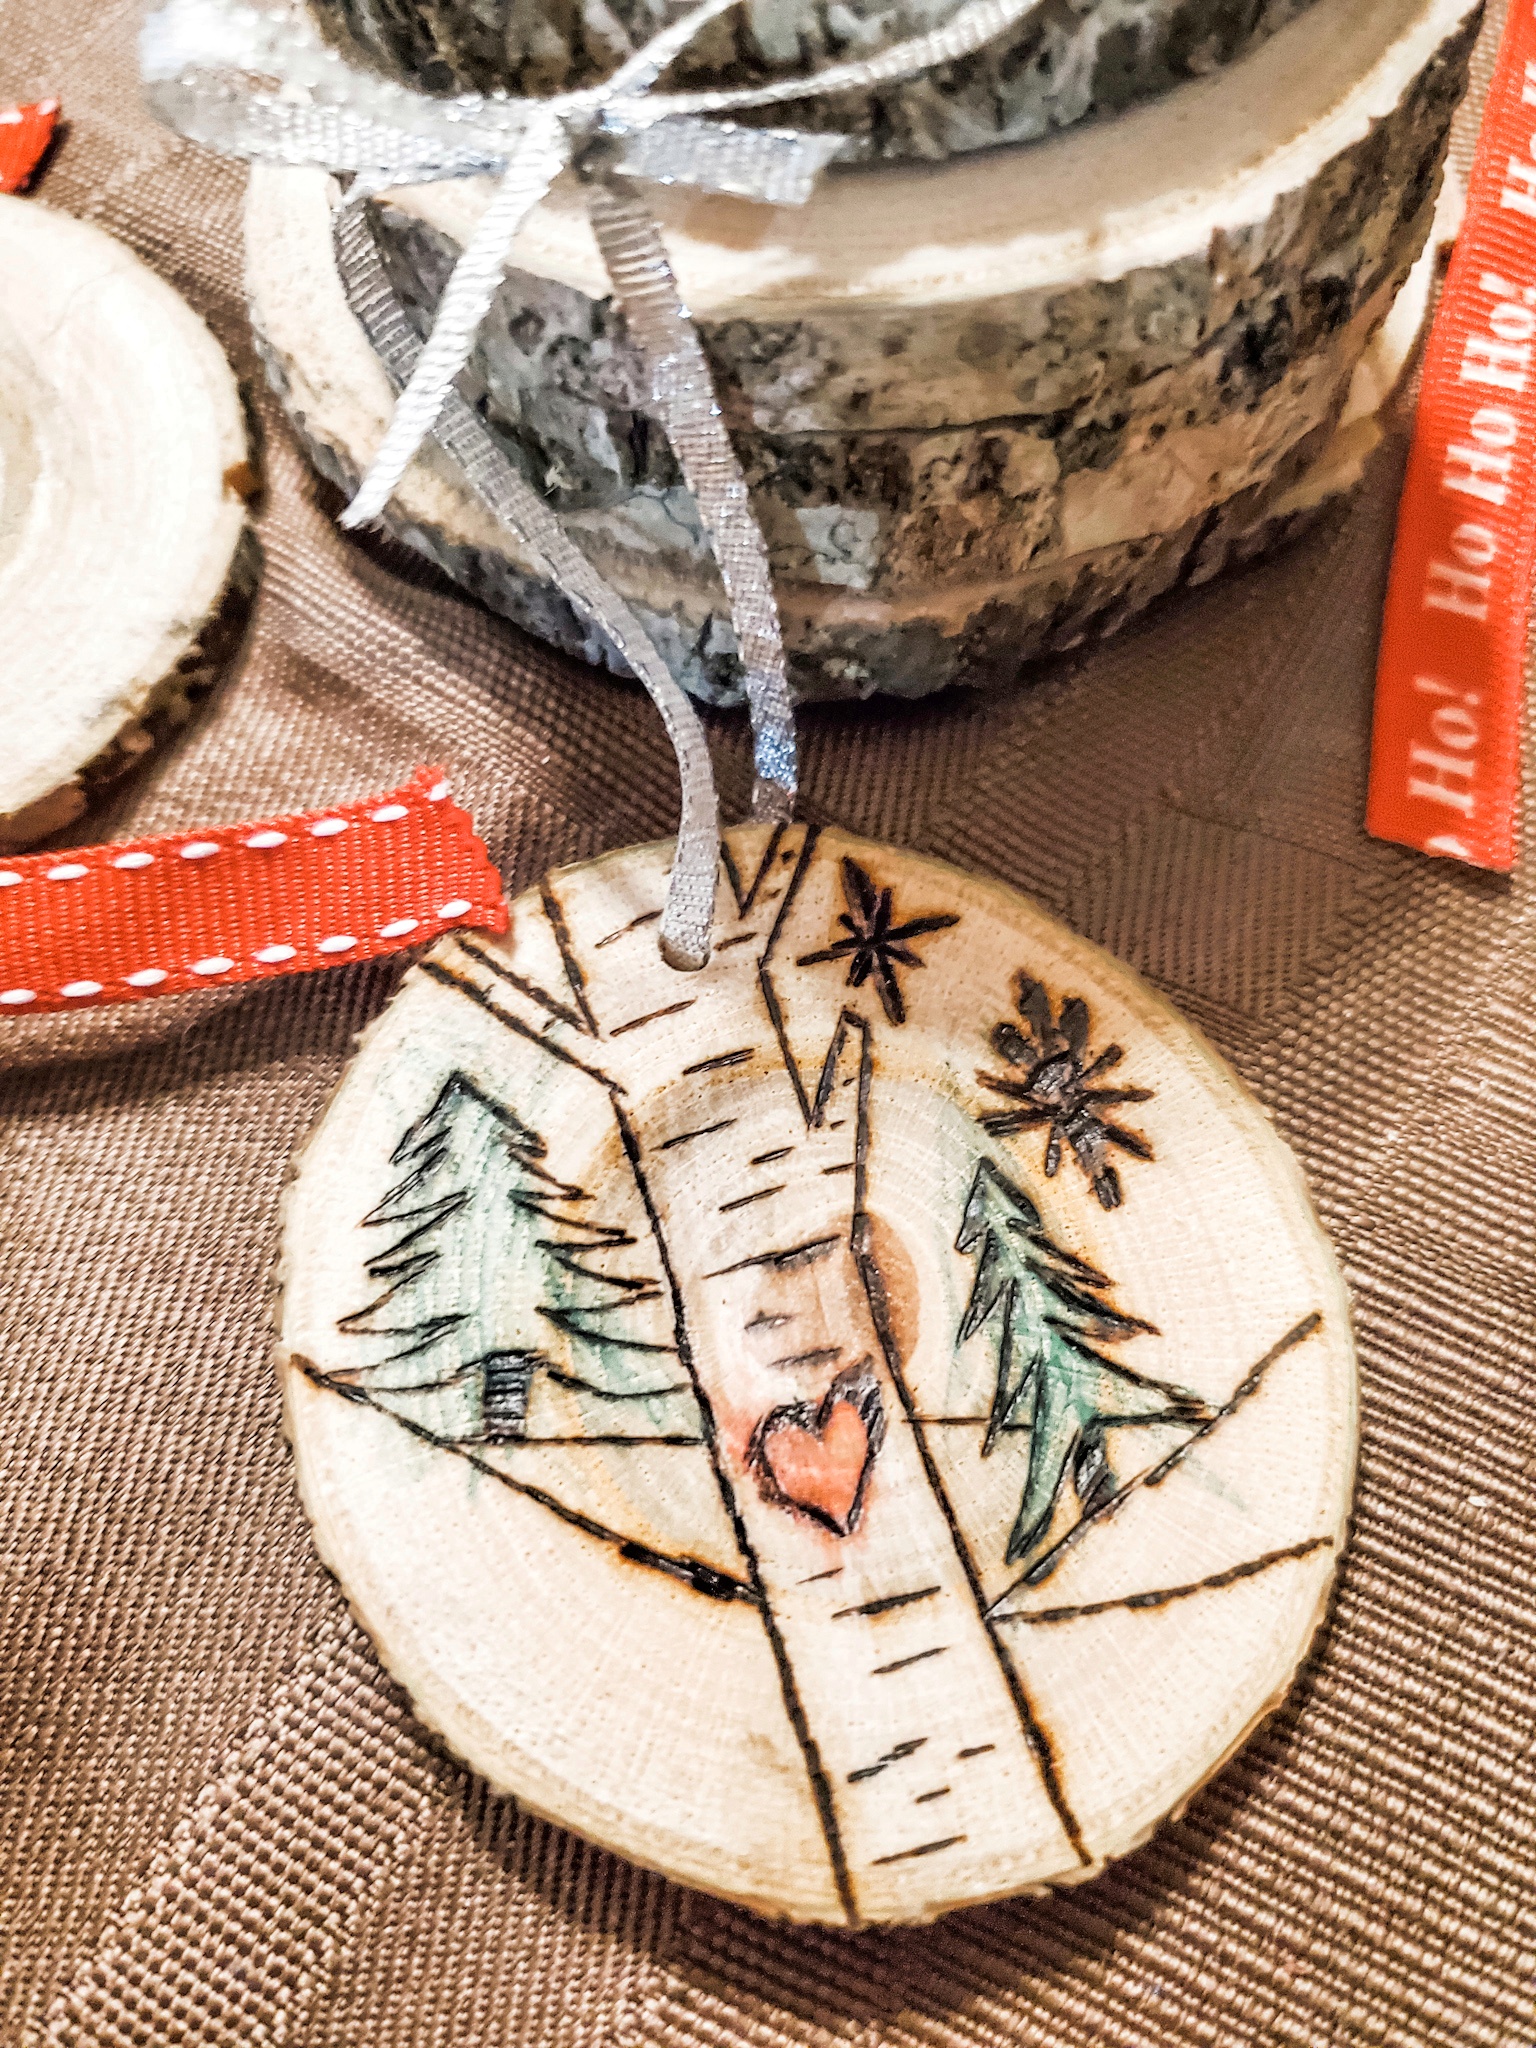
After looking through a lot of different wood slice ornament ideas, I realized what would make the perfect Christmas gift! I drew a small scene on one of the slices and handed it to my toddler to color. Now, it’s a gift from both her and I!
These ornaments are incredibly easy to make and it is such a merry activity to do with the kids! I may come back and add some stencils to this post later but for now, I believe that you can freehand it!
What you’ll need:
Wood slices
Sander (optional)
Woodburning kit
Drill
Ribbon
Directions:
1. Sand wood slices to a smooth texture.
2. Drill a small hole into the top of the wood so that you can use it to hang your ornament later.
3. Slowly draw words or a scene on your slice. If you choose to draw a scene that you plan to color, try to leave big enough spaces to allow the color to really come through.
Note: If you need a stencil, print your design out and trace it. Press down with a heavy hand so that you will be able to see the outline of your design!
4. Cool completely.
5. If you want color, use good quality colored pencils.
6. Slide the ribbon through the hole. I used a seam ripper to help pull mine through.
7. Tie a small bow and a loop to hang the ornament with.
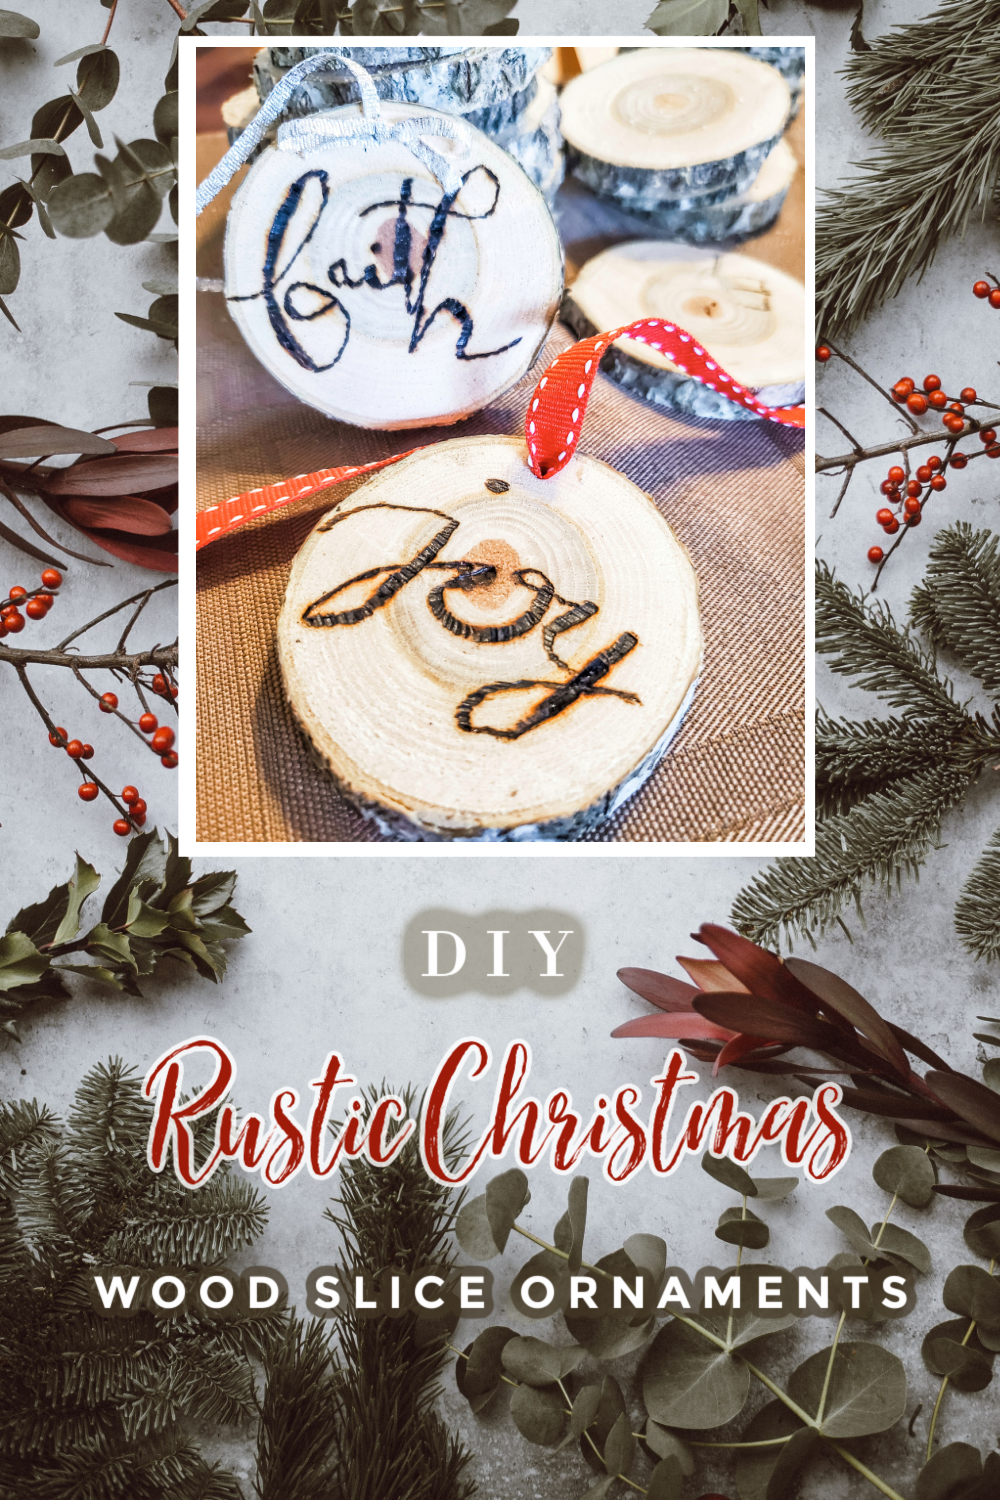
These are cute!!! Perfect gift for anyone because the kids win with decorating and the gift of homemade love.