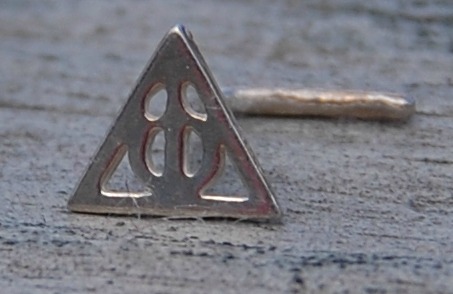
For Christmas, I got a gift card to Etsy and spent hours going through all of the awesome things listed. Eventually, I settled on some gorgeous Harry Potter-themed jewelry. It was the Deathly Hallows symbol and I thought it was the coolest nose ring ever. The Harry Potter movies and books are among my favorites of all time.
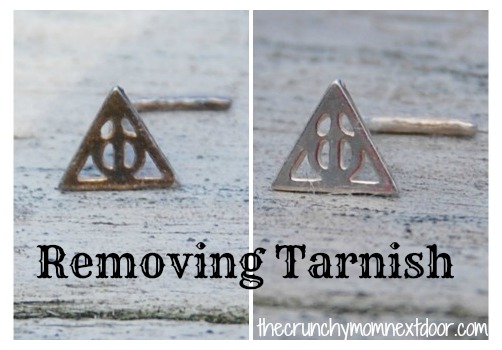
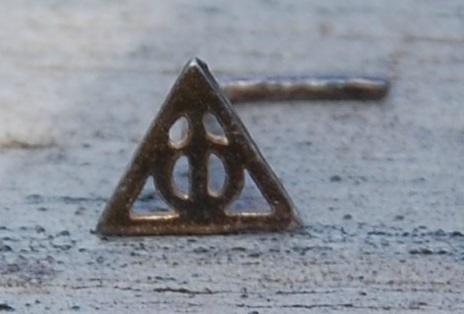
I was so excited to get my new nose ring, it was so beautiful! After I took a good look at it, I placed it back in the nice case that it came in and set it on my bedside table, unworn. You see, we’re going to the Wizarding World of Harry Potter next month and I thought it would be cool to wear it brand new! In a month, I changed my mind and decided that I wanted to share a picture of the jewelry with my fellow HP lovers. The only problem was that it was badly tarnished!
Yesterday, I looked into some ways to remove tarnish and I found the easiest thing that I had absolutely no idea about! It worked quickly and effectively so I thought I would share it with you!
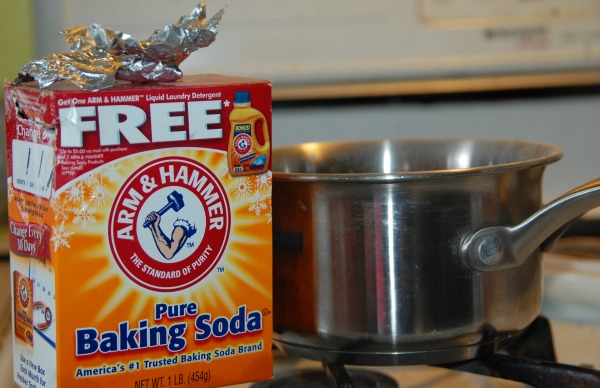
What you need:
Water (and a stove)
Aluminum foil
Baking soda
What you do:
1. Boil just enough water to cover your jewelry and then place your jewelry in it.
2. Put a few pieces of foil into the water.
3. Add a tablespoon of baking soda. I just dumped some in, I’m too cool for measuring cups. 😎
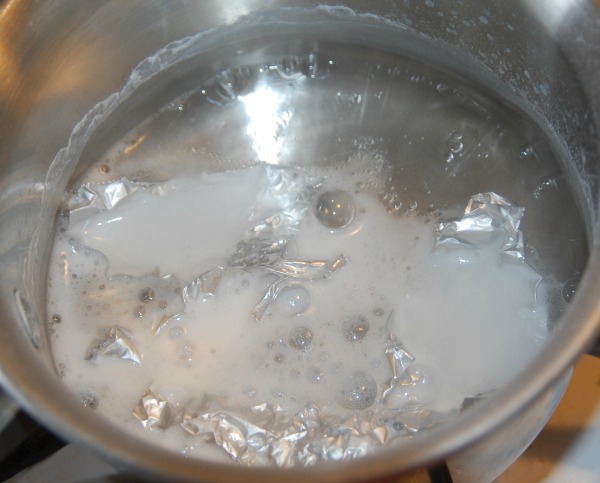
4. Move the jewelry around a bit to make sure all of the sides come in contact with the foil.
5. Remove the jewelry from the mixture and wipe it with a cotton cloth. Does it look perfect again?!
I put on my nice and clean jewelry just to adjust it and make sure it looked right, then I put it into my jewelry holder picture frame that I keep by my bed. Hopefully it won’t tarnish again before our trip but at least I know that if it does, I have a simple fix for it with ingredients that I always have at home!
