For those of you who don’t know, a wet bag is a bag that can hold your wet items without becoming sopping wet itself. It’s often used for soiled cloth diapers or cloth pads, but I know people who use them for bathing suits or travel in general. They’re reusable and washable so they beat using plastic zipping bags often times.
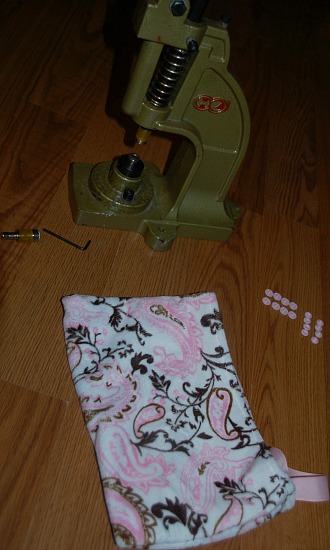
On this particular project, I used snaps to enclose the bag, rather than a zipper, but that’s only because that’s all I had available and snaps are simple. I got my snap press and snaps from KamSnaps.com and I love using them because they’re quick and easy, plus really colorful and adorable. A zipper might a better choice for you and if so, you can just change that part out. Zippers are relatively easy to sew on!
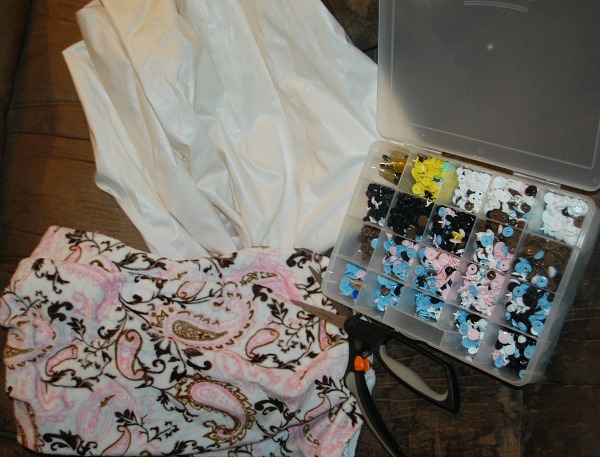
For this project, you will need:
PUL (polyurethane laminate, it’s a waterproof fabric that wicks away moisture)
Outer fabric (I used minky that I’ve had on hand for several years from a site that was extremely affordable but has unfortunately shut down.)
Snaps and snap press/pliers or zipper
Scissors
Sewing machine (although you could sew this by hand!)
Ribbon, if you’d like a handle to clip the bag to, for instance (optional)
Directions:
1. Cut your ideal size from both pieces of fabric. Keep in mind that you’ll need to leave a little bit of space for seams.
2. The PUL has a rubbery-feeling side and a soft side. Lay the fabrics down folded together, with the soft side of the PUL touching the wrong side of your outer fabric. This should create a pocket for both fabrics at the bottom. Pictured below.
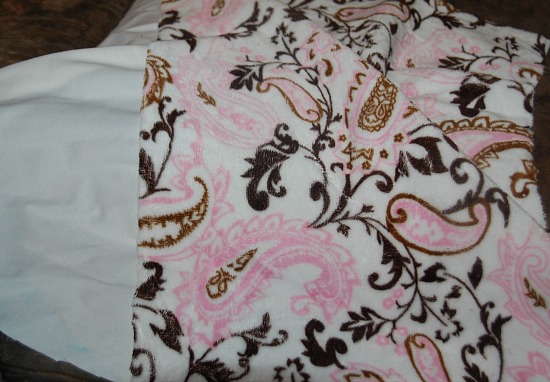
3. Try to line up the edges as best as possible. (I am terrible at this but I try to make up for it when I begin sewing!)
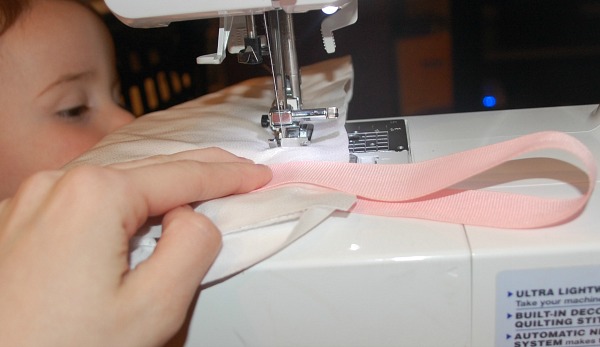
4. (Optional.) Make a loop with the ribbon. Toward the corner of the bag, put one side of the ribbon on one side and the opposite side for the other.
5. Sew very close to the ribbon and over top of it. Be sure to backstitch or even use a zig-zag.
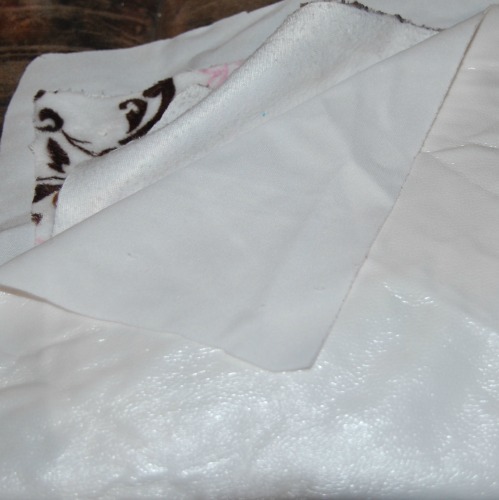
6. Make sure bag is inside-out. Open up the bag and fold the outer fabric over the inner fabric, as pictured. Sew across one side, then the other. *Do not sew them both at once or you will sew your bag shut!*
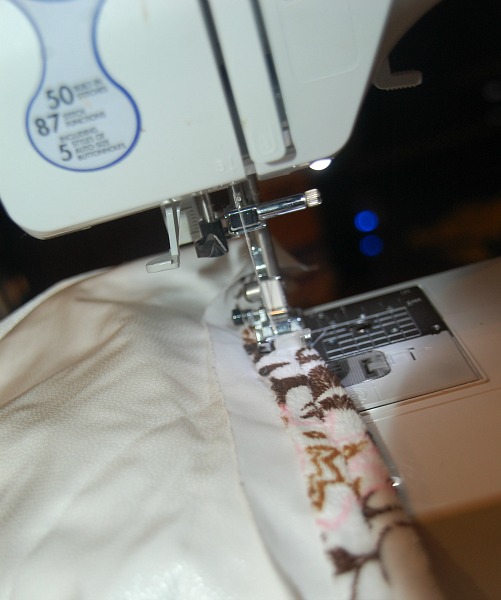
7. This is probably the best time to sew a zipper, if you choose.
8. Sew down each side of the bag, these you want to sew together so it will be enclosed.
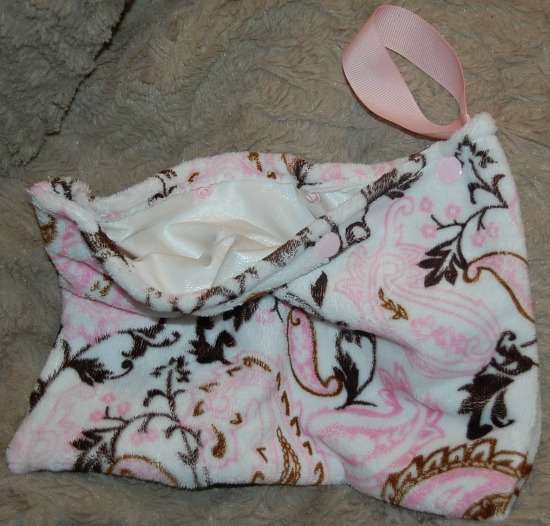
9. Turn right-side out. Use the snap press/pliers to add the amount of snaps you’d like for your bag if you have chosen not to use a zipper.
10. All finished, nice and easy!
Cute and informative. Looks great too!
Great idea! Looks great as well!