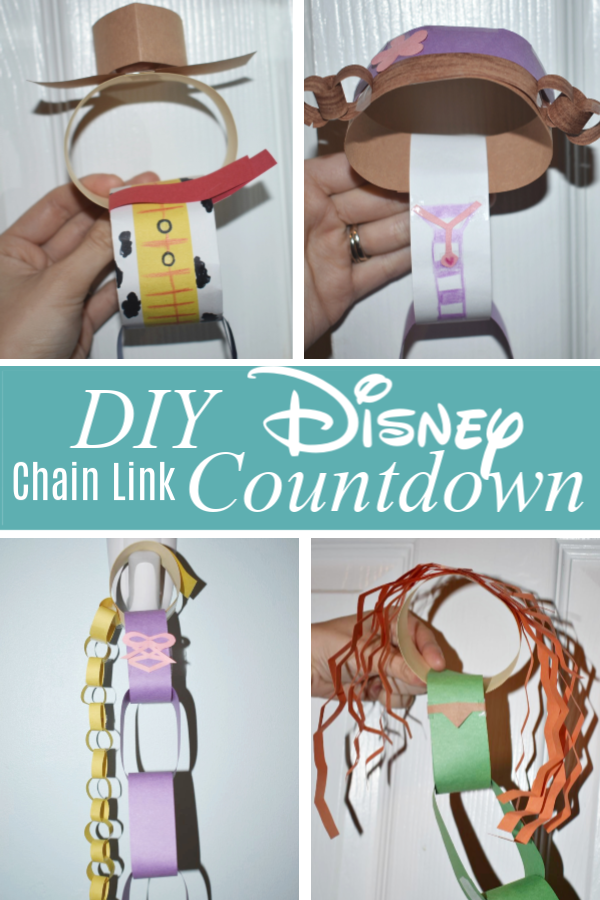
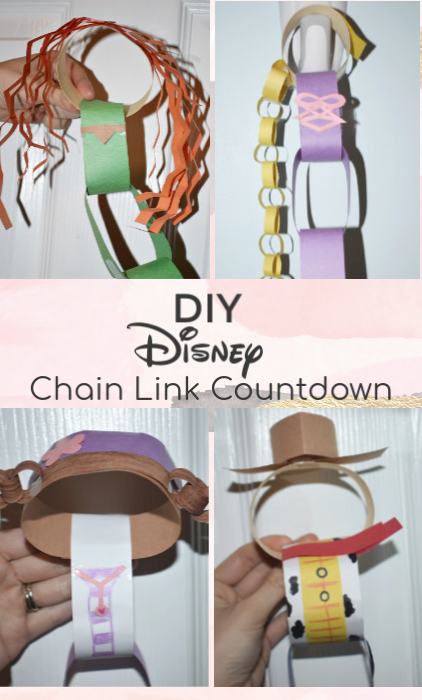
Since we decided not to surprise the kids with our Disney trip, I wanted to do something special to help them gear up for the big day as gets closer! I did a tiny whiteboard day count on my checklist but I was trying to think of a fun way for each kid to do their own countdown. When I was little, we used to make chain link countdowns as we got closer to Christmas. We would rip off one of the chains day by day and be one step closer to Christmas. The chains themselves were easy to make and I realized how simple it would be to customize them with their own look when I saw a picture of an Ariel chain!
I made myself a list of everyone’s favorite characters and looked up the movies and television shows to make sure that I got every detail right. I’m going to give you a rundown of the ones that I made for my family but hopefully if you’ve got other characters in mind, you can see how I brought the details in and try it for yourself!
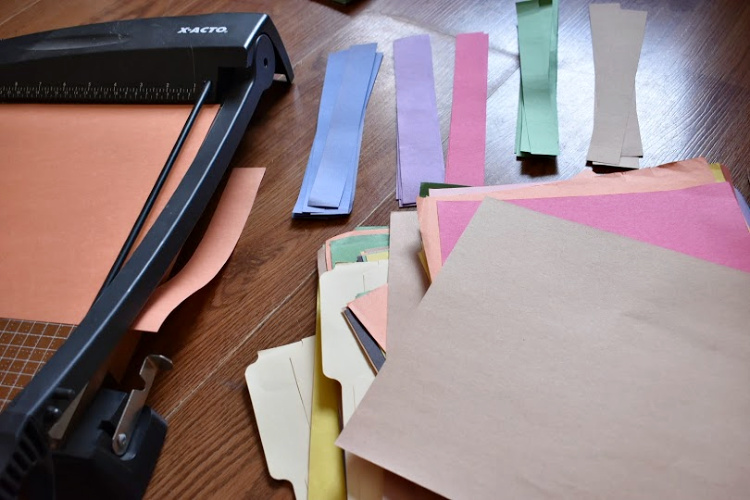
You’ll Need:
Construction Paper
Scissors or a paper cutter
Tape (or a glue stick!)
What I Did:
1. Pull up a picture of your character for reference. Note their details like stripes, bowties, hairstyle, etc.
2. Take a strip of the color that you’re using for the head (peach, green, purple, red, whatever!) and wrap the ends against each other, taping them. This will give you a circle. Next, I’ll walk you through the way I did some of the specifics!
Woody from Toy Story
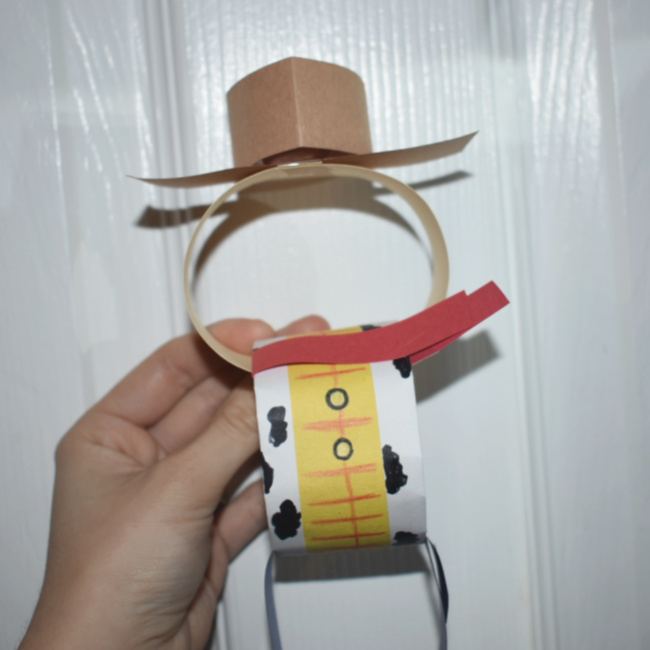
For Woody’s hat, I cut a small strip of paper and taped it to the top of my peach link so that it laid flat. Then I used another small strip to make a circle for the hat itself. I pinch three corners of it so it would have that hat shape.
For his vest, I actually cut a strip of yellow paper but then I used a larger piece of white to fold over the ends of that yellow strip, making a sort of coat. On that shirt, I colored the cow design for the vest, red lines, and buttons. One last detail for the shirt design, I added a very small strip of red paper around the top of the body link and folded them over just slightly so that they would look like his handkerchief. The links for the rest of him are dark blue like his jeans.
Doc McStuffins
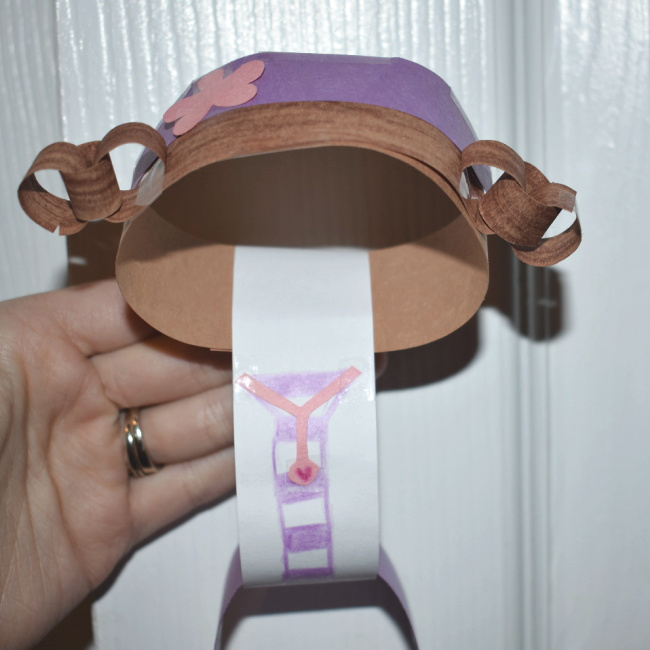
My toddler loves Doc McStuffins (and so do I!) so I, of course, had to craft this gal. I started with a strip of brown paper taped over half of the head circle and then I made two very small links that I just taped on the edge of her head, making tiny braids. And Doc wears a purple headband with a pink flower so I cut a small purple strip and then put a pink flower on top of it.
For Doc’s coat, I used a white link and then just drew the purple stripes down the center of the coat for where her shirt shows through. I cut a really tiny pink stethoscope and drew a heart in the center of it. For the links on this one, I alternated purple and white to match the stripes on Doc’s shirt.
Rapunzel from Tangled
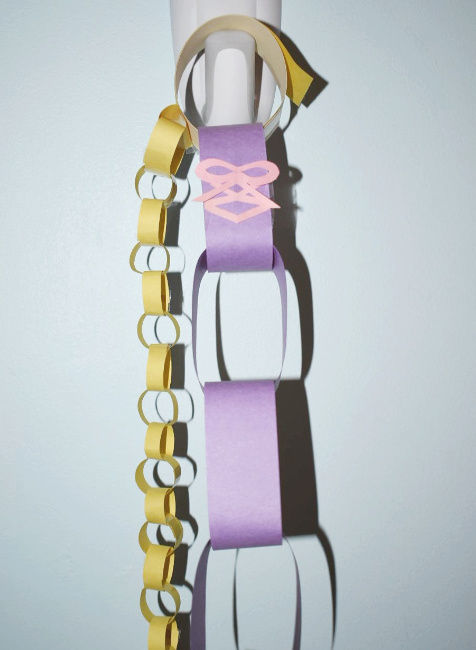
For Rapunzel’s hair, I put a strip of yellow over the top half of the head and then made separate small yellow links to create her hair. (They won’t rip these links, that’s part of Rapunzel!) To make them smaller than the rest of the chain, I cut smaller and shorter strips and attached them on one side of her head. I figure that you could add little flowers on them for bonus features if you want.
On her purple body link, I just cut some very small pink triangles and bow shape to look like the bodice of her dress.
Merida from Brave
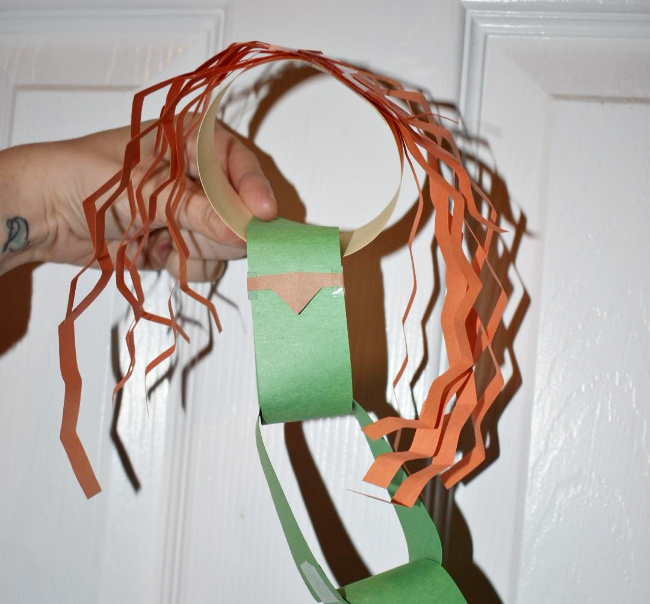
Merida was fun. To make her wildly curly hair, I cut up a bunch of skinny orange strips and then folded them all kinds of ways to create ridges that would look like curls. There was no real rhyme or reason to how I attached them to the head, giving it a fuller look!
I just put a little gold triangle shape in the center for the top of her dress but I feel like there should be more! I think Merida would prefer to be pretty plain though, that’s kind of her thing. Brave is one of my favorite movies, she’s such an independent woman!
Ariel from The Little Mermaid
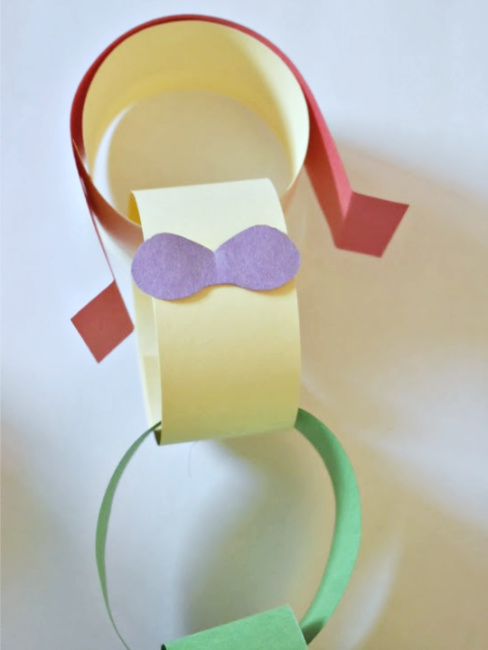
Even easier than the others is Ariel! I used one red strip for her hair and curved it at the ends a little bit to give her hair a wave. Then I folded over a purple piece to try and cut a symmetrical bathing suit top. Green links for her body!
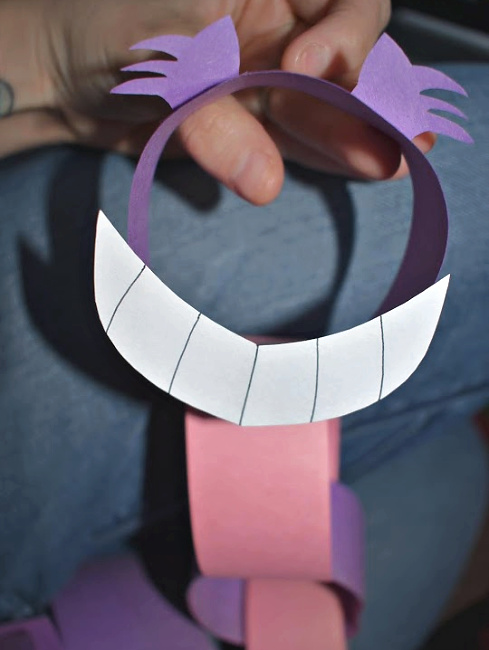
The Cheshire Cat from Alice in Wonderland (for me!)
I had to at least try to make a little one for myself! I used purple papers over top of each other to try to cut a matching set of ears and fur that’s on the top of his head. I used a piece of white paper to cut a crescent shape and cut a big smiling mouth! The chain alternates between pink and purple to show his stripes!
My husband’s favorite character is Wolverine and I swear, he just wanted to challenge me. I don’t really want to share that one because I don’t love it but if you’d like to see, I can add it in later. I made blue hands protruding from the body link with white claws sticking out and tried to fashion the designs on his face and body with small strips of paper.
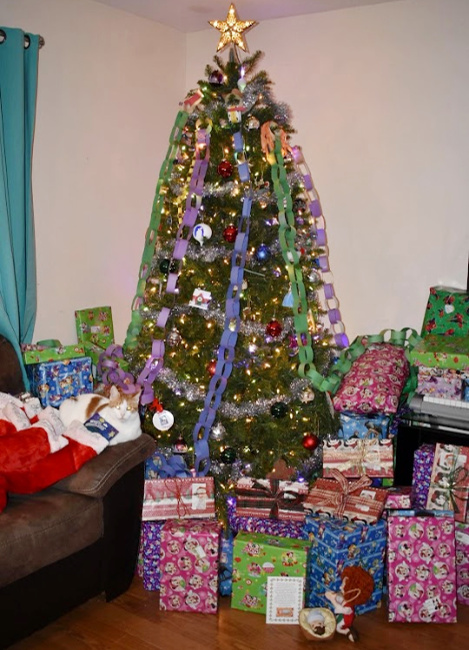
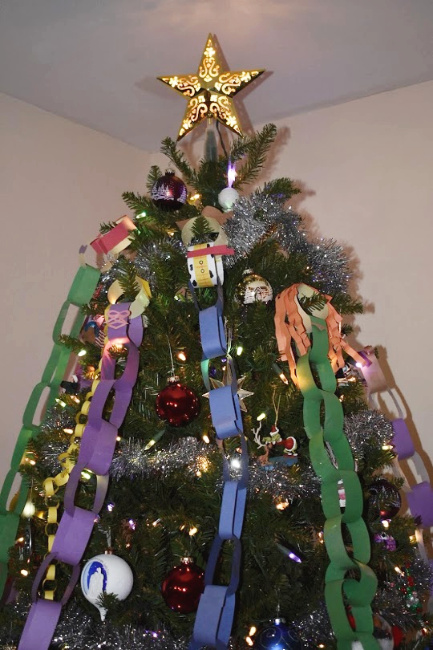
So every day, the kids rip off one of these links to show a day closer to their big Disney trip! Once they get to the character, it’s time! Have fun! The countdowns were a little surprise for my kids so I hung them all from our Christmas tree for Christmas morning and they looked as beautiful as I’d hoped!
Follow along with our Disney journey at #QuirkyQuestforMickey or here on the blog!
Which character would you make?
