I started reading the Harry Potter series when I was 11. My sister won Harry Potter and the Sorcerer’s Stone in her class and she was never a reader so she gave it to me and I was hooked. I encouraged my oldest two to read it and lucky for me, my second was all about it. She blazed through the books, starting in second grade and finished at the very beginning of fourth grade.
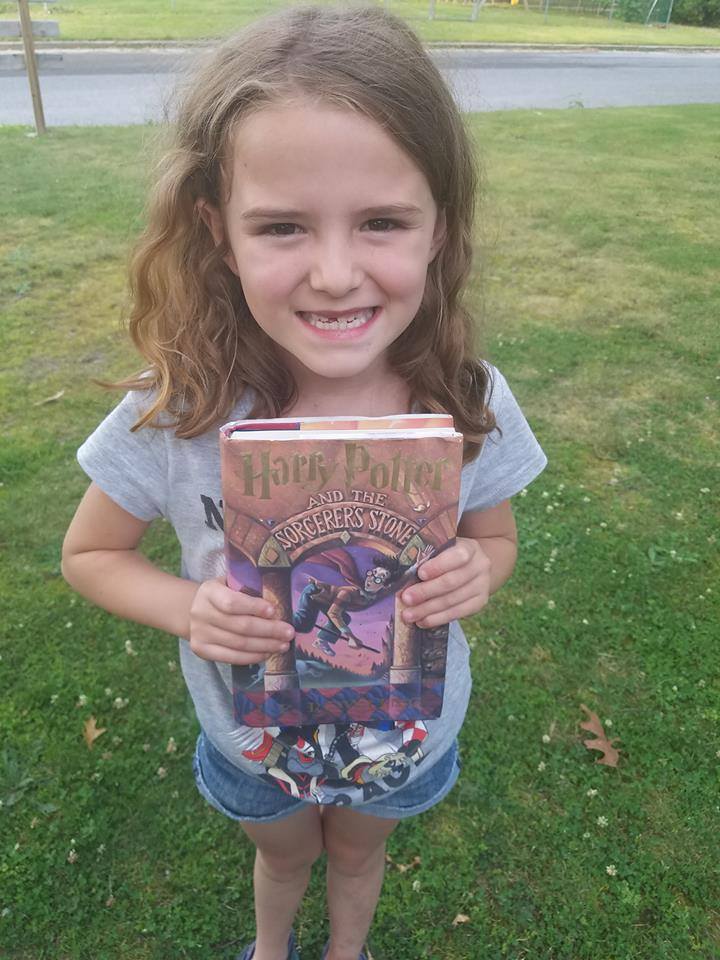 This is her after finishing the first book!
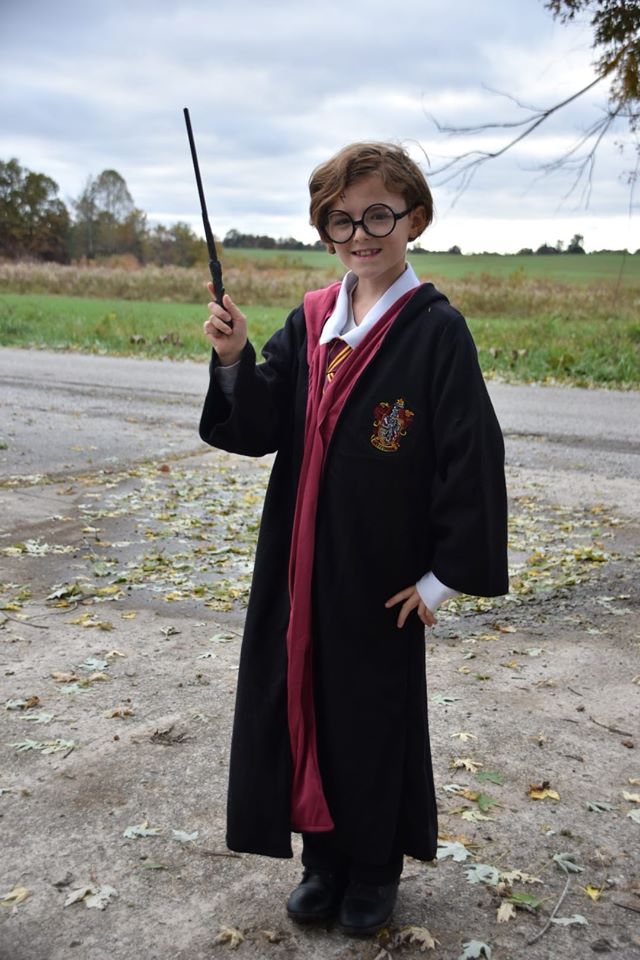
Now, she’s a hardcore Gryffindor who uses her allowance on butterbeer (Books-A-Million sells it, you guys!) and dressed as Harry Potter for Halloween.
Needless to say, I was over the moon excited when she told me she wanted to have a Harry Potter skating party for her 10th birthday. I’m a creative gal and I had a million ideas spinning around my mind! The only thing is that’s a lot to do and I’m not exactly Suzy Homemaker with the aesthetically-pleasing baked goods, at least not yet. I tried to make a simple castle once and it would have easily went viral as a Pinterest fail. So I decided to start small, with things like boxed mixes and pre-made whatever. I’m happy to report that it turned out beautifully and now I want to share it with you!
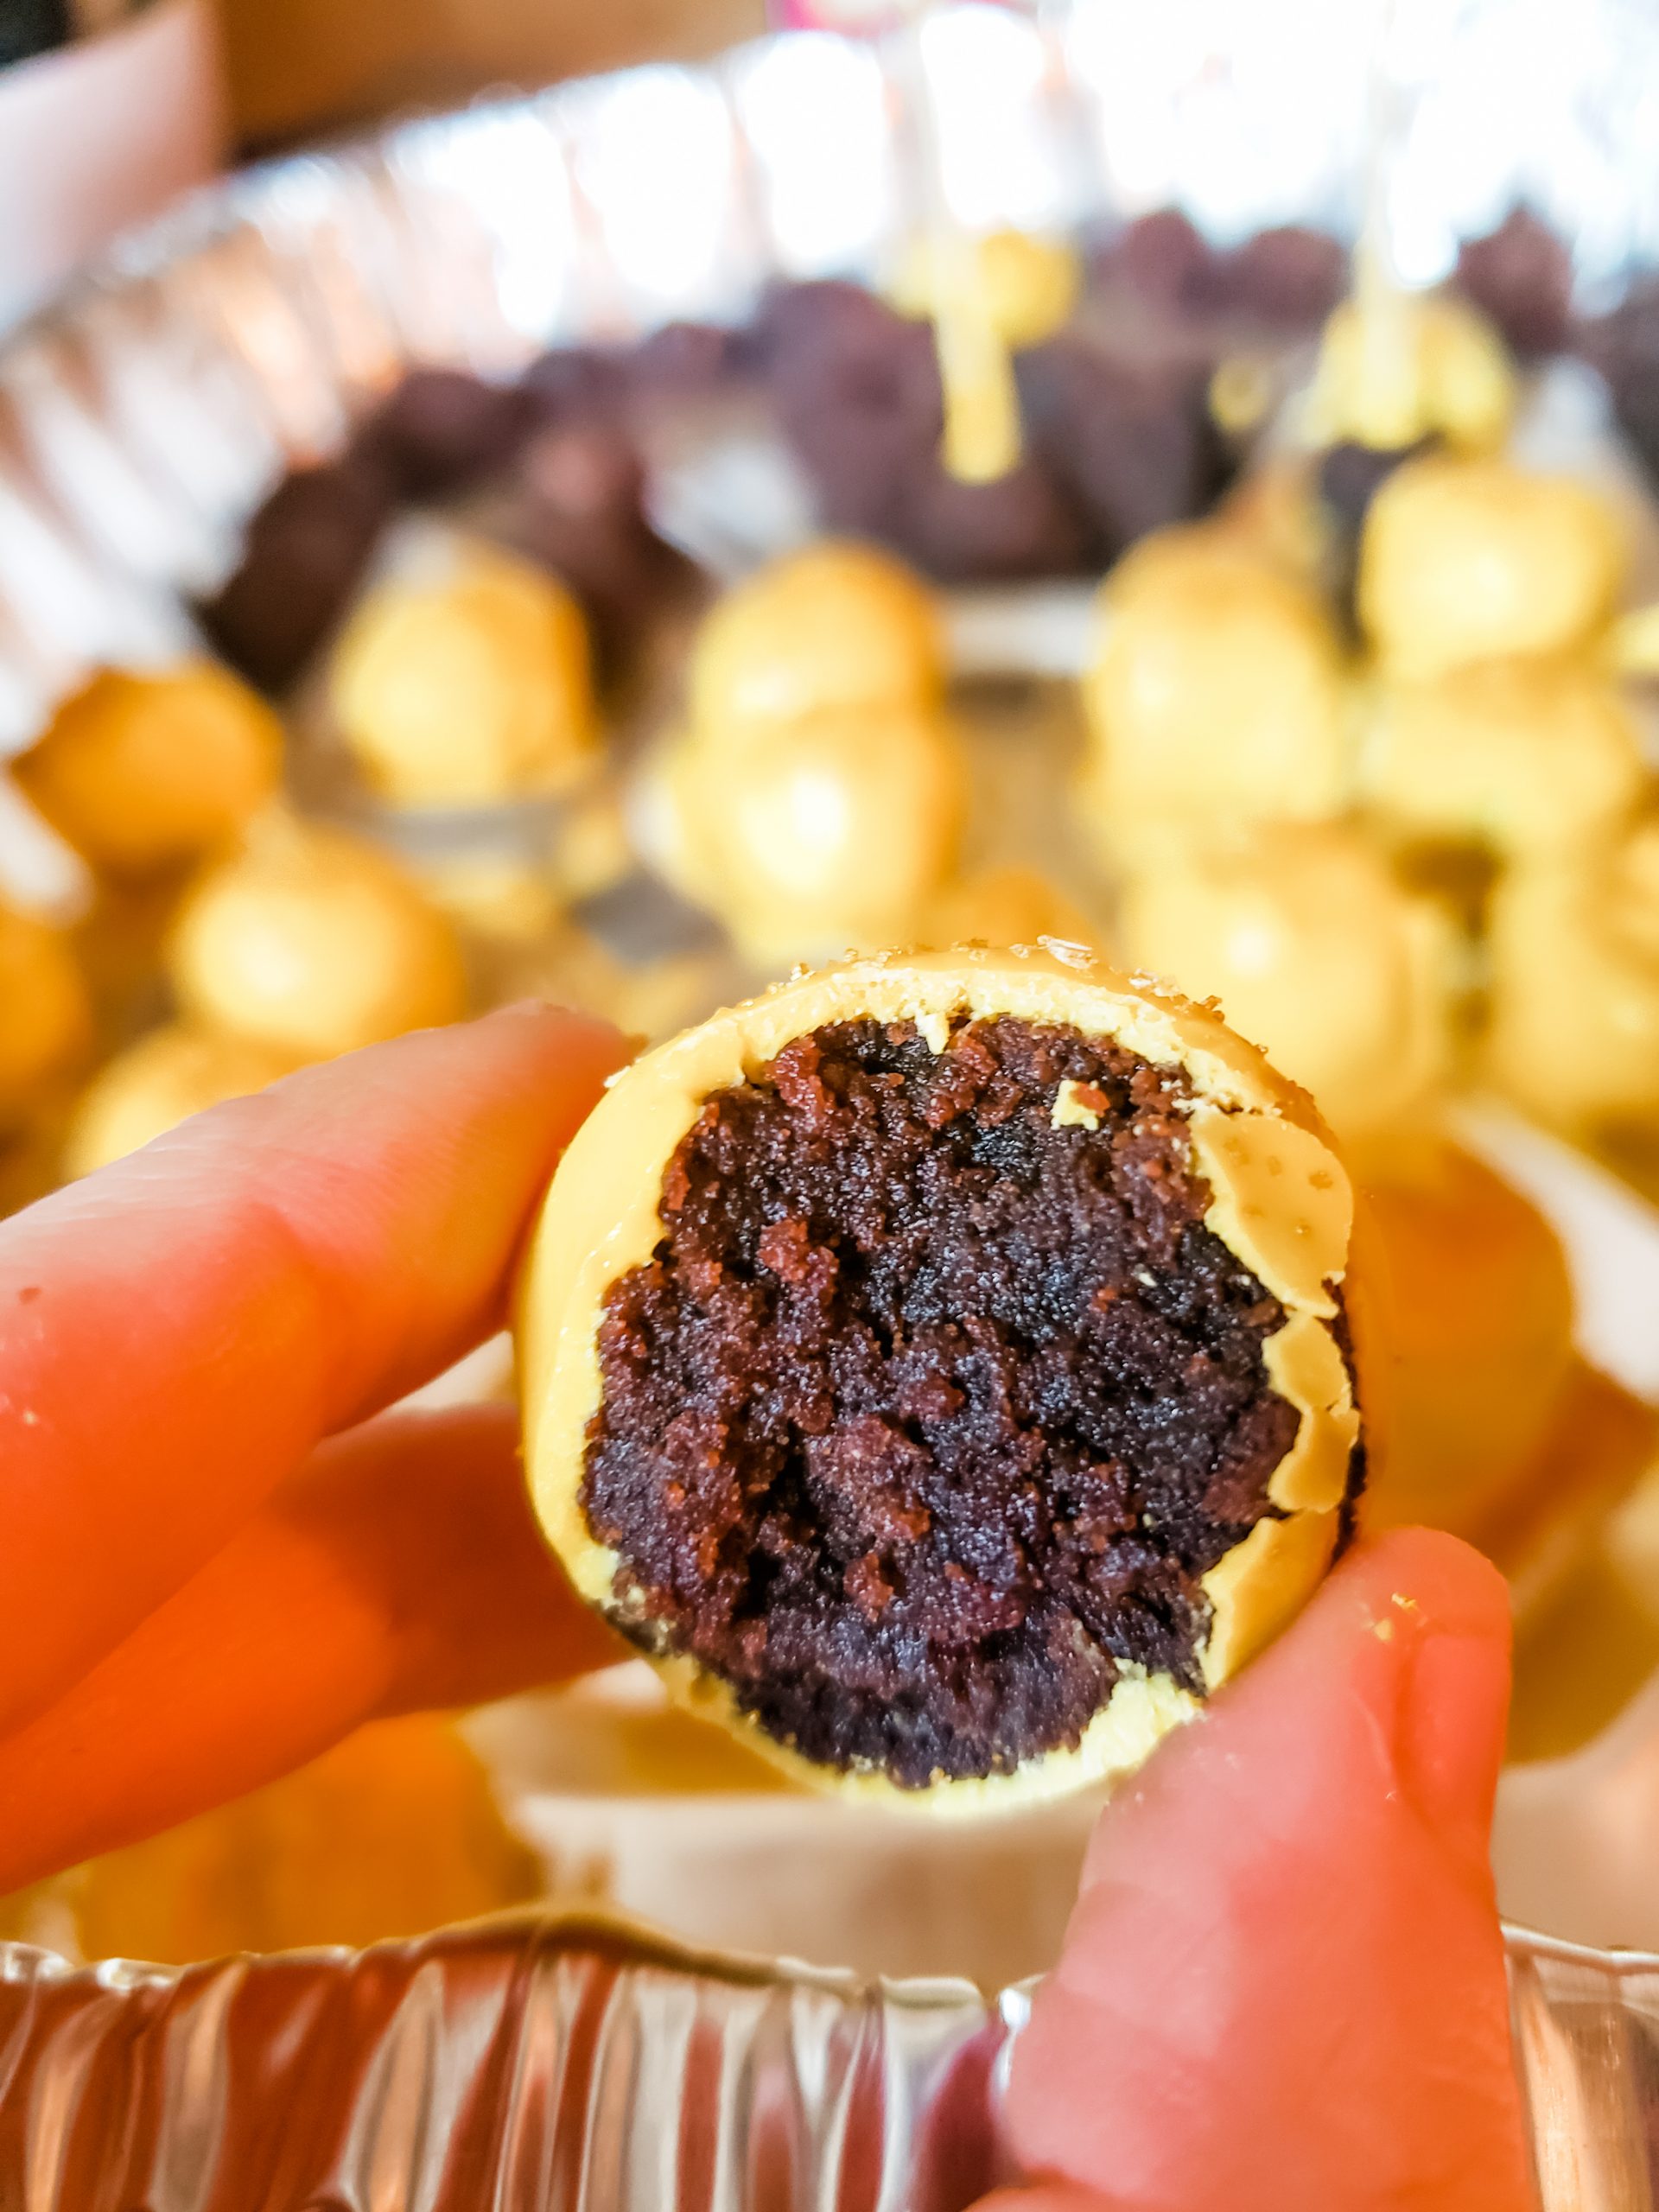
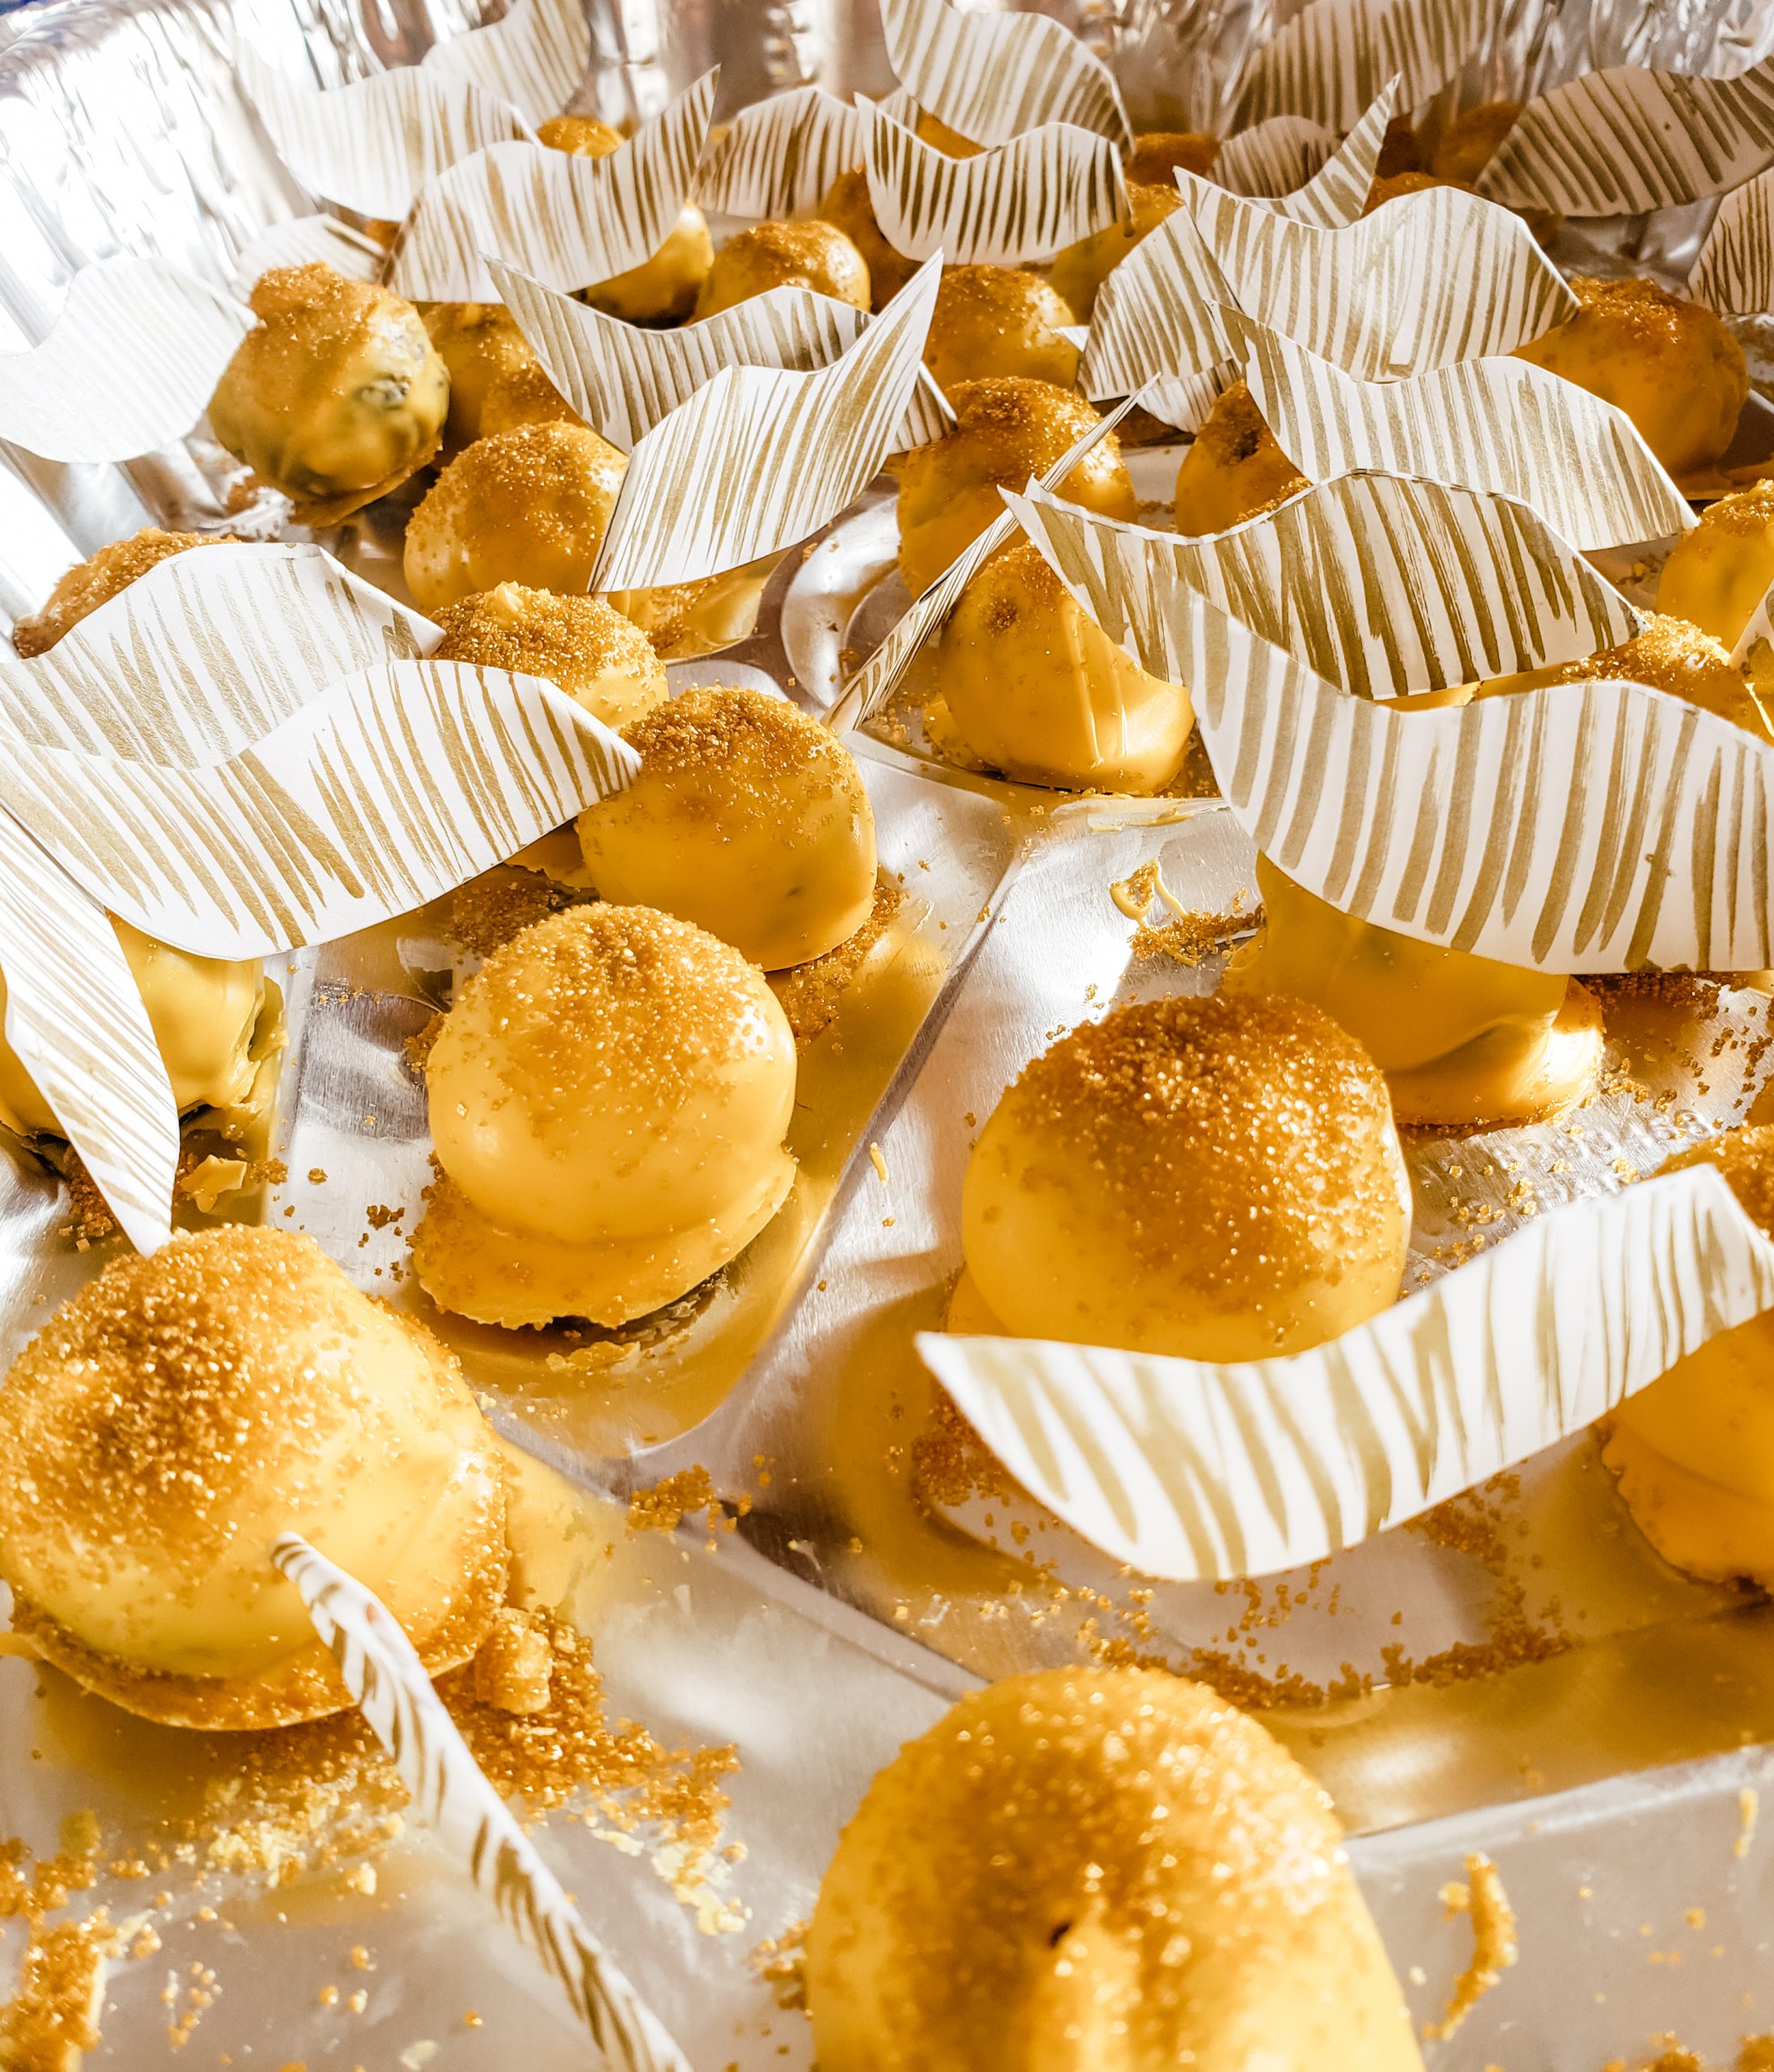
Golden Snitch Truffles
I’ve made truffles before so this time, I felt like a pro. Now, you can do this using cake or even cookie dough, but we were all about the brownies.
Here’s what you’ll need:
One box of brownie mix and its necessary ingredients
Yellow candy melts
Gold sugar or edible dust (I’ve never liked the taste of the dust so we went with sugar)
Store-bought wings like these (which will be useful in other Harry Potter projects, we’ll talk about that in a later post!)
OR a gold Sharpie, white paper, glue stick, and toothpicks (I found that I liked the look of this so much more than the “real wings”)
A stick or two for dipping
Parchment paper
Directions:
- Make the boxed mix as directed.
- Once the batch of brownies has cooled, take small portions and roll it into a ball of the preferred size.
- Melt your candies.
- Use the stick coat your brownie ball with the candy. Swirl it around and really cover it with the melted candy.
- Line up each ball on a sheet of parchment and slide the stick out, using the end to drip the chocolate into the hole it left. Let them harden.
- While the candy is hardening, fold over a sheet of paper and cut out the shape of a wing. You don’t need to be artistically inclined, this can just be a leaf shape.
- Draw small gold lines across your wings, then swipe your glue stick along the inside.
- Tuck in a toothpick toward the middle and fold the wings back up.
- Once dry, stick these toothpick wings into your snitch truffles at an angle.
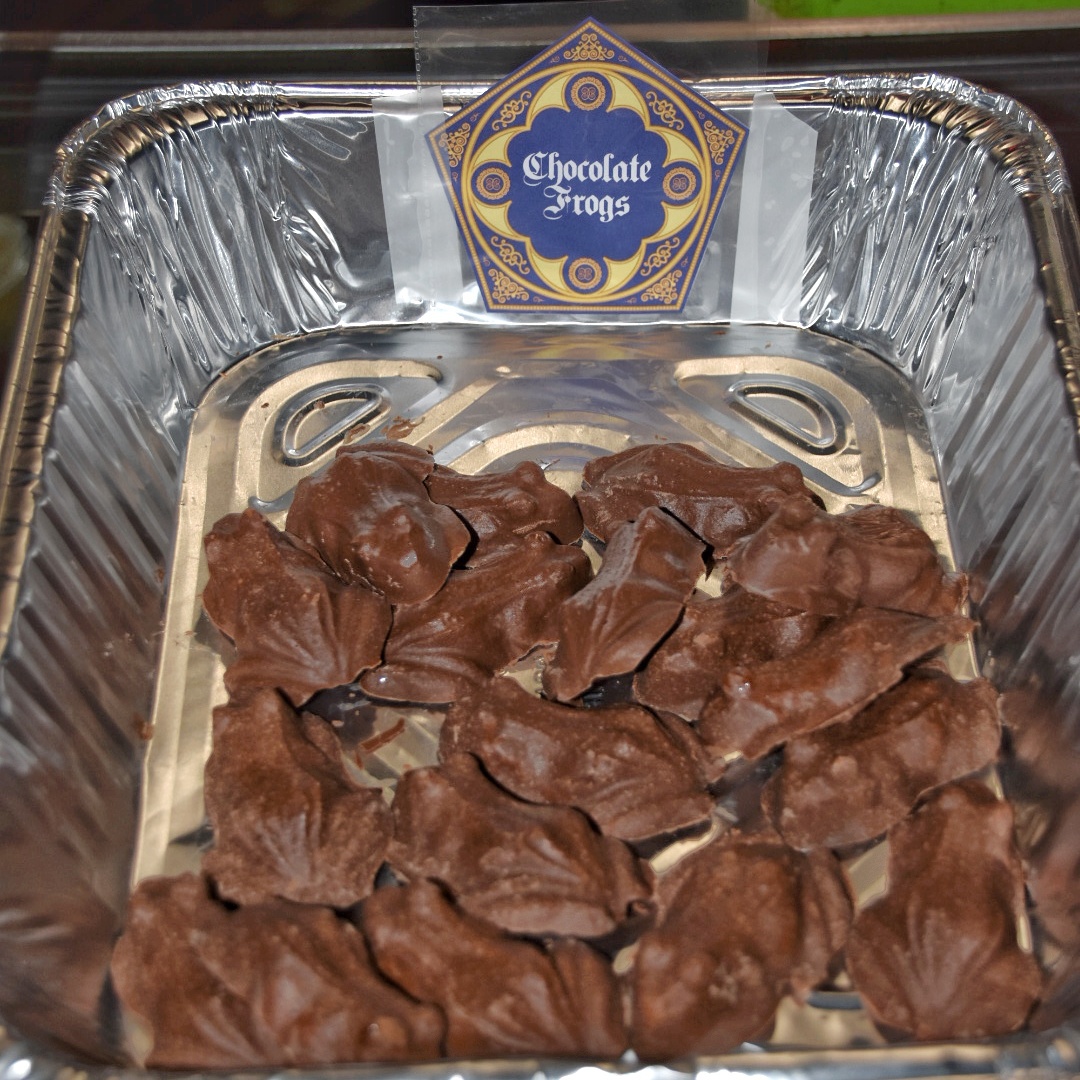
Chocolate Frogs
This one is way too easy! All you need is a a frog mold like this one and melting chocolate. We used store brand milk chocolate chips. For the chocolate frog sign, you can print this.

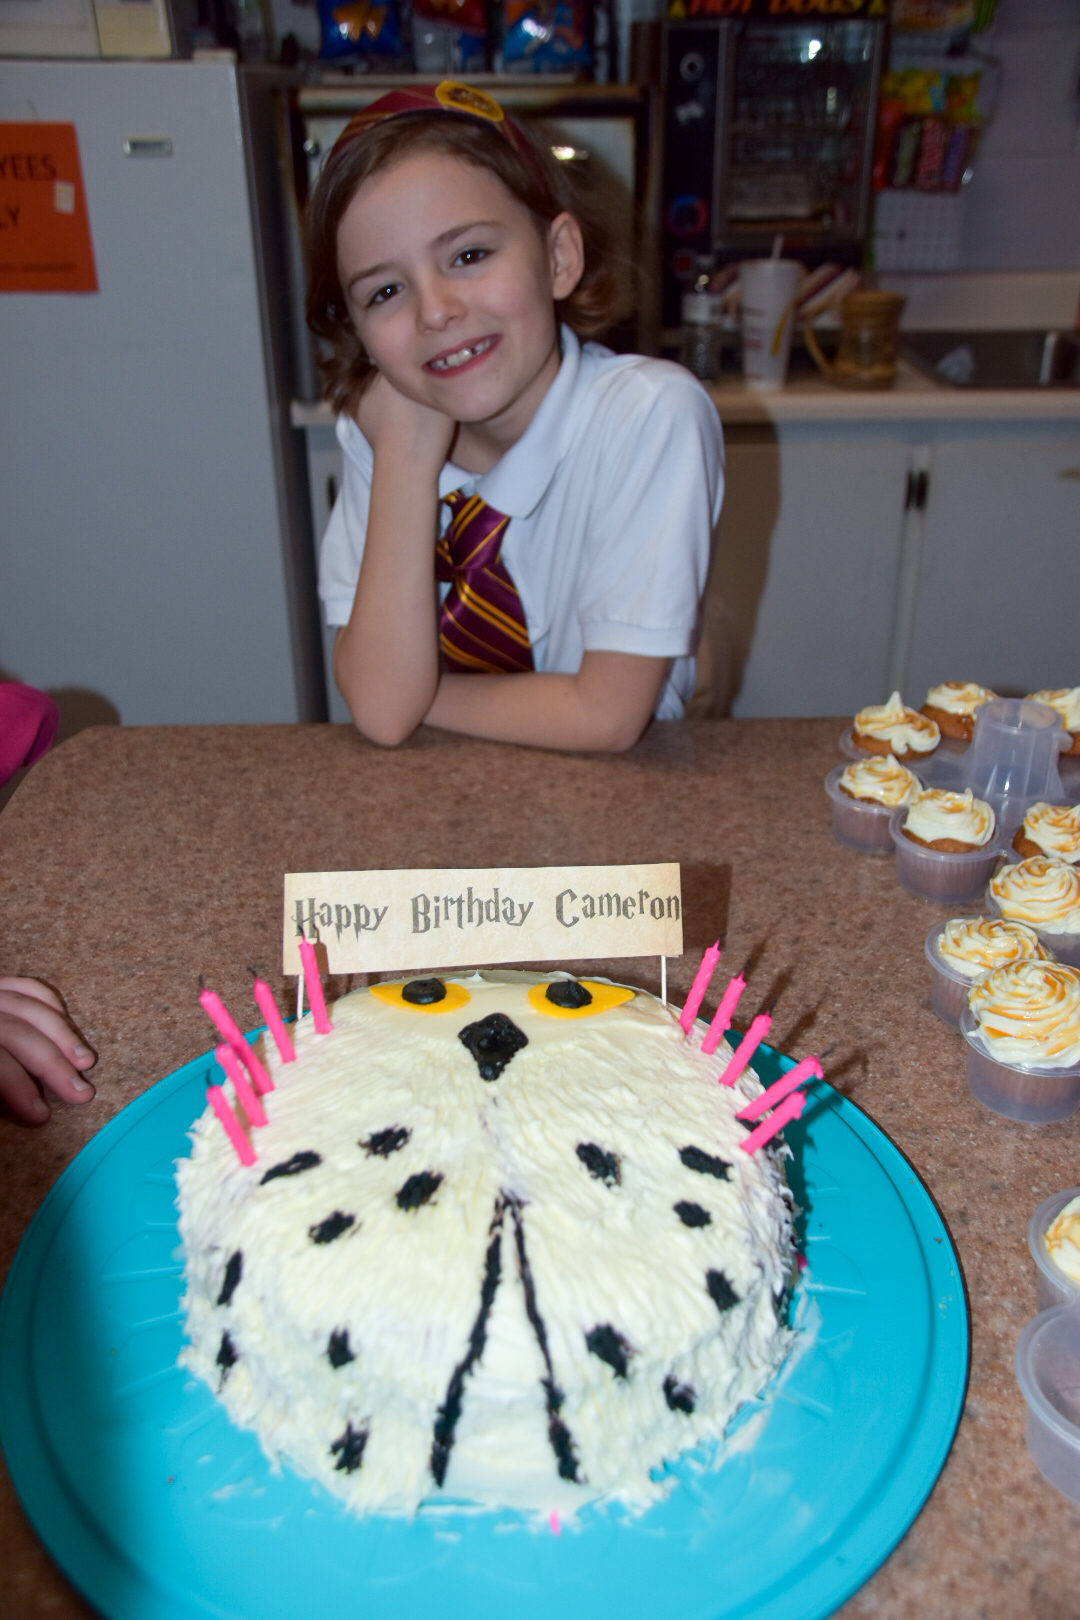
Hedwig Cake
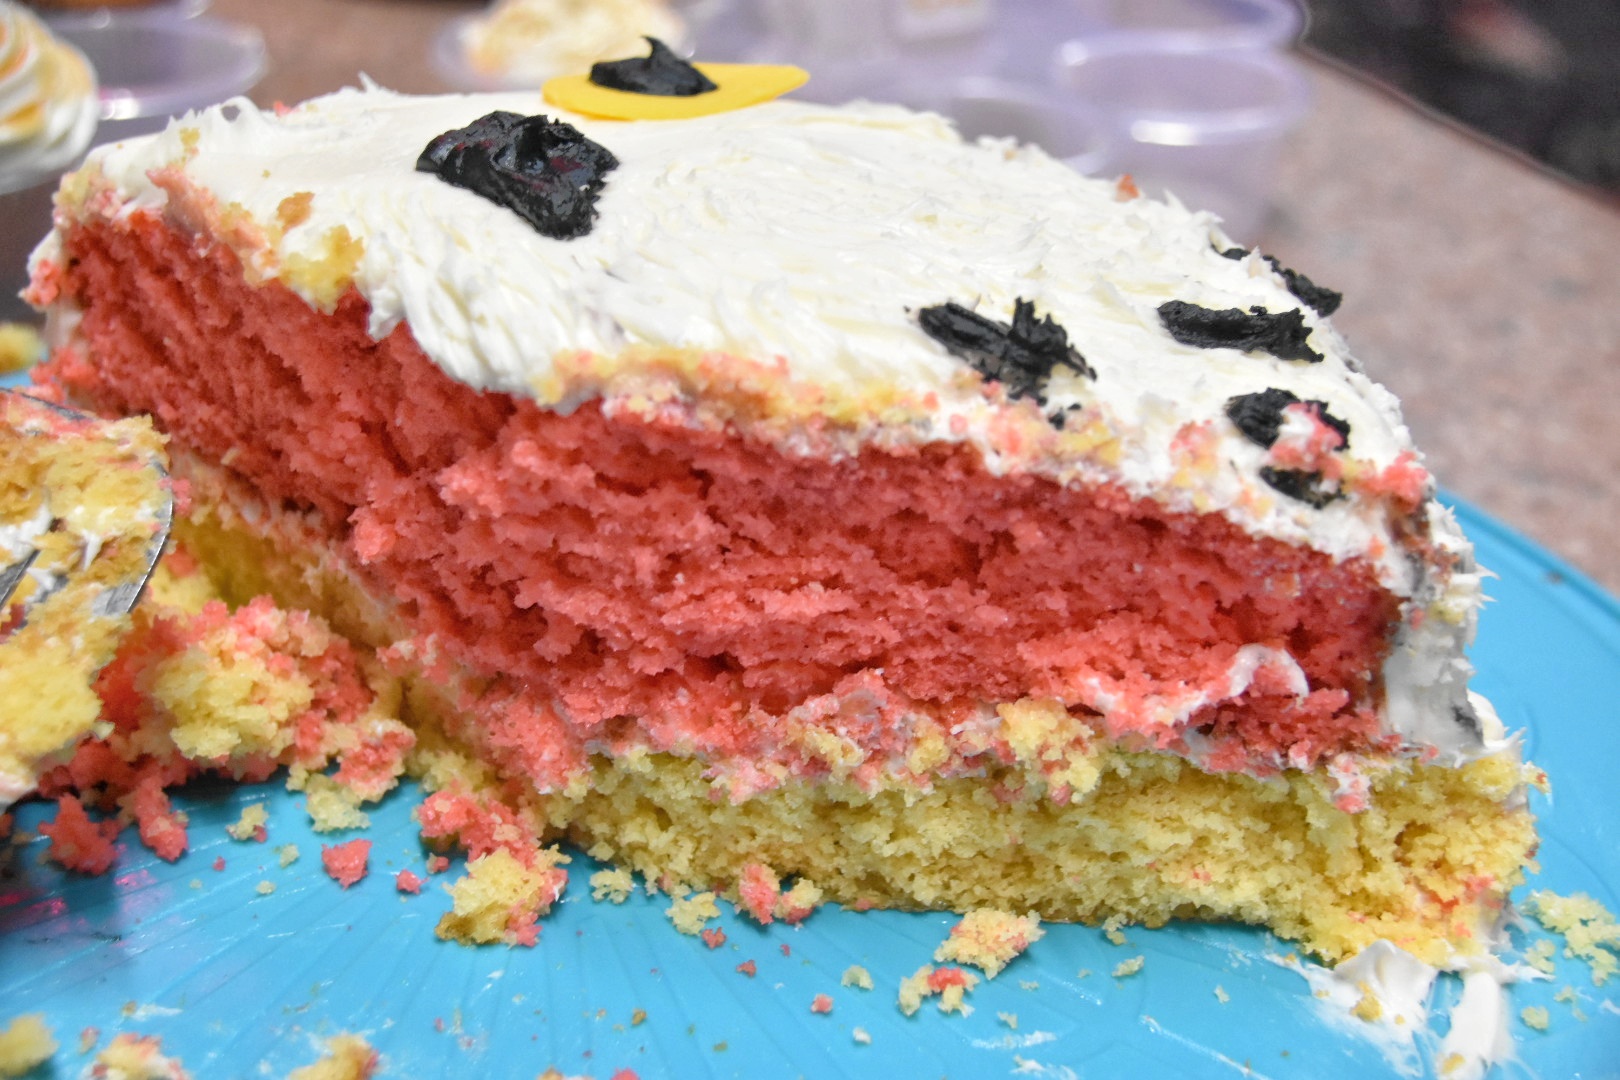
For a two-toned cake in the color of your preferred Hogwarts house, you’ll need: A box of light-colored cake mix and the correct food coloring colors for your house. (We used a strawberry cake to which I added some red and a yellow cake which I left as is. Then we had leftover mix for cupcakes.)
White frosting
Small black decorating frosting
Yellow frosting or a small amount of yellow candy melts
Directions:
- Fill your two 8-inch round pans with your colored cakes and bake as directed. For best decorating, I’ve learned that FREEZING the cakes once they’ve cooled seems to work me wonders.
- Start with a “crumb layer” of frosting. This layer grabs all of the free crumbs and contains them like a glue. It’s great. Wish I’d learned about it sooner. Anyway, put it in the fridge for about twenty minutes.
- Now you’re ready to do the fun layer! My favorite part about a cake like this is the frosting doesn’t have to be perfect because of what comes next.
- It’s time to create the look of feathers! You want a shape that allows for a smooth head too, something kind of like this (\/) and underneath the V-shape will be all of the feathers. So take the fork and lightly glide down at an angle.
- After the feathers have their look, use the black decorating icing to make scattered little dots like Hedwig’s, as well as a black beak at the top of the wings.
- Create an eye shape with yellow frosting or draw it out with yellow candy melts. I used leftover candy melts from the golden snitches. Then dot your eyes with the black and voila!
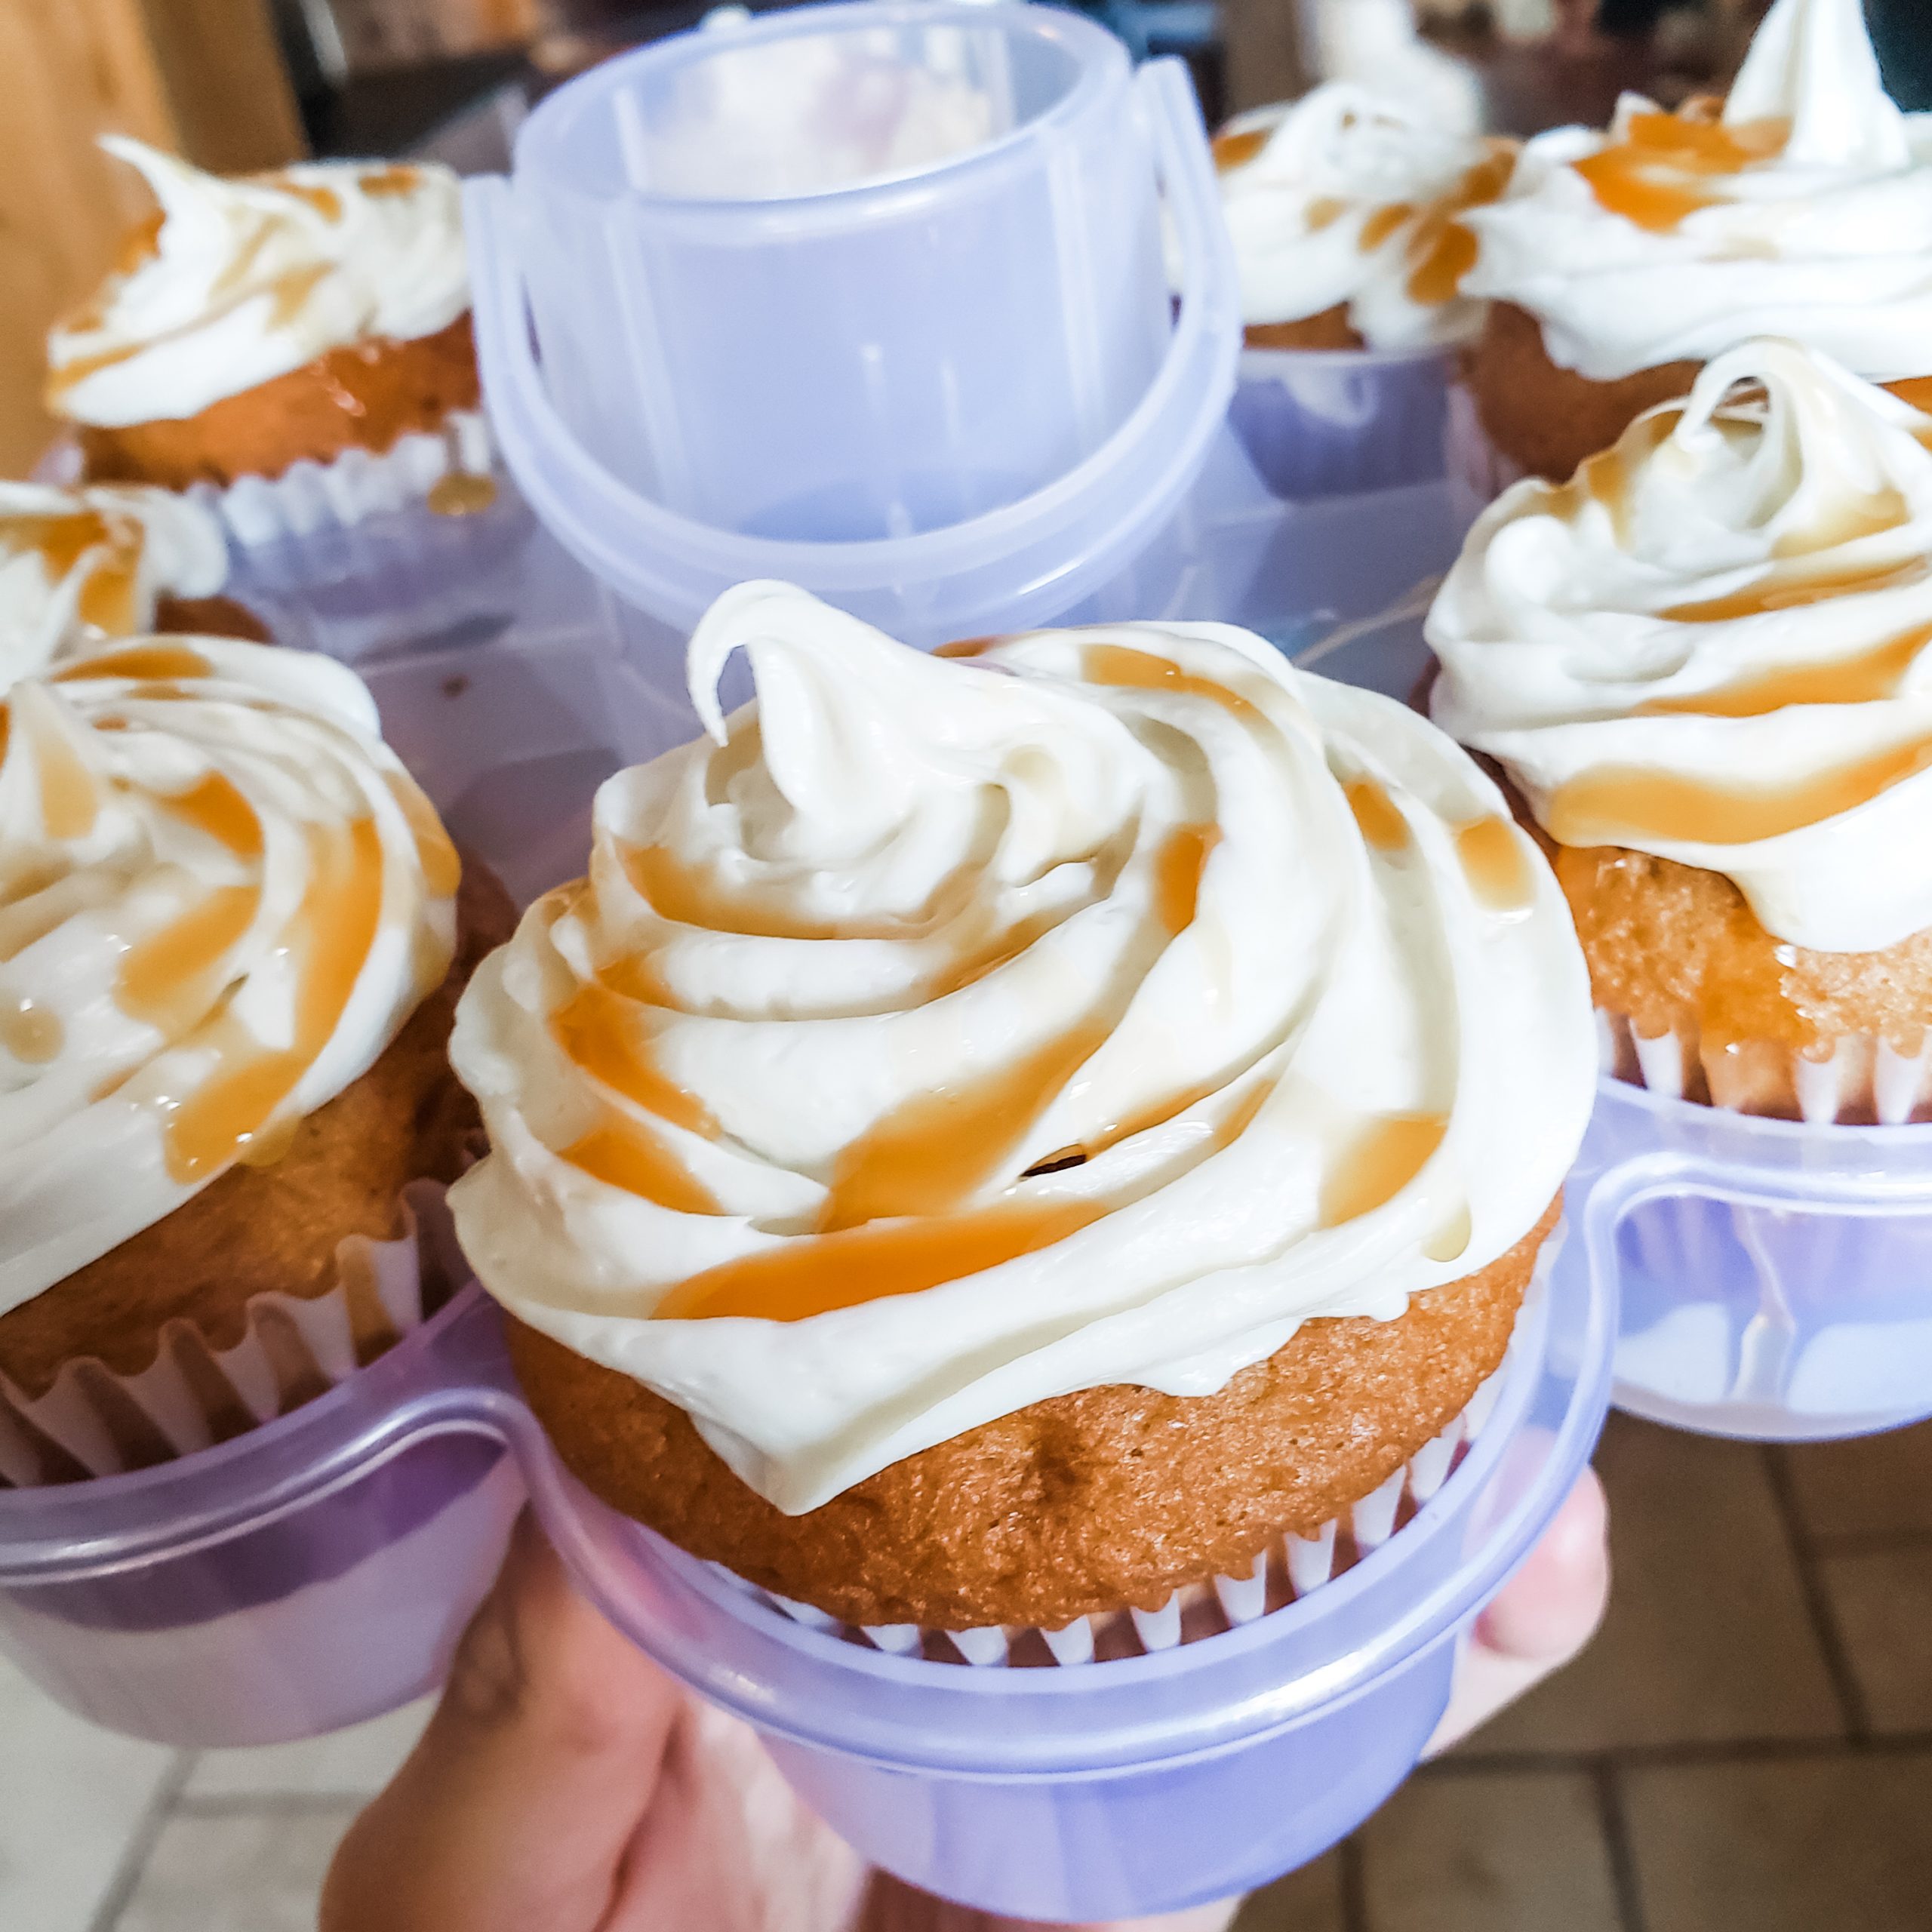
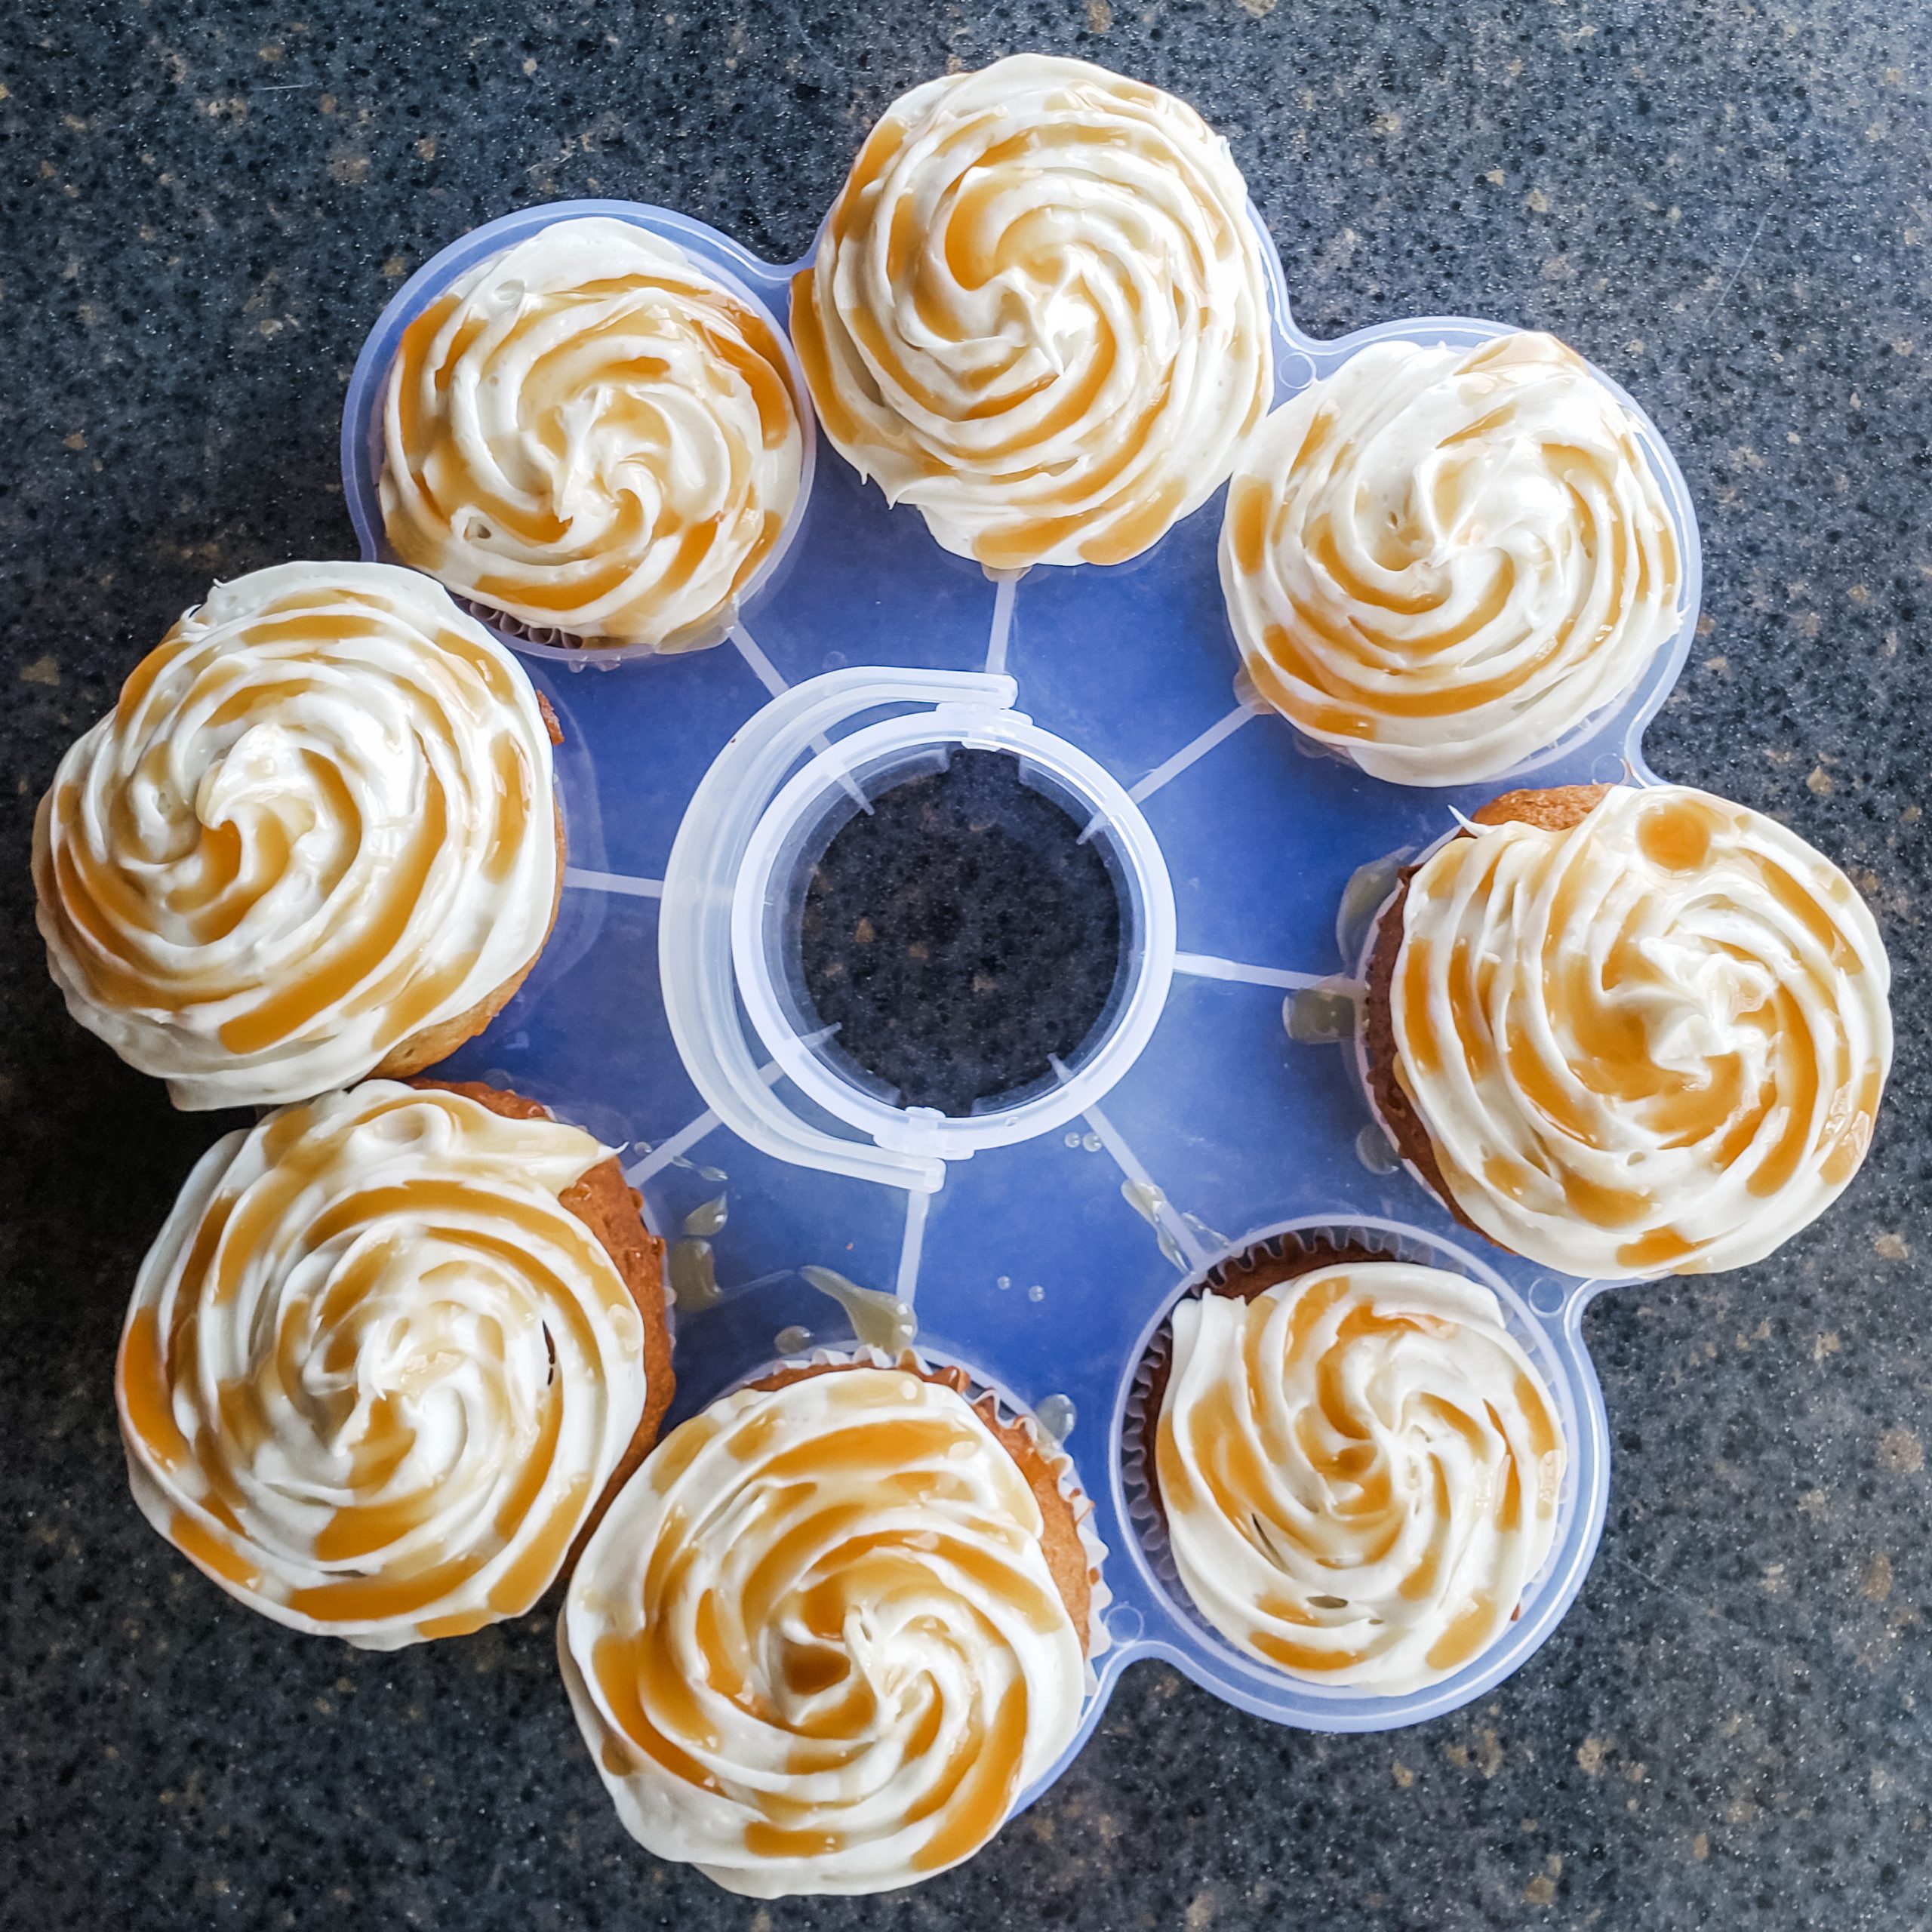
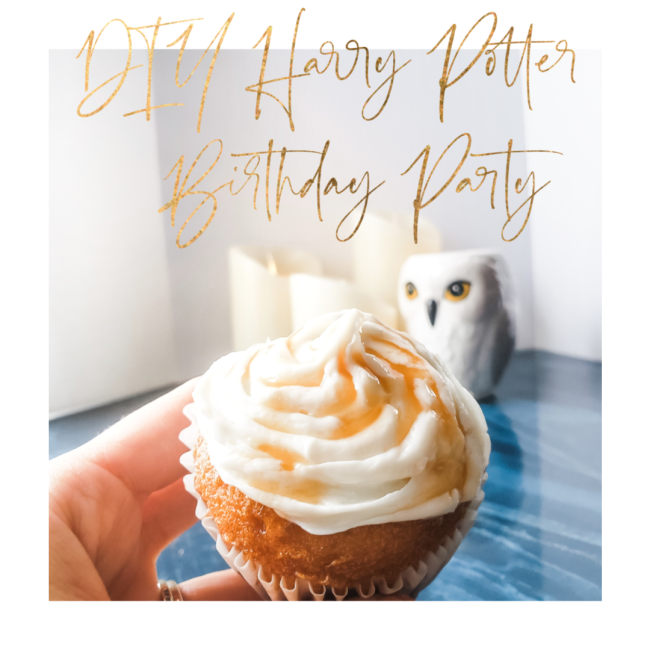
Butterbeer Cupcakes
Here’s what you’ll need:
Cream cheese frosting (I’ve tried all kinds of piping bags in the past and I always manage to mess them up. I found these to be the easiest things ever!)
Butter pecan cake (I used this one!)
Butterscotch syrup (This one was great but this one might be better!)
Directions:
- Make cupcakes as directed.
- Once cooled, pipe frosting swirl on top.
- Drizzle with butterscotch. IF you use the sundae syrup, take the lid off an use a spoon to drizzle. The sundae bottle pops too much out at once otherwise.
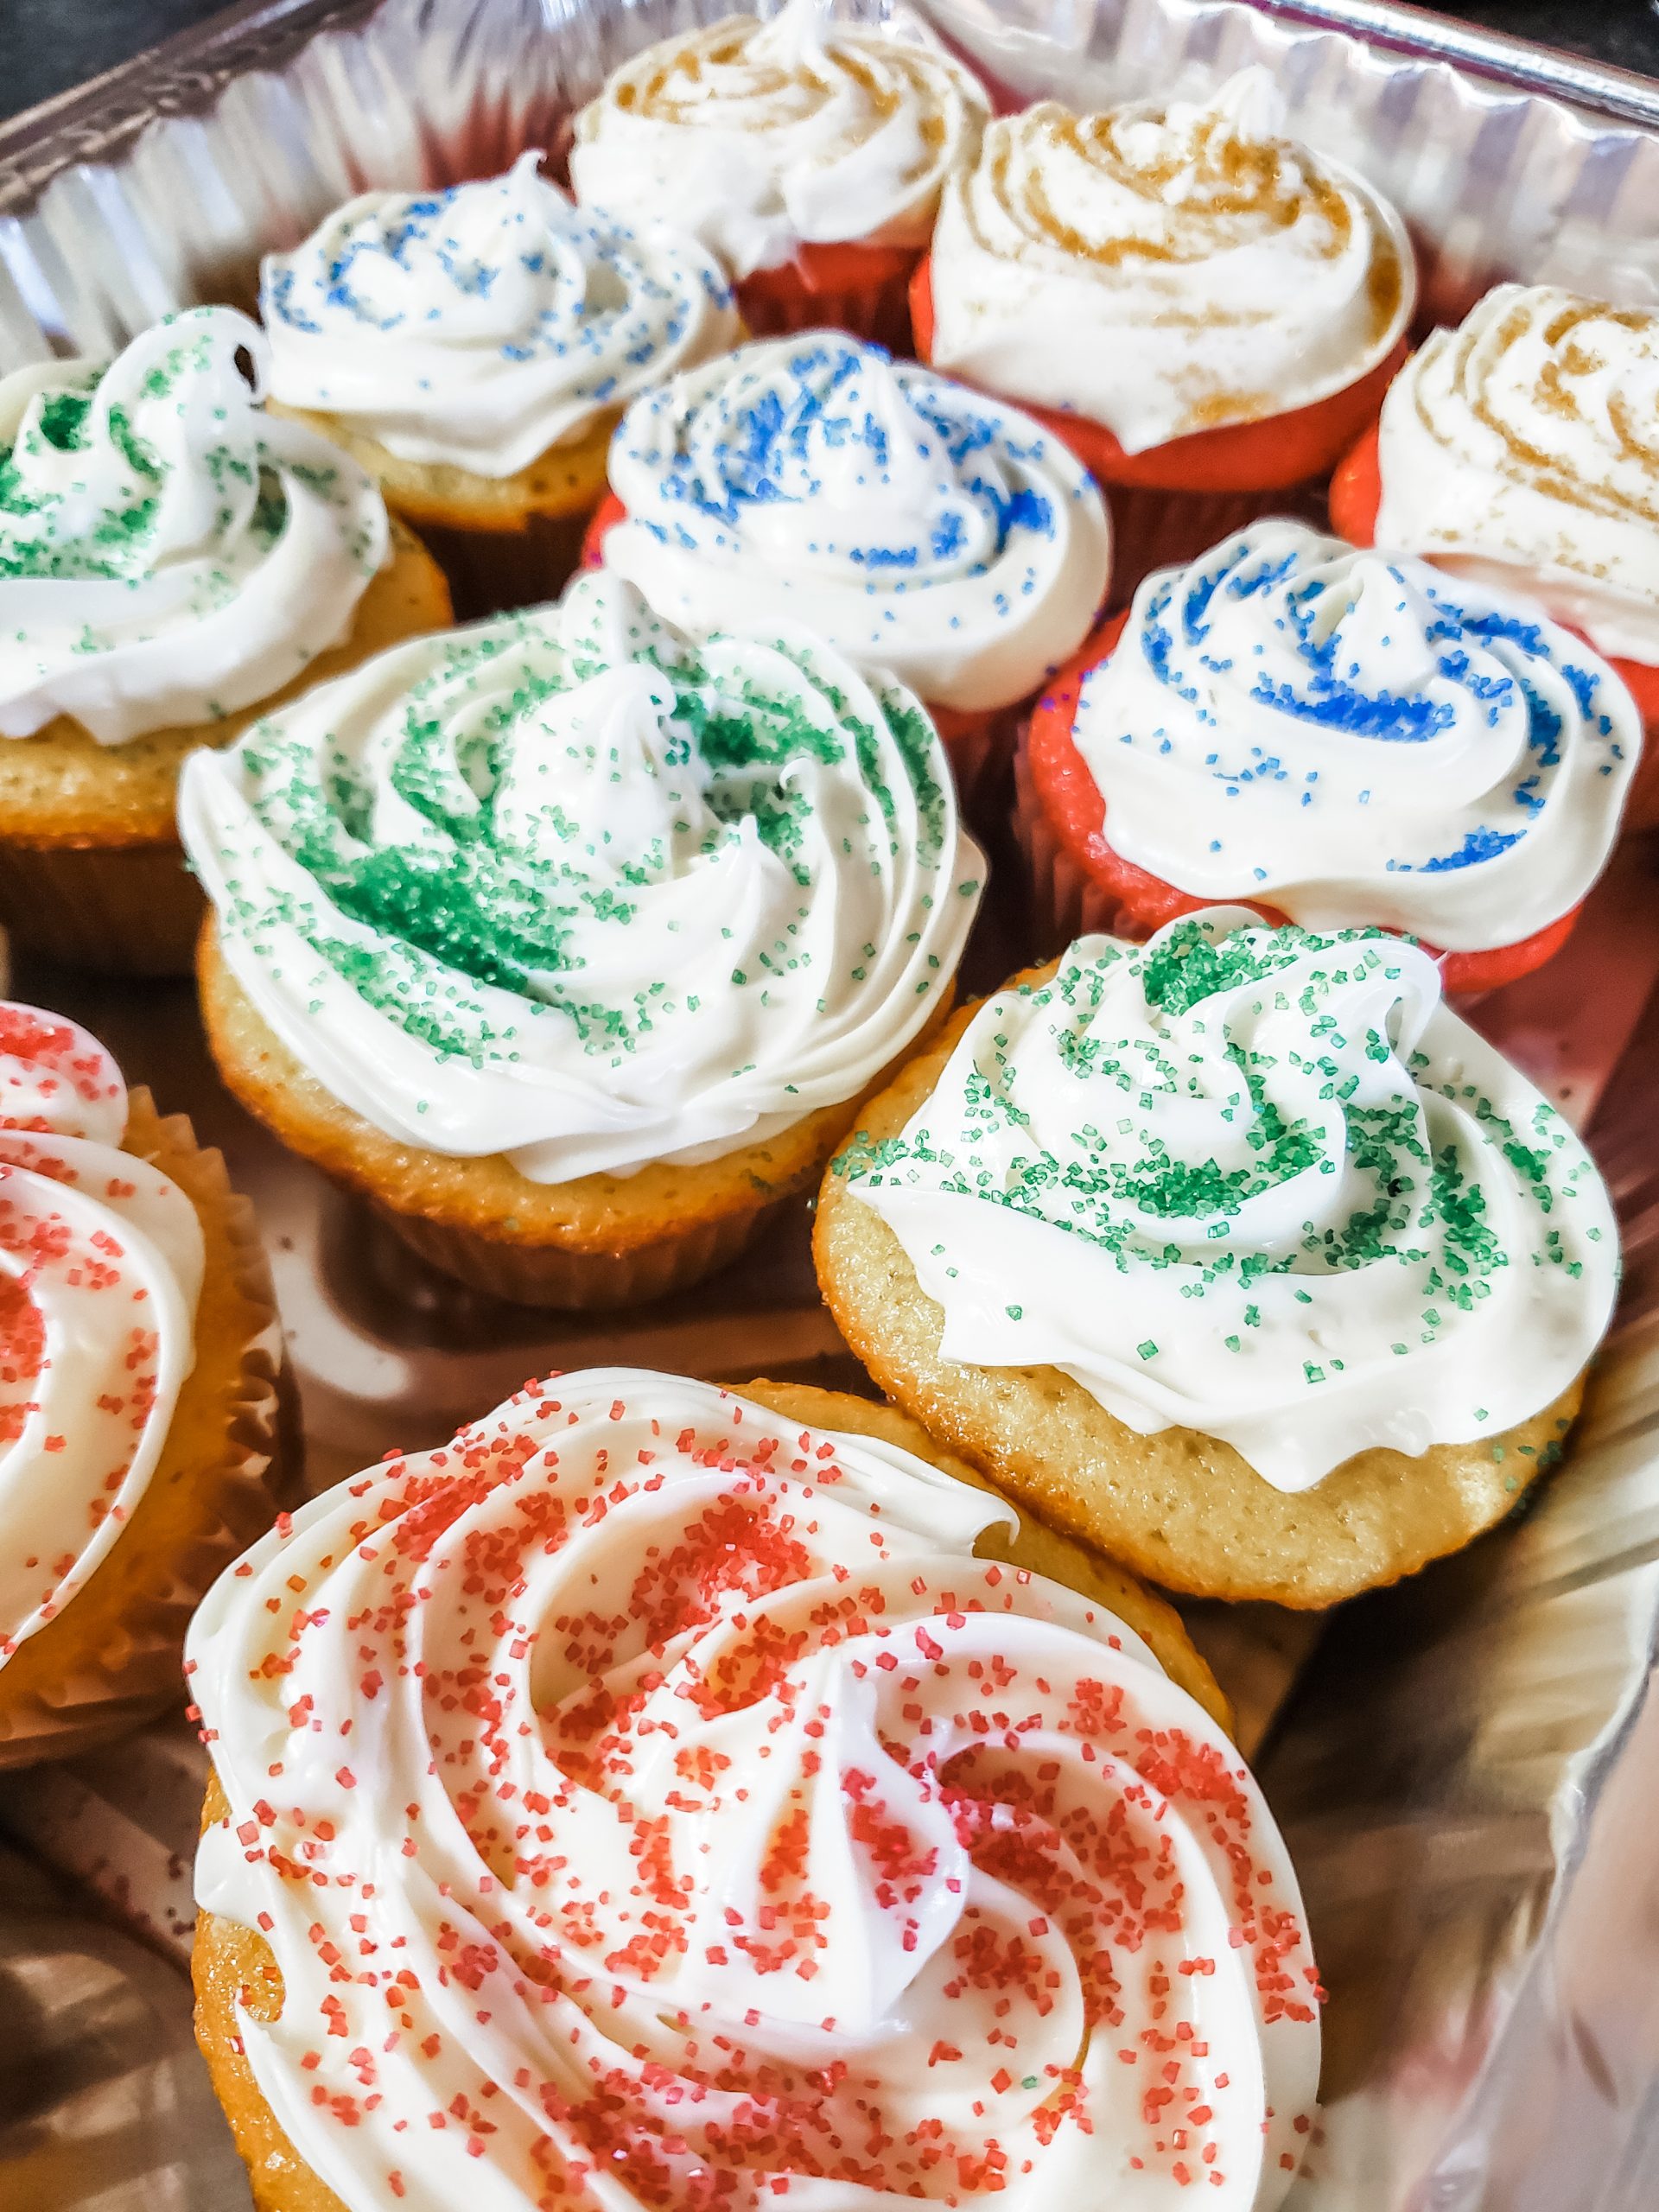
Hogwarts House Cupcakes
You can do this one all kind of ways. You could swirl the house colors in the actual cupcake mix so that the inside of the cupcake is multicolored. Maybe you could pipe some frosting inside of the cupcake to give it multiple colors. All I did was use yellow and strawberry cake to color my cupcakes, pipe with yellow, and drizzle with Hogwarts houses colored sprinkles. I wanted to add little chocolate embellishments but the kids wanted me to leave them as is.
Gummy Slugs
I’ve had the actual Harry Potter gummy slugs and I don’t think they taste very good. A fun alternative is to actually use gummy worms and label them gummy slugs. Same theme, better taste!
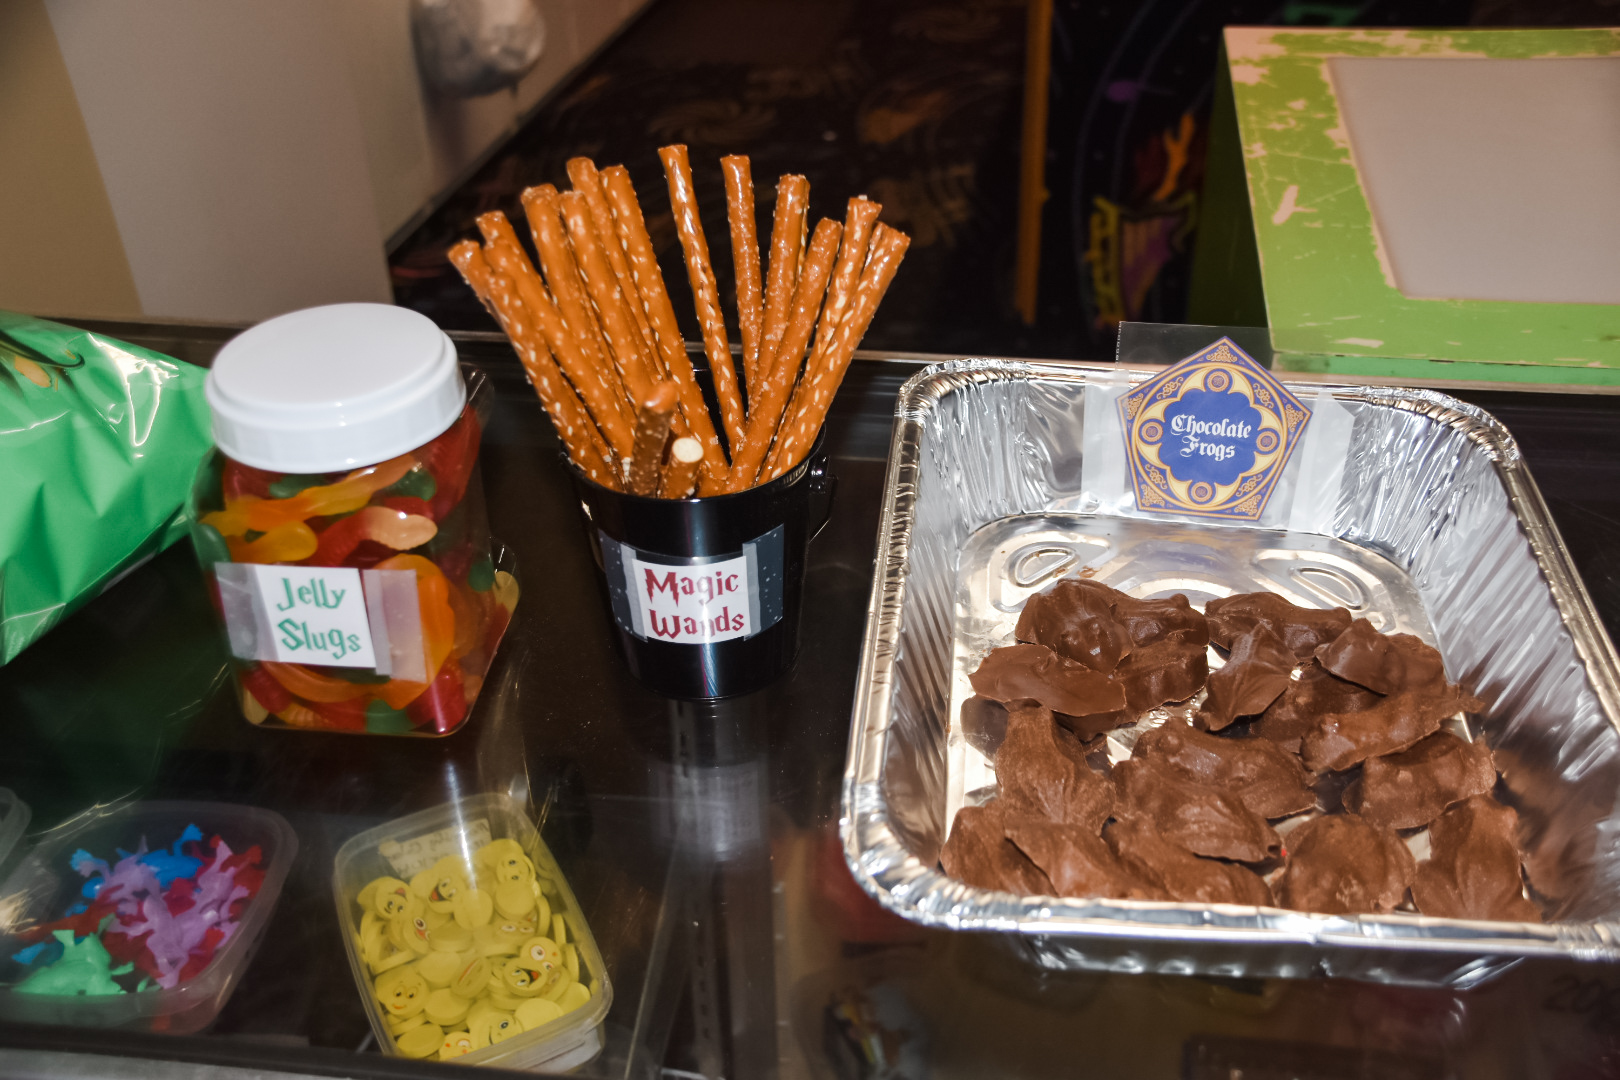
Magic Wands
Pretzel rod wands! Easy peasy and can be more fun if you dip the ends in chocolate and then drizzle House color lines across them. Bonus for sprinkles that match the house. I didn’t do this because I felt like we already had more than enough sweets!
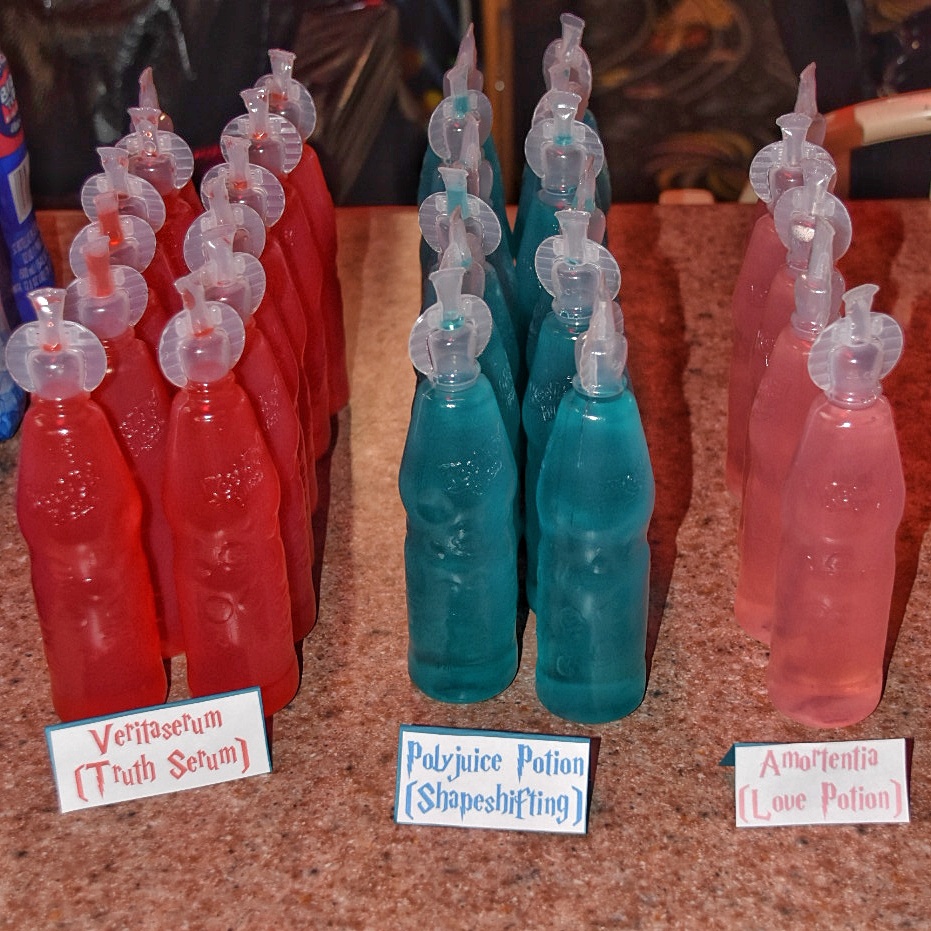
Potions
There are probably several different juice brands that would work for this one, like Little Hug or the ones we used, Kool-Aid Bursts. My husband even suggested just dying water in the water bottles but I didn’t want to open up people’s drinks. The more variety of drink colors, the more potions you can incorporate. We did Polyjuce Potion, Veritaserum, and Amortentia.
Signs and labels
The signs for all of your treats are SO easy! Download the free font “Harry P” on DaFont and install it. Print them, laminate them, whatever you want. You could use a Cricut to cut them out all fancy but I didn’t have that kind of time or patience.
Overall, this party was very easy to throw together and there are a million ways to customize and add to it. I didn’t do any party activities because it was a skating party and only two hours long, so the kids were more than occupied with that and the arcade. You could play pin the scar on Harry Potter, decorate a dollar store Mirror of Erised, maybe even a game of Quidditch.
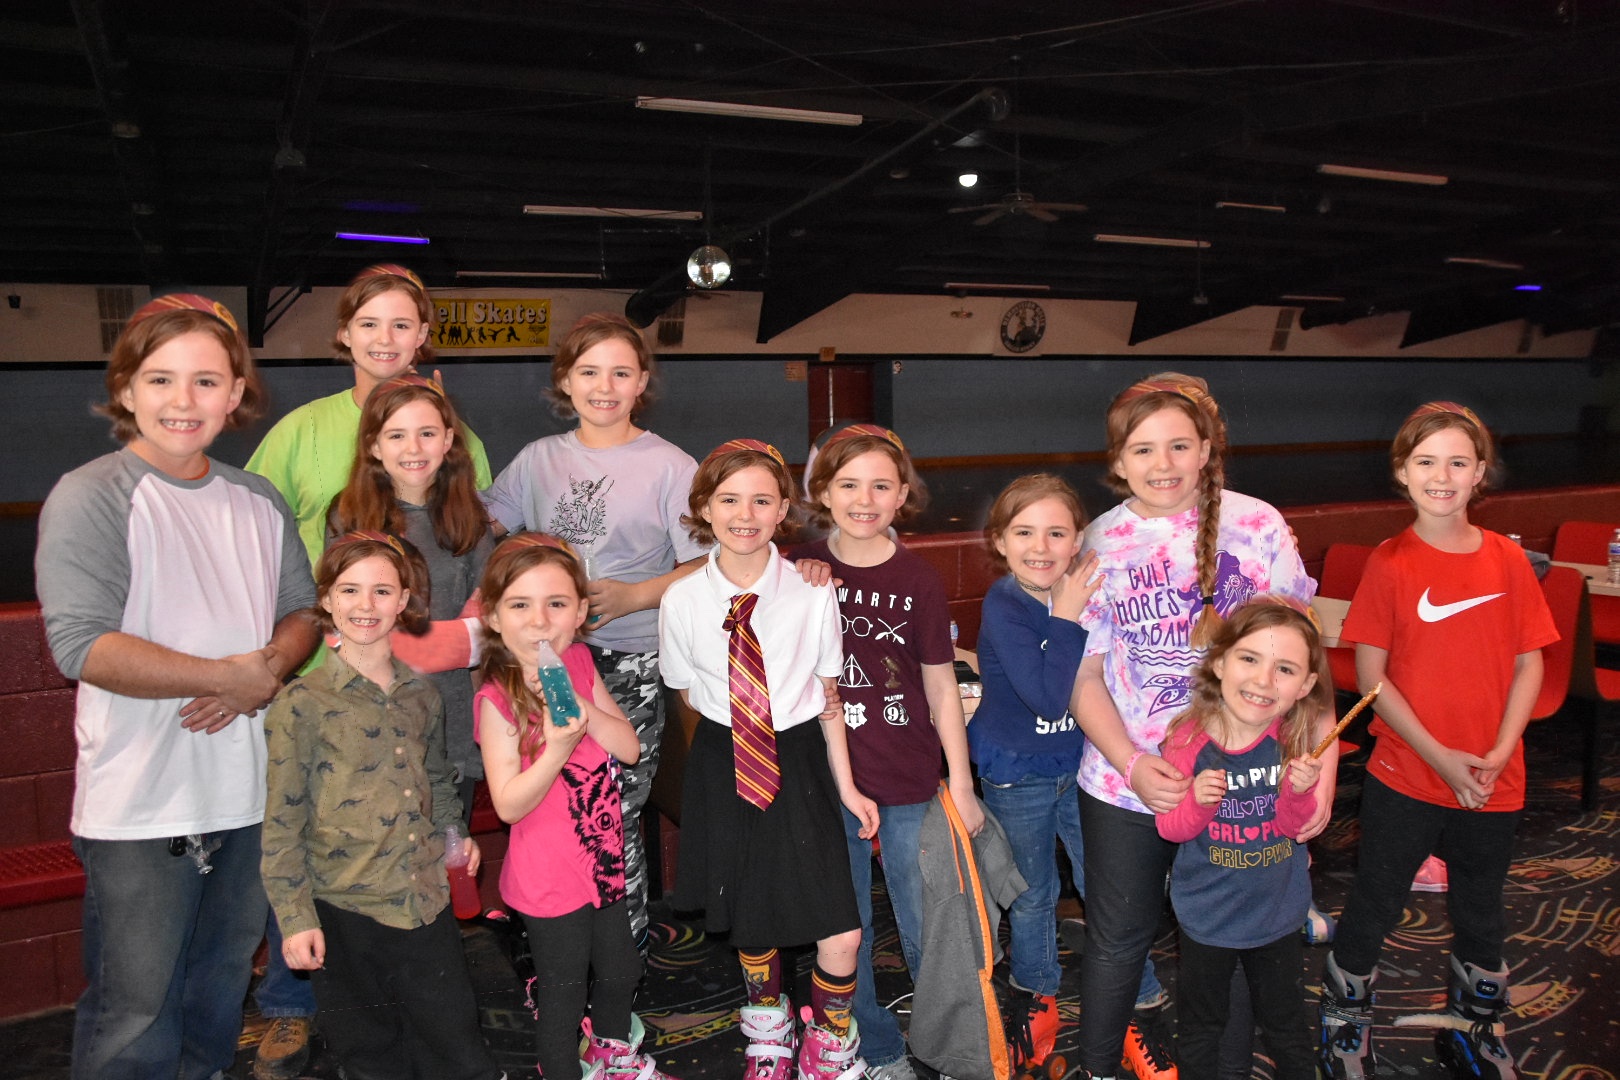
I even took a fun post-Polyjuice Potion picture where everyone had turned into the birthday girl! (Another great way to execute this one would have been to have a bunch of signs of her face printed and put on sticks for everyone to take a picture with!)
I love the Chocolate Frogs!!! I have boys that would love this!!!
the kids would go crazy over this
These are all great ideas. My son loves Harry Potter. He would definitely love a Harry Potter party. He has read the whole series.
These ideas are really awesome. I love the cake and the Butterbeer Cupcakes!
these are so cute and looks yummy. the kids will love them
I love all the Harry Potter desserts! Great for a birthday theme party!
This is so cute! Great ideas
This is amazing! I love all the hard work you did put into making all that food and the signs. Everything looks amazing! My daughters are a bit young for Harry Potter, but I can see my older daughter getting into it within the next couple of years.
I love the Hedwig cake.