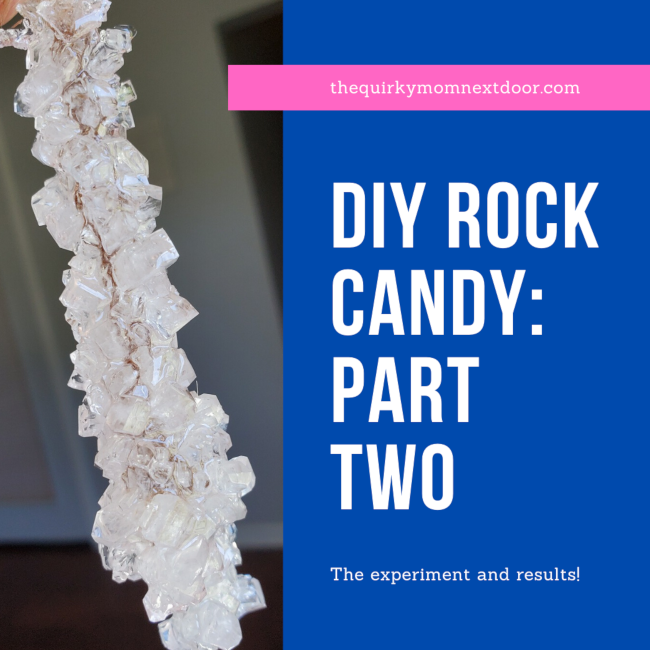
The last time we talked about rock candy, we had just finished our sugary concoctions and put everything in a dry, cool place. Over the course of seven days, we watched crystals slowly form in our glass jars. We learned a few things we would like to share as you head off to create your own crystal gems experiments!
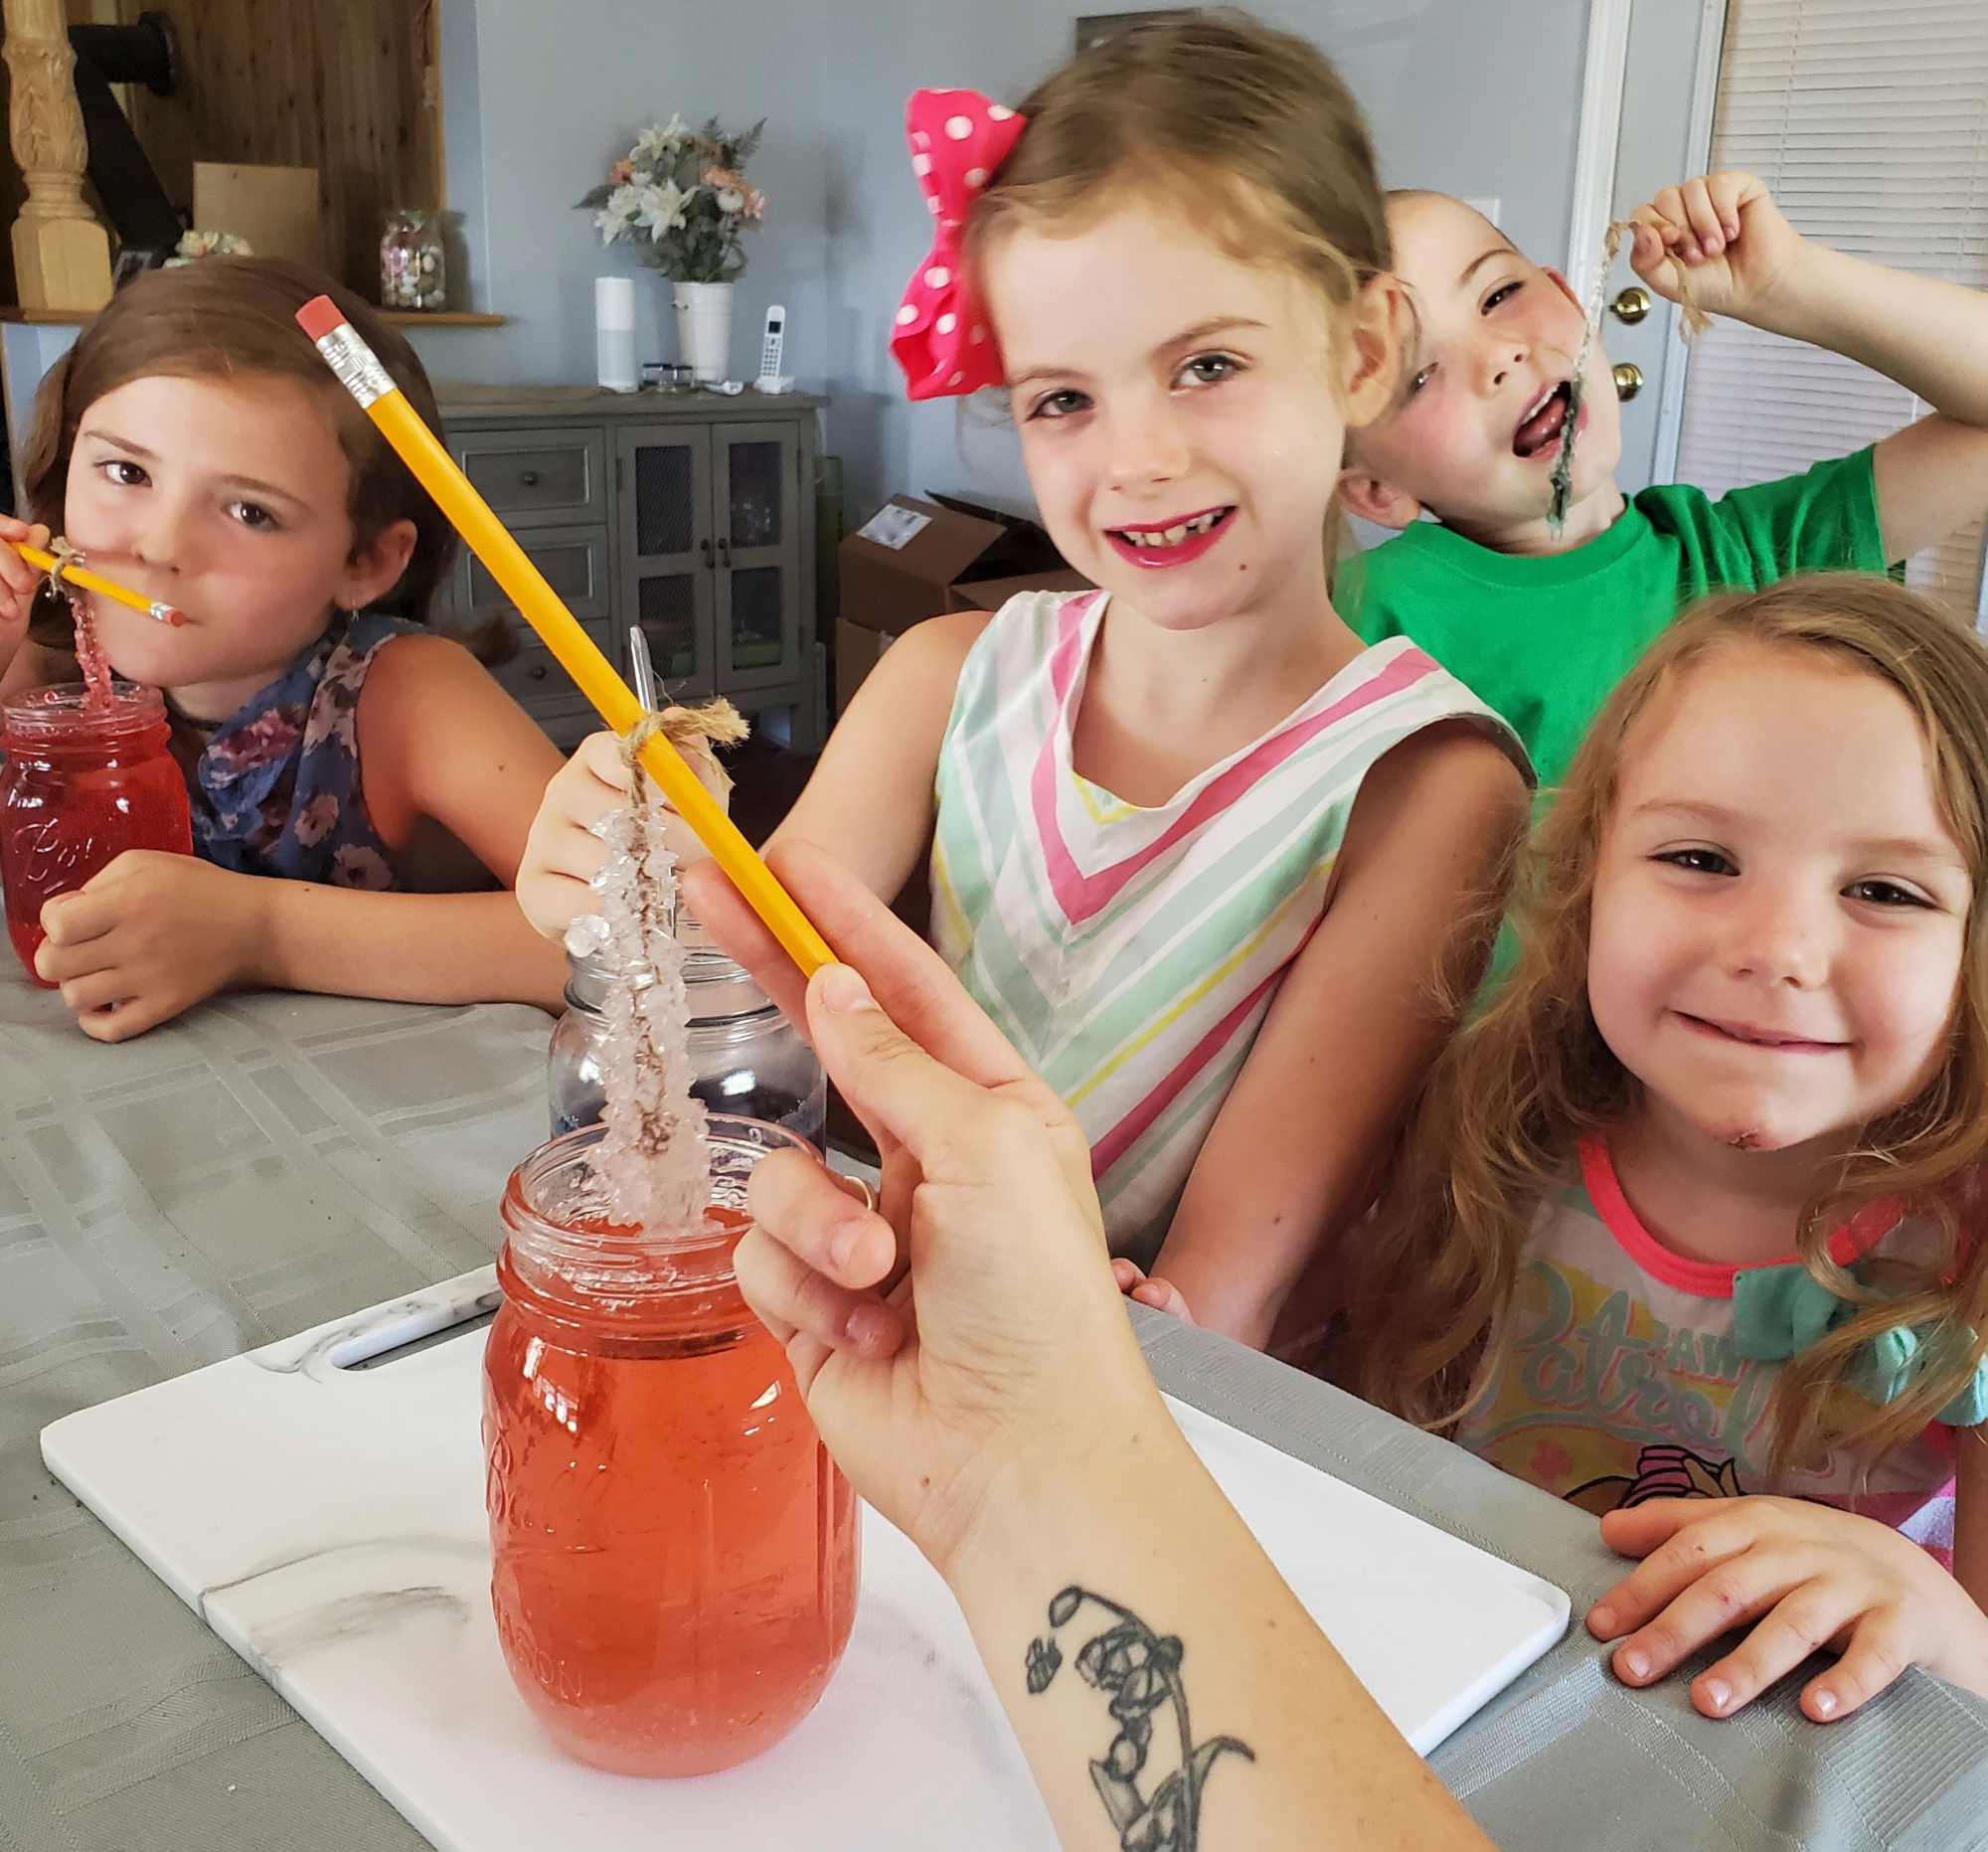
Each of our rock candy experiments were slightly different from the others. This is a great opportunity to teach the kids about variables. Our basic rock candy recipe was simple. Each jar included sugar, water, and food coloring. All but one had a string that had been wet and dipped in sugar. Let’s talk about some of the other differences within each test:
- Purple: full scoop of lemonade mix
- Green (not pictured in final process or video): small scoop of lemonade mix
- Red: small scoop of lemonade mix with additional water
- Blue: several shots of flavored water syrup (like Mio or Crystal Light)
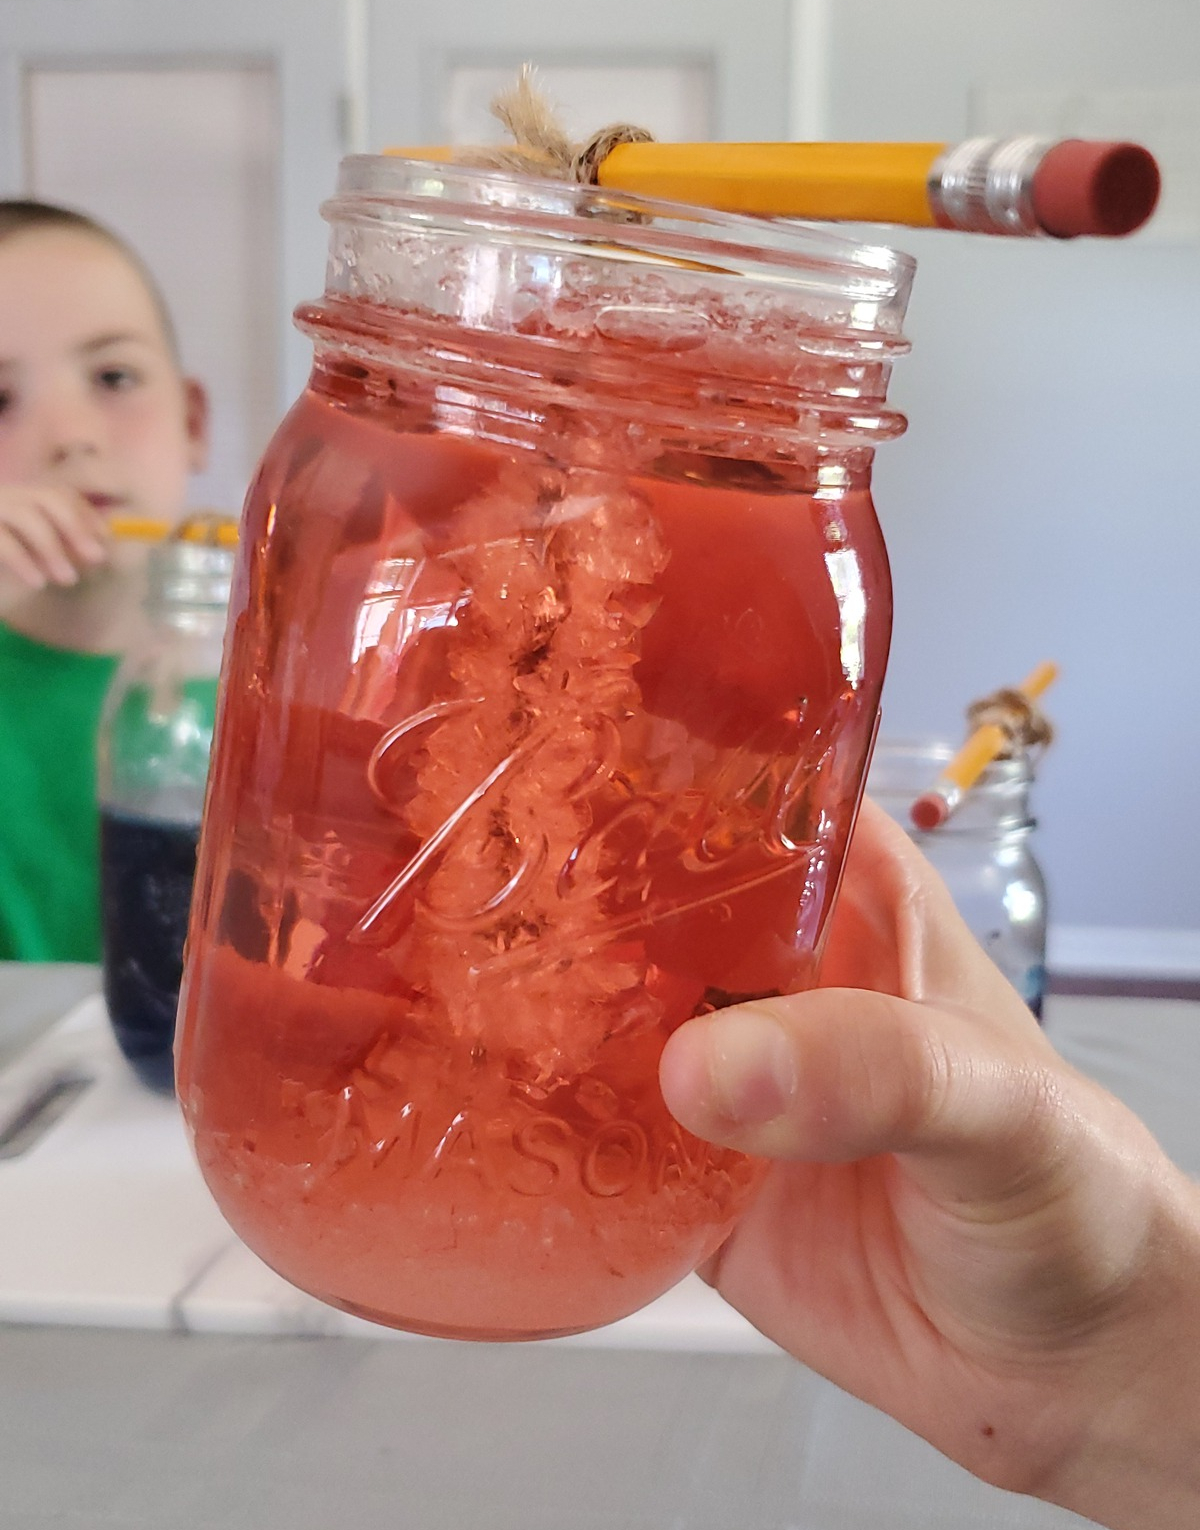
- Light red: no sugar on the string, few tiny shots of flavored syrup, additional water, and slightly less dye
As far as results, we had quite the range but definitely a clear “winner” as far as experiments go!
- Purple: very thick, not many crystals
– Could be due to powder reacting differently to the crystals.
- Green: purely syrup, no crystals formed
– I suspect this is due to too little water or potentially not having allowed the sugar/water to have boiled longer.
- Red: Formed some crystals but still too much of a syrup consistency.
– This one had been given a little more water, which may have helped the growth, but it still either was not quite enough or had not originally boiled long enough. When it was left an extra day or two, crystals seemed to be forming better.
- Blue: Seemed to have formed decent crystals that did not stay “rocky”
– Likely too much syrup made it so that more water should have been added to less disrupt the sugar reaction.
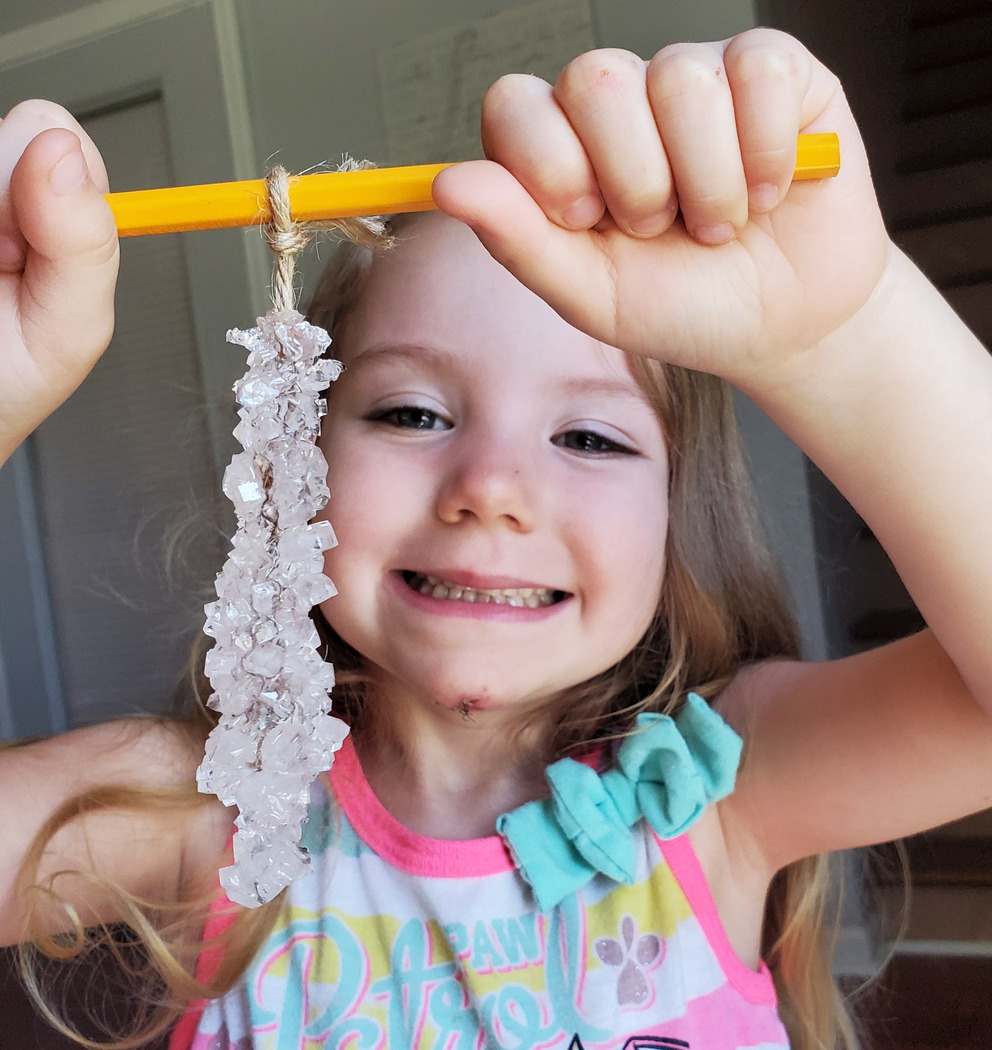
- Light red: perfect crystals in texture and size, delicious, did not hold color
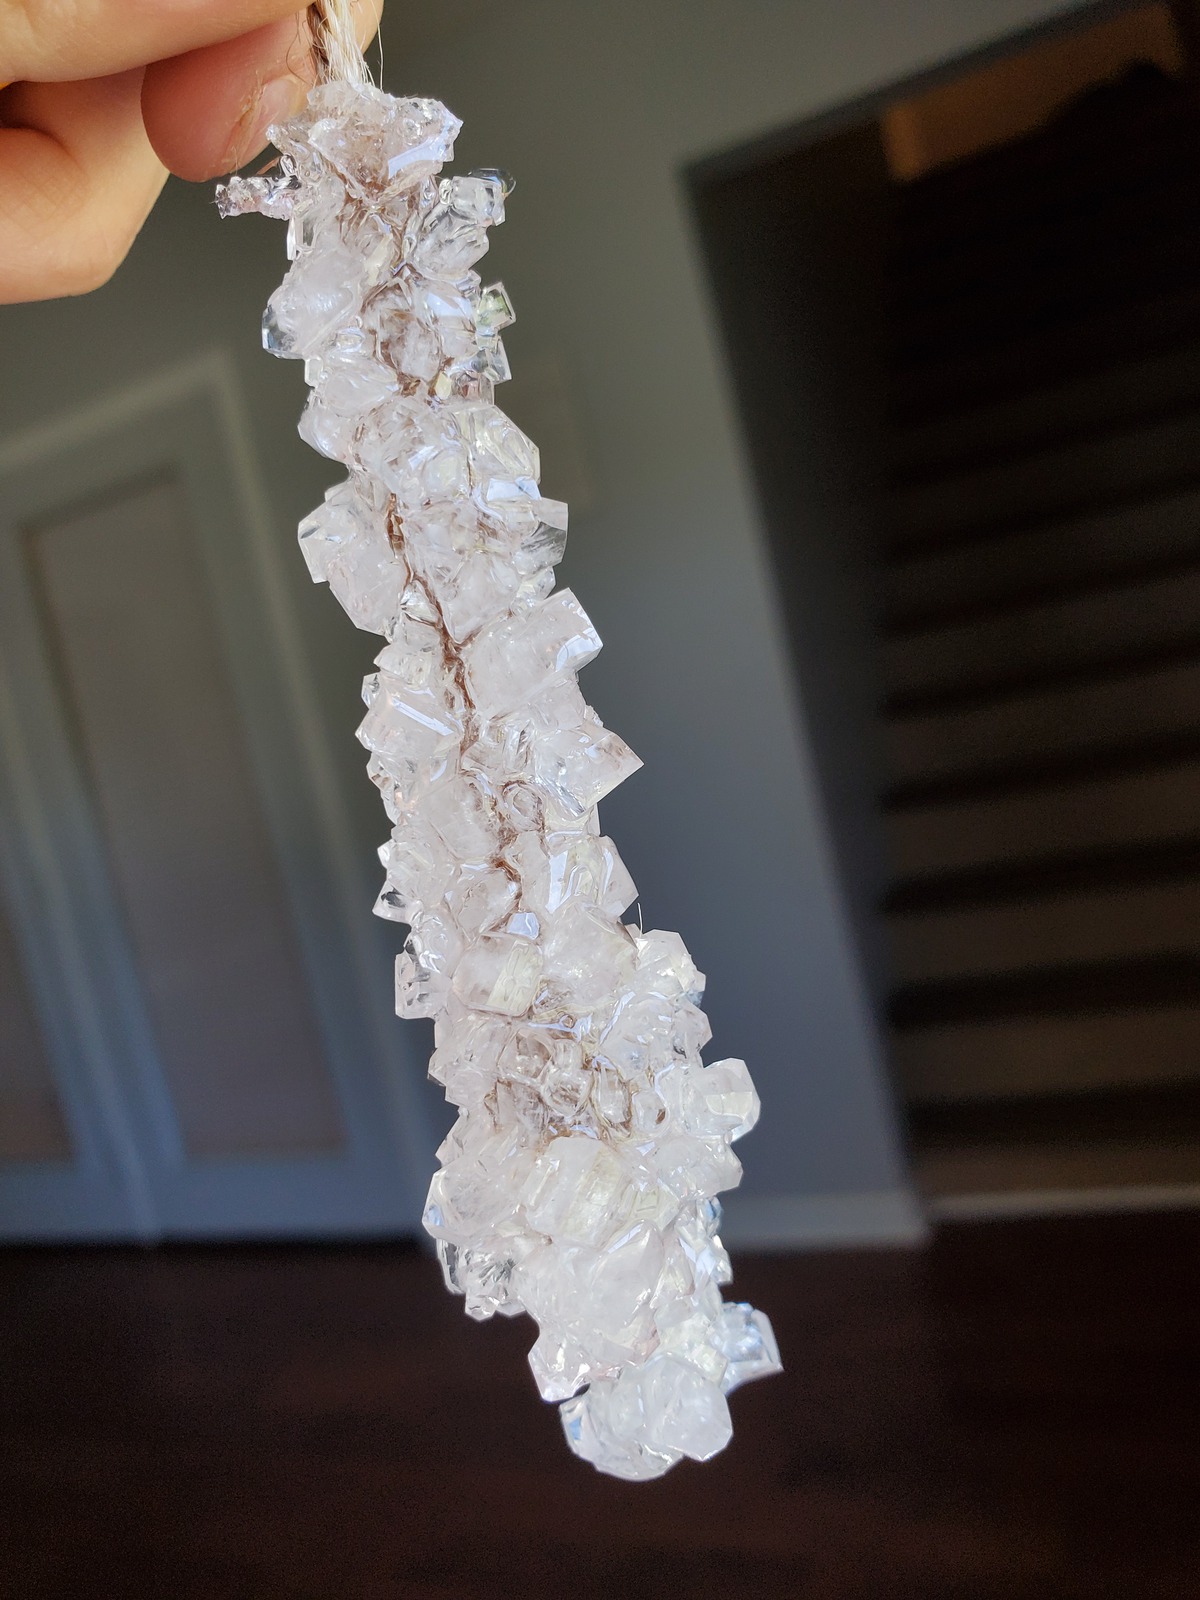
The positive results in the light red jar led me to believe a few things that we certainly need to test out with future attempts:
- Slightly more water may be needed than the original recipe calls for.
- Absolutely, positively make sure that the sugar is completely dissolved while boiling and do not remove a minute sooner.
- If adding anything at all to enhance flavor, add only a small amount and know that it still may disrupt the crystallization process. Avoid powder, try liquid flavor enhancement products instead.
Rock candy experiments can be incredibly finicky so there may be a lot of trial and error but the way we see it, that makes for a perfect experiment. Have a control group which is the recipe directly, with no changes whatsoever, and then have experimental groups where you toy with flavoring or tweaking the recipe. It’s quite a delicious way to learn what works for you!
Let us know about your results after you’re finished!
Such interesting results from your rock candy experiments! It’s fascinating how small changes can have very different effects.