*Coverage of the Camp Warner Bros campaign done in partnership with WB. We received this movie free of charge in exchange for sharing details about this virtual summer camp. All thoughts and opinions are our own.
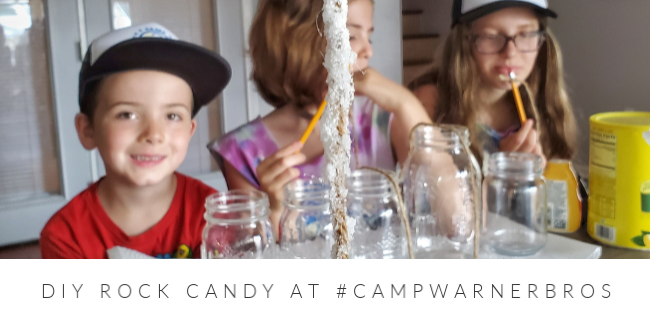
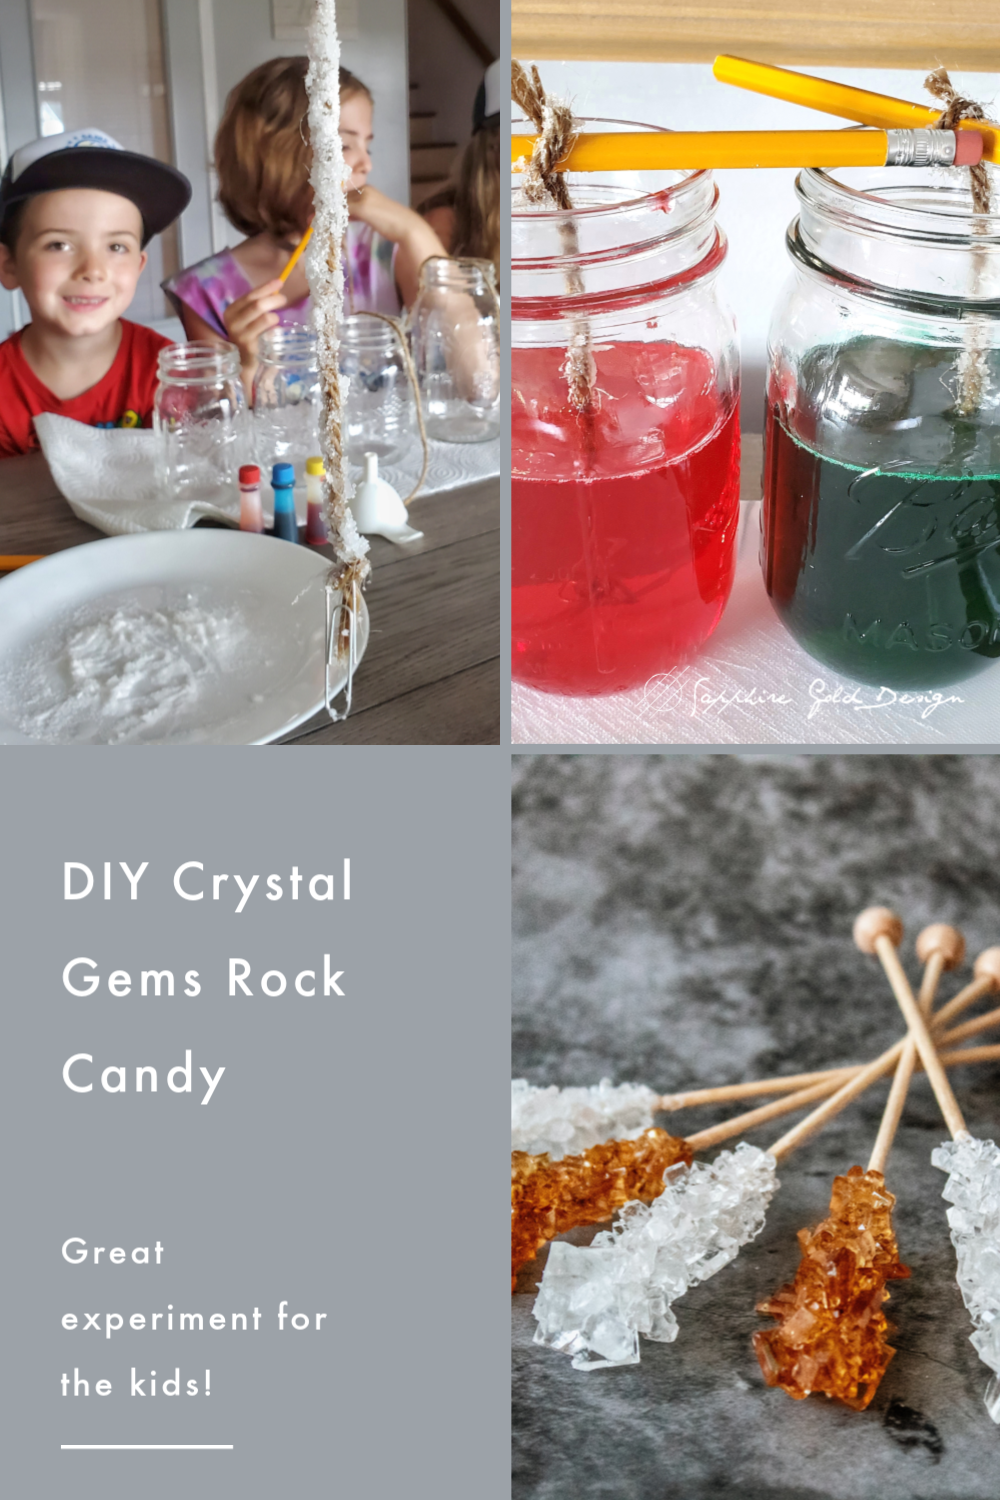
Alright folks, this one is going to be a two-parter! Today, we’re going to be creating edible crystal gems also known as: ROCK CANDY! Apparently, all kids have to do this experiment at some point in their lives but can you believe that this is my first time?! I’m excited because rock candy is phenomenal and I had no idea there was an entire awesome process to watching it grow. I’ve always just bought it at gift shops and candy stores so this is a whole new level of fun that I didn’t know existed. The camp director gets to be the one who learns something new today!
This week at Camp Warner Bros, we are spotlighting Steven Universe: The Movie. Steven Universe is a half-human, half-gem hero. He has magical powers that come from his gem belly button. In this movie, the Crystal Gems try to save the Earth from a Gem who has a past with Steven’s mother. It’s a sing-a-long so there are oodles of songs within the movie. You can own it now on digital, Blu-Ray, and DVD.
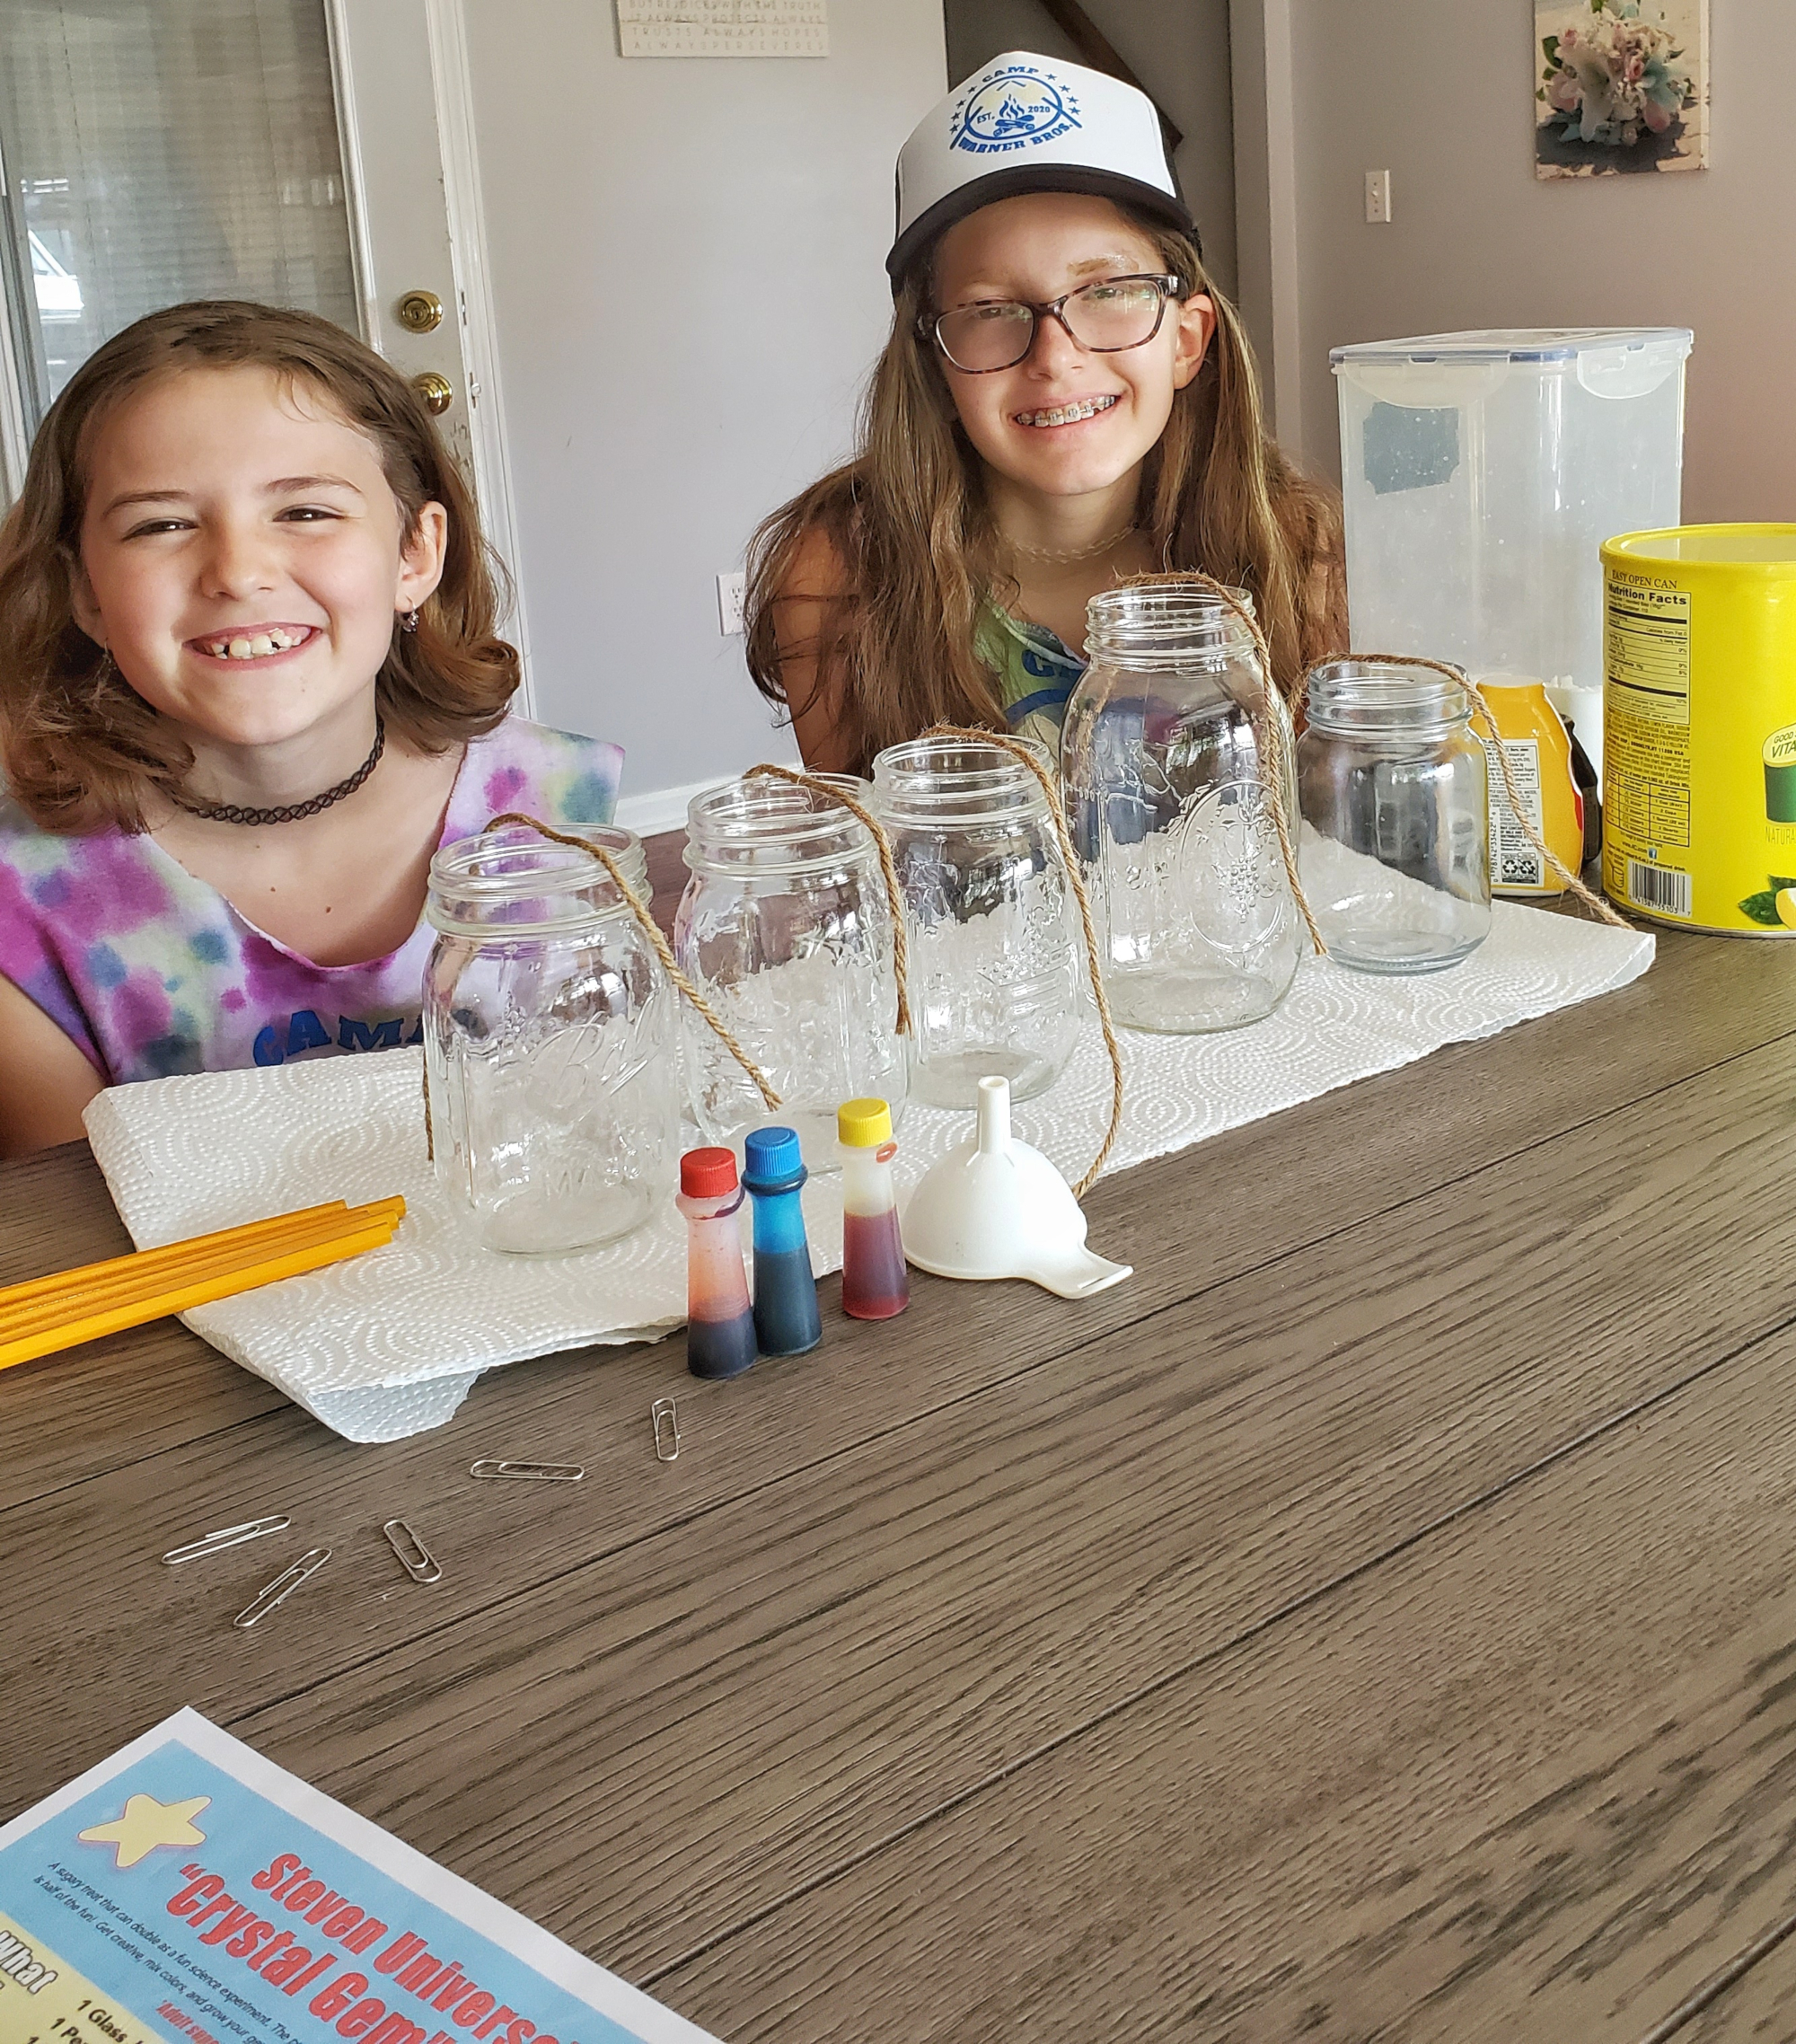
Now for our Steven Universe DIY crystal gems rock candy! Please note that this project requires adult supervision as a stove and boiling water must be used but truly, this is the kind of activity that you won’t want to miss anyway! For a printable version of these directions, click here.
Here’s what you’ll need:
Glass jar
Pencil
Paper clip
String
Food coloring
3 cups granulated sugar
1 cup water
1 funnel (optional)
Flavoring (optional)
Makes about 2 candy servings
Directions:
1. Cut string a little bit longer than the height of your jar.
2. Tie one end of the string to your pencil and the other end to your paper clip.
3. Wet string and roll it in the sugar. It helps give the sugar something to hold on to in order to make it grow faster. Set aside to dry completely.
4. Pour water into a pot and and bring to a simmer on the stove.
5. Add sugar, one cup at a time, stirring in between cups until completely dissolved.
6. Remove from heat and let cool for 10 minutes.
7. Pour sugar into glass jar, using a funnel may be necessary depending upon the mouth of your jar.
8. Add food coloring to the solution and stir to ensure smooth color.
HOW MUCH FOOD COLORING? 3 drops of blue and 3 drops of red for Amethyst/purple, 5 drops of green and 1 drop of yellow for Peridot/green, 6 drops of red for Ruby, 6 drops of blue for Sapphire
9. Add drops of flavoring solution to your mixture! This can be powdered or liquid drink mix or flavoring. We used some bottled water flavoring drops in some of ours! (Keep in mind that colored mixes may change your rock candy color!)
10. Place the paper clip end of the string into the jar, while winding the other end around the pencil. This should help to ensure that the paper clip hangs straight down about an inch above the bottom of the inside of the jar.
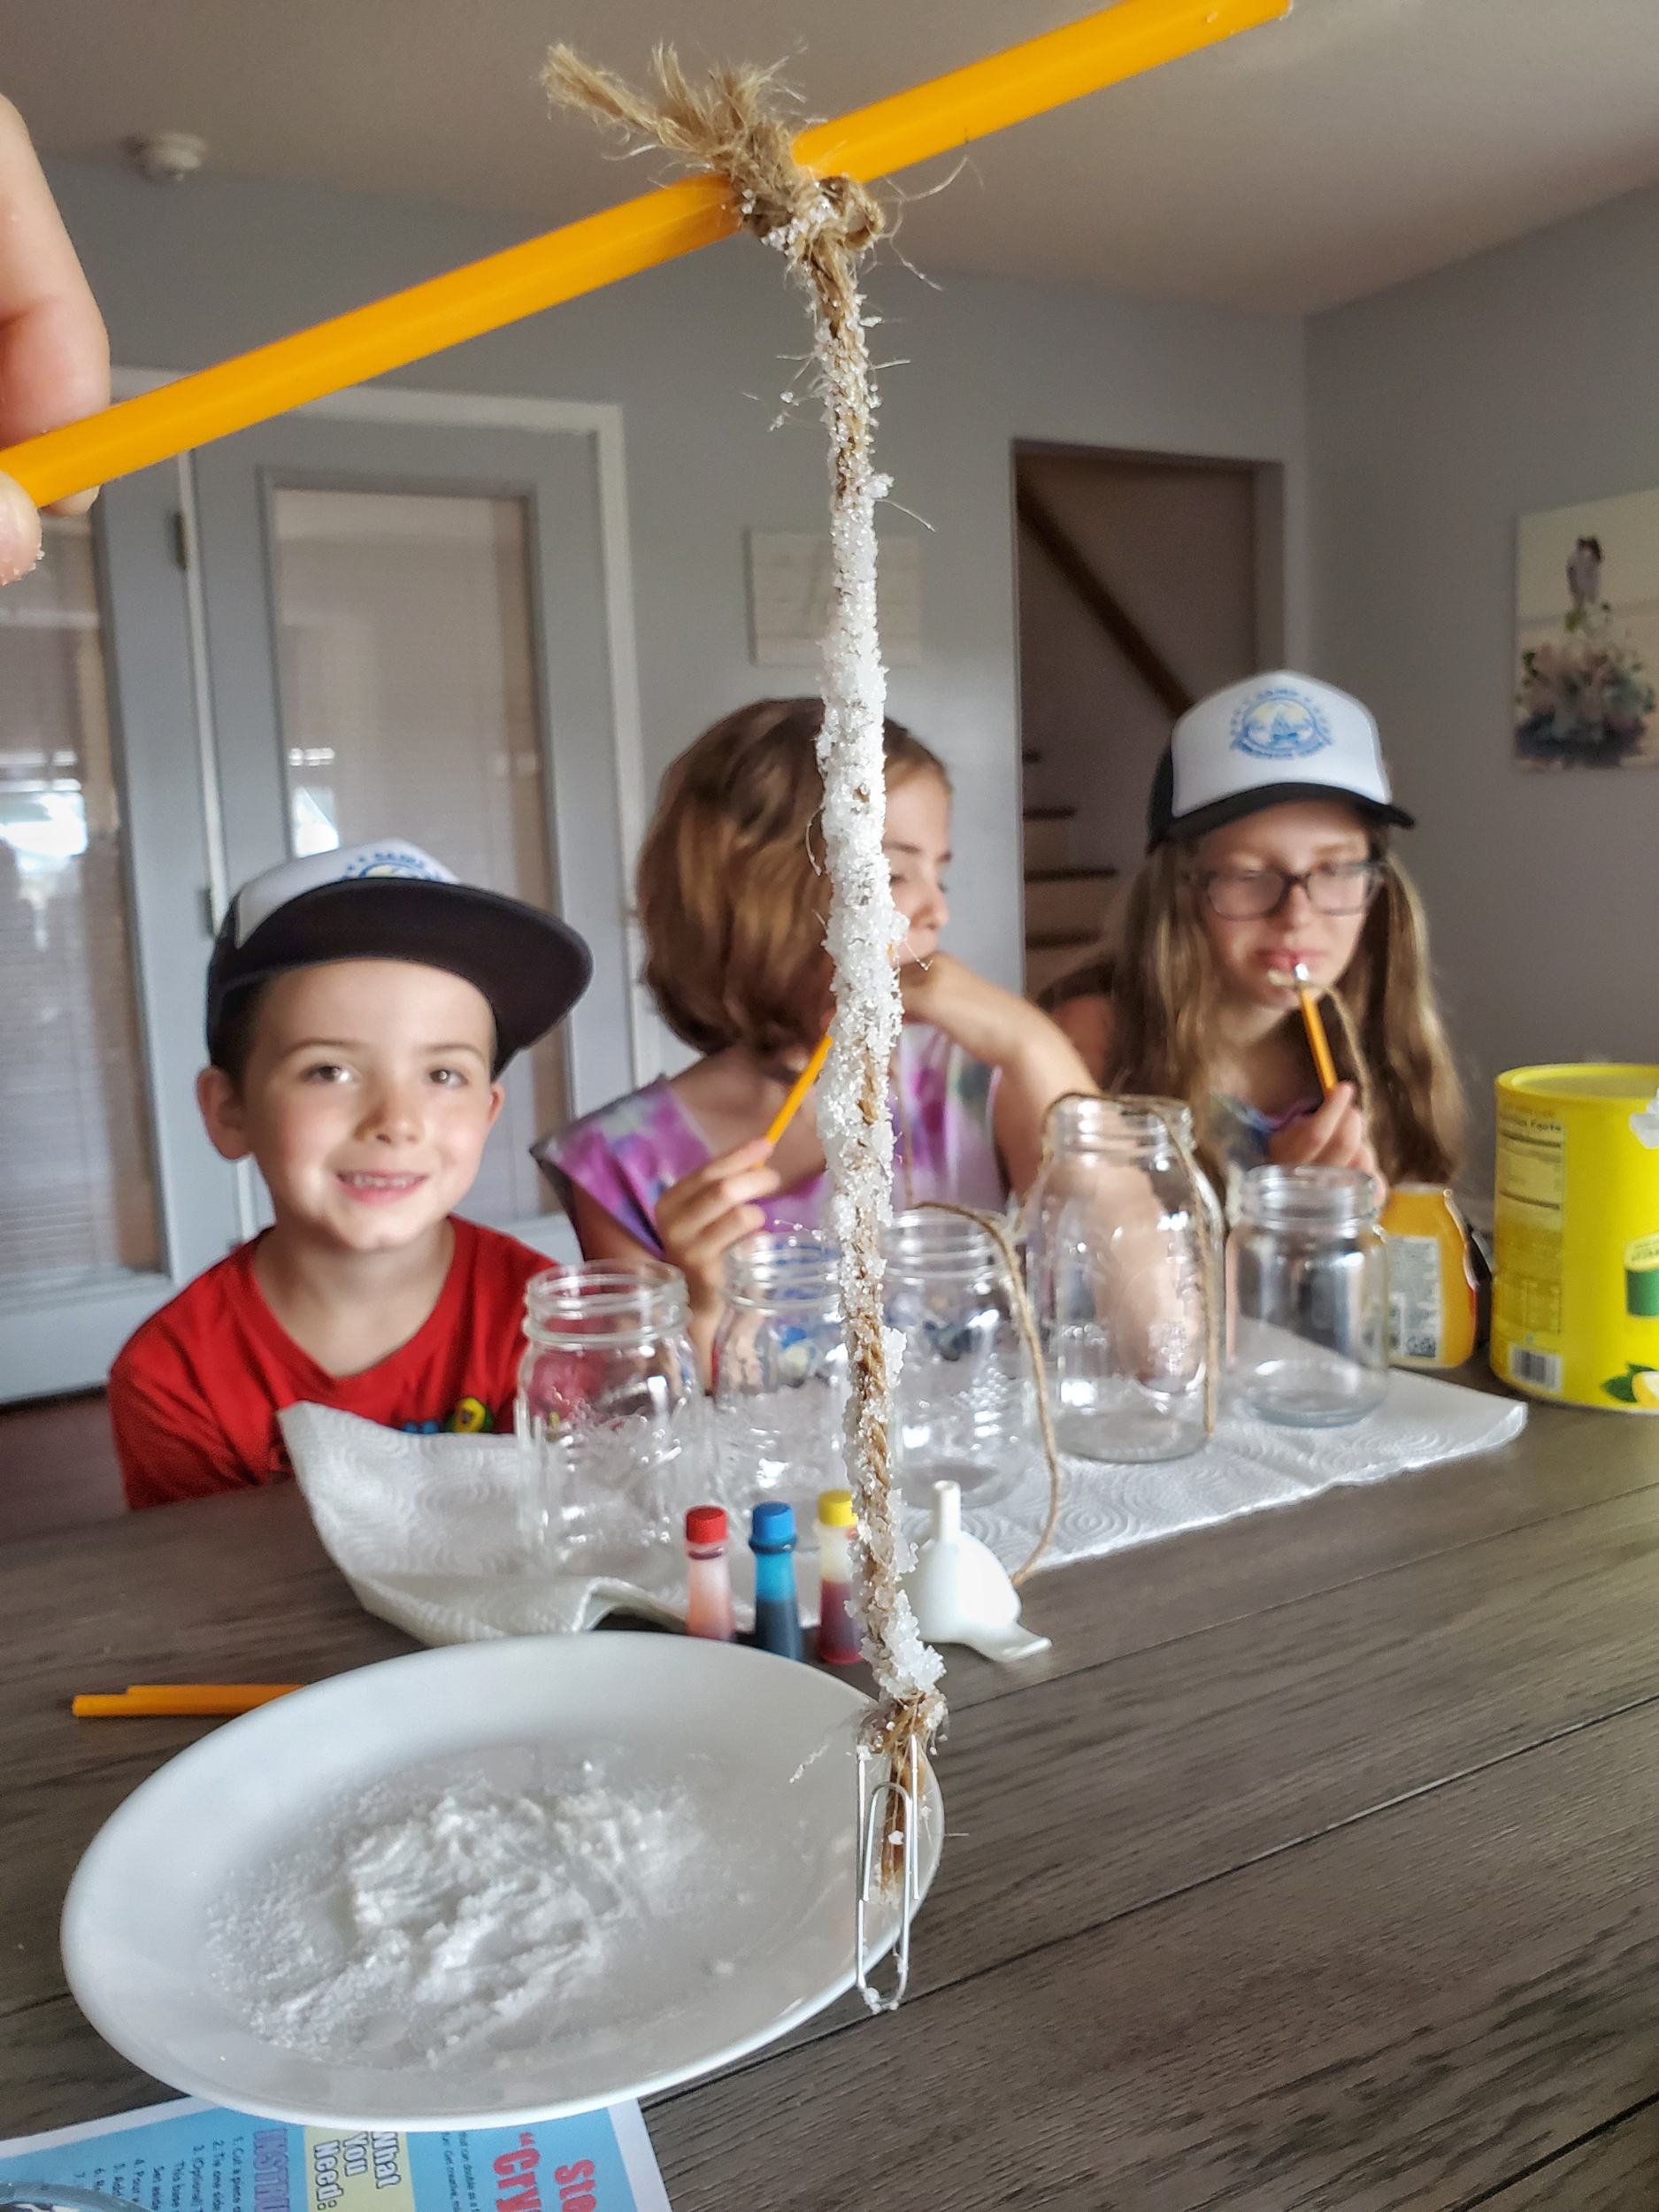
11. Place the pencil across the top of the jar. Don’t let the end of your string or paper clip come too close to the bottom or sides of the jar or the rock candy will grow onto the sides. (Crystals will begin to form within 4-6 hours but the entire process can take about seven days.)
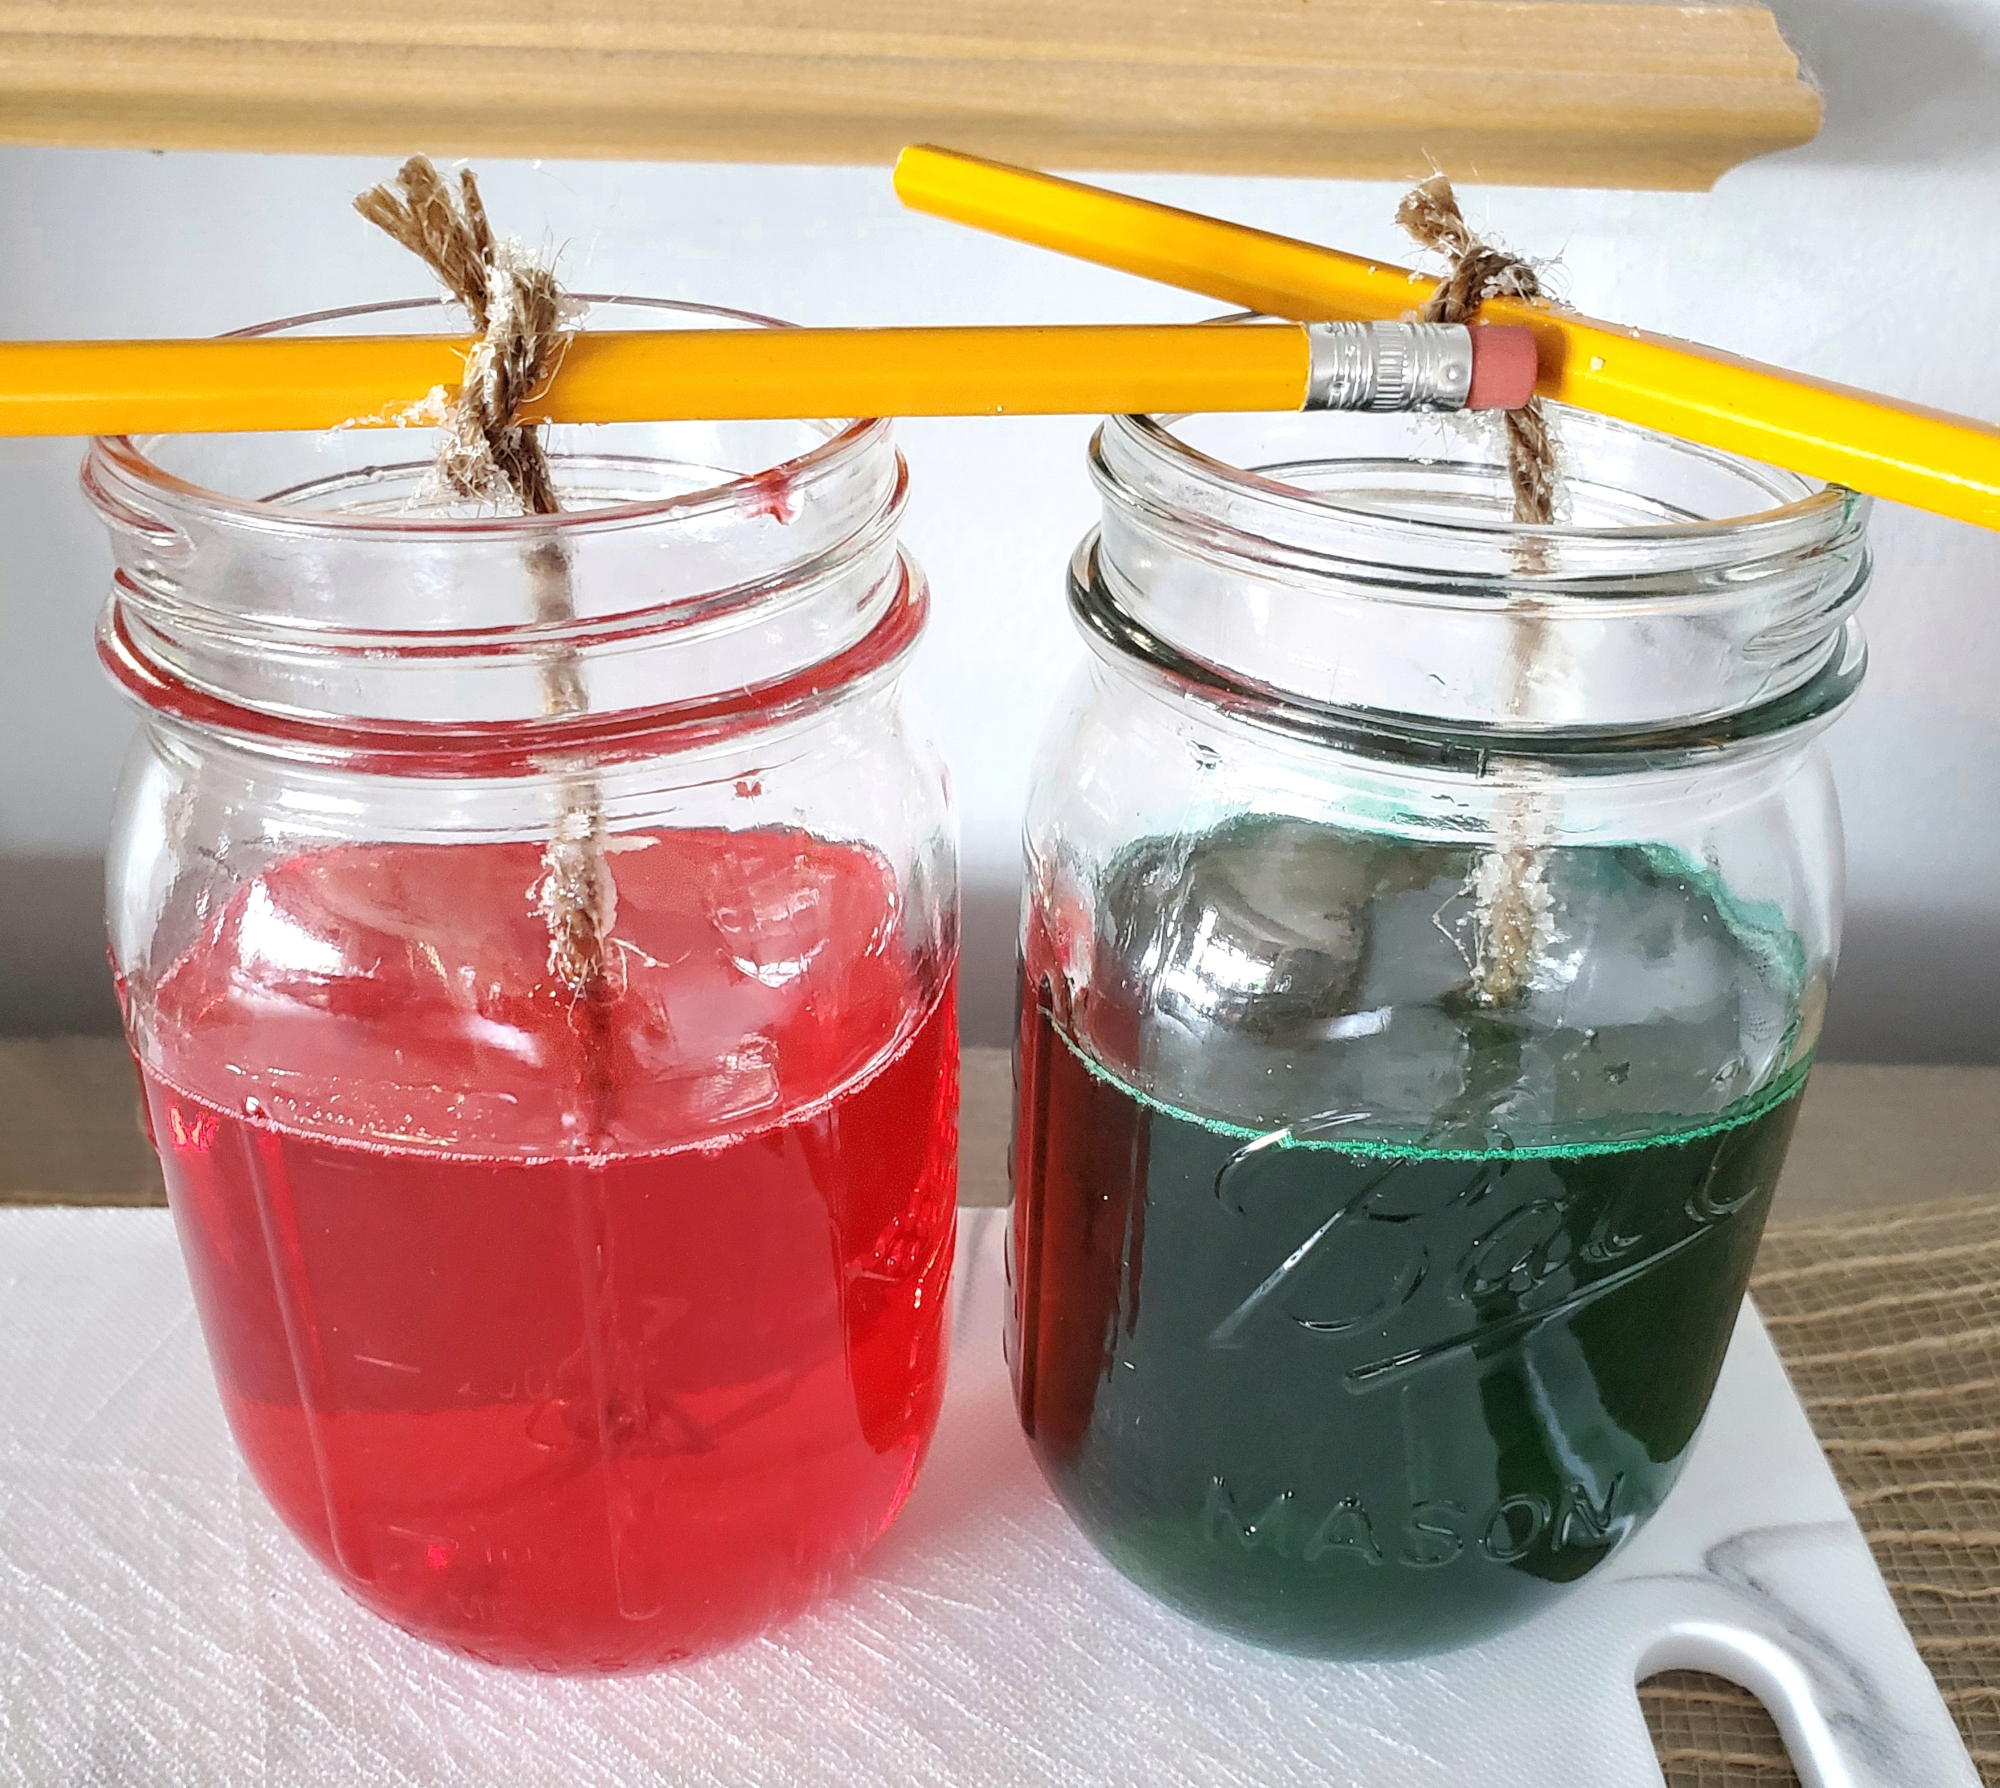
12. Watch the amazing formation of crystals before your very eyes, then consume this deliciousness!
When we come back for part two, we will share a video of our whole process and our finished rock candy! Let us know how yours turn out!
This looks really fun to make! I didn’t know you could make rock candy at home. Such a cool activity for families!